Installation Instruction
STEP 1
Whilst the door roll is on the floor, rotate shaft
backwards and forwards by hand and then
release. This action will allow the roll to
centralize itself on the shaft.
(New installation only).
STEP 2
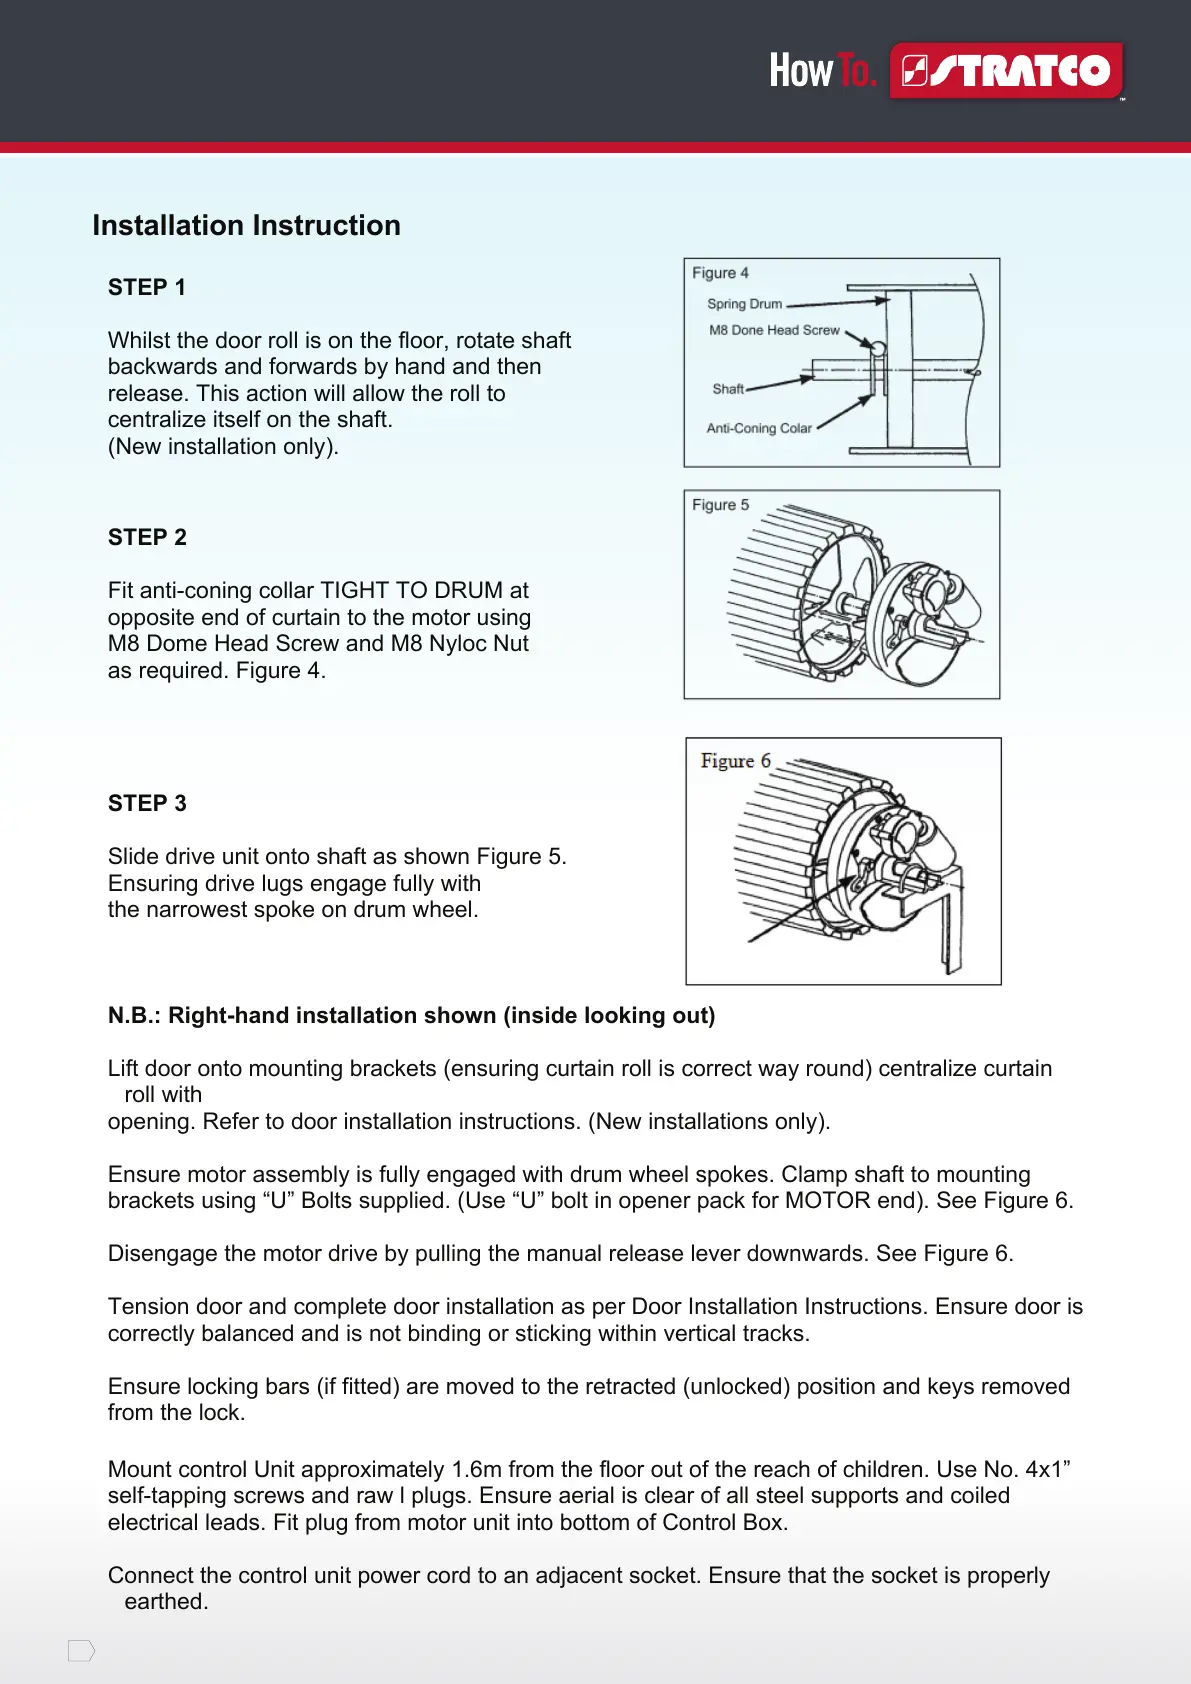
Fit anti-coning collar TIGHT TO DRUM at
opposite end of curtain to the motor using
M8 Dome Head Screw and M8 Nyloc Nut
as required. Figure 4.
STEP 3
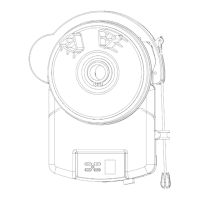
Slide drive unit onto shaft as shown Figure 5.
Ensuring drive lugs engage fully with
the narrowest spoke on drum wheel.
N.B.: Right-hand installation shown (inside looking out)
Lift door onto mounting brackets (ensuring curtain roll is correct way round) centralize curtain
roll with
opening. Refer to door installation instructions. (New installations only).
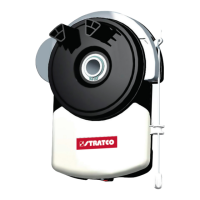
Ensure motor assembly is fully engaged with drum wheel spokes. Clamp shaft to mounting
brackets using “U” Bolts supplied. (Use “U” bolt in opener pack for MOTOR end). See Figure 6.
Disengage the motor drive by pulling the manual release lever downwards. See Figure 6.
Tension door and complete door installation as per Door Installation Instructions. Ensure door is
correctly balanced and is not binding or sticking within vertical tracks.
Ensure locking bars (if fitted) are moved to the retracted (unlocked) position and keys removed
from the lock.
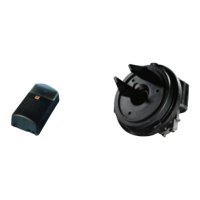
Mount control Unit approximately 1.6m from the floor out of the reach of children. Use No. 4x1”
self-tapping screws and raw l plugs. Ensure aerial is clear of all steel supports and coiled
electrical leads. Fit plug from motor unit into bottom of Control Box.
Connect the control unit power cord to an adjacent socket. Ensure that the socket is properly
earthed.