©Copyright 2021 Strava Solutions, LLC All rights reserved
PAGE: 16
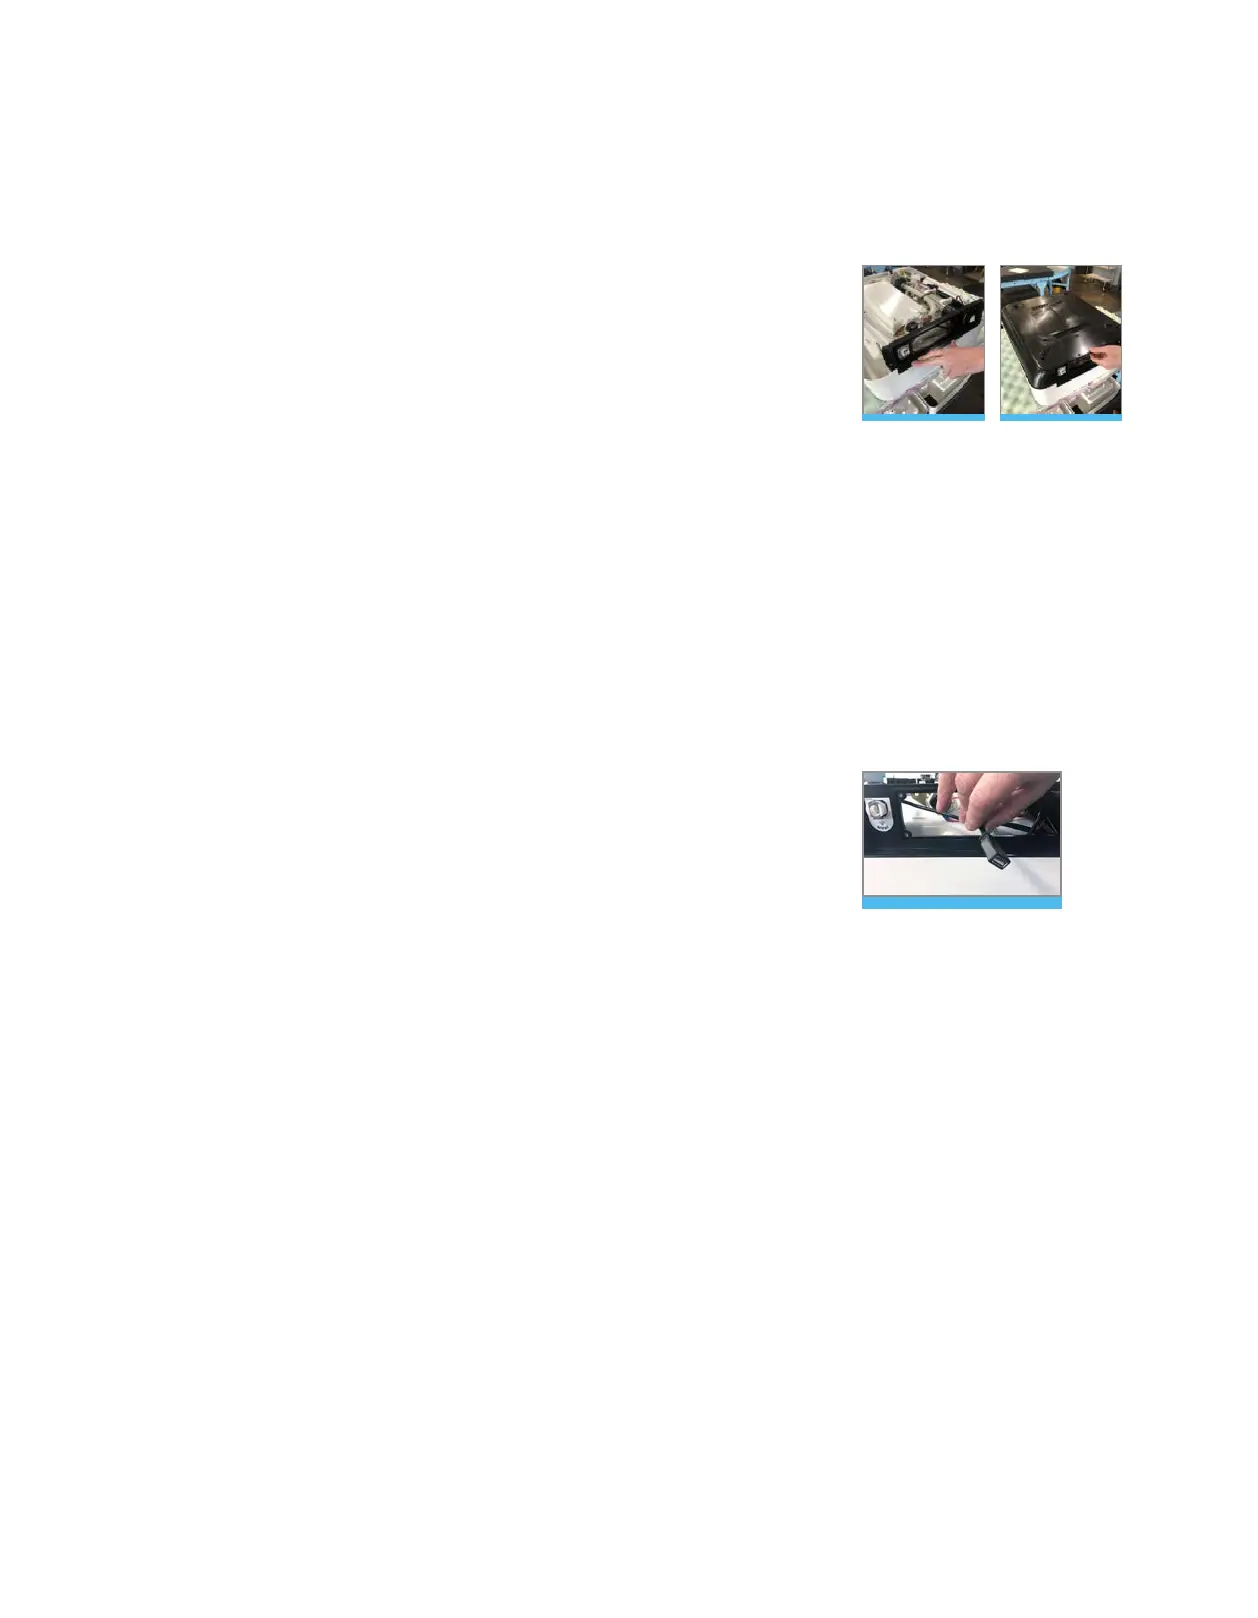
USB connector
Software Upgrades:
In the event a software upgrade is required, the manufacturer will provide
you with a new version of software to upload via USB stick.
• Make sure the unit is off.
• Remove the back panel of the unit by removing the four screws
with a #2 phillips screwdriver (cross tip)
• Locate the USB connector. It will a black cable tethered to the
drain hose.
• Insert the USB stick into the connector.
• Turn the unit on.
• The software upgrade is complete when the set up wizard
appears on the screen.
Step 3: Reassemble the unit
• Fold the back panel into place, aligning the screw holes on either
side. Figure 66
• Re-insert the 2x 3/32” button head screws into the back panel.
• Re-install the base pan by aligning it with the screw in
embossments and the back panel. Figure 67
• Using the 3/32”allen wrench or #2 Phillips screw driver,
tighten all 13 screws on base pan.
Step 4: Cure the unit
• Carefully turn unit back over (being mindful of the glass).
• Allow the unit to cure for a minimum of 24 hours before use.
Heating Element Replacement cont. :
Figure 66 Figure 67
 Loading...