©Copyright 2021 Strava Solutions, LLC All rights reserved
PAGE: 15
Heating Element Replacement:
If the unit no longer heats the water, and it has been determined that the water
sensor is functioning properly, the heating element may need replacing.
A Heating Element Assembly Kit is needed to perform this operation.
Heating Element Assembly Kit: REF 200.303
Kit consists of heating element, brush, sample size Flex Seal, 11/4” wrench
Step 1: Remove the old heating element
• Unplug splint bath from wall.
• Find a soft surface to put splint bath.
• Tape glass lid.
• Turn splint pan upside down and gently lay unit on its face, ensuring
that glass lid stay in tact.
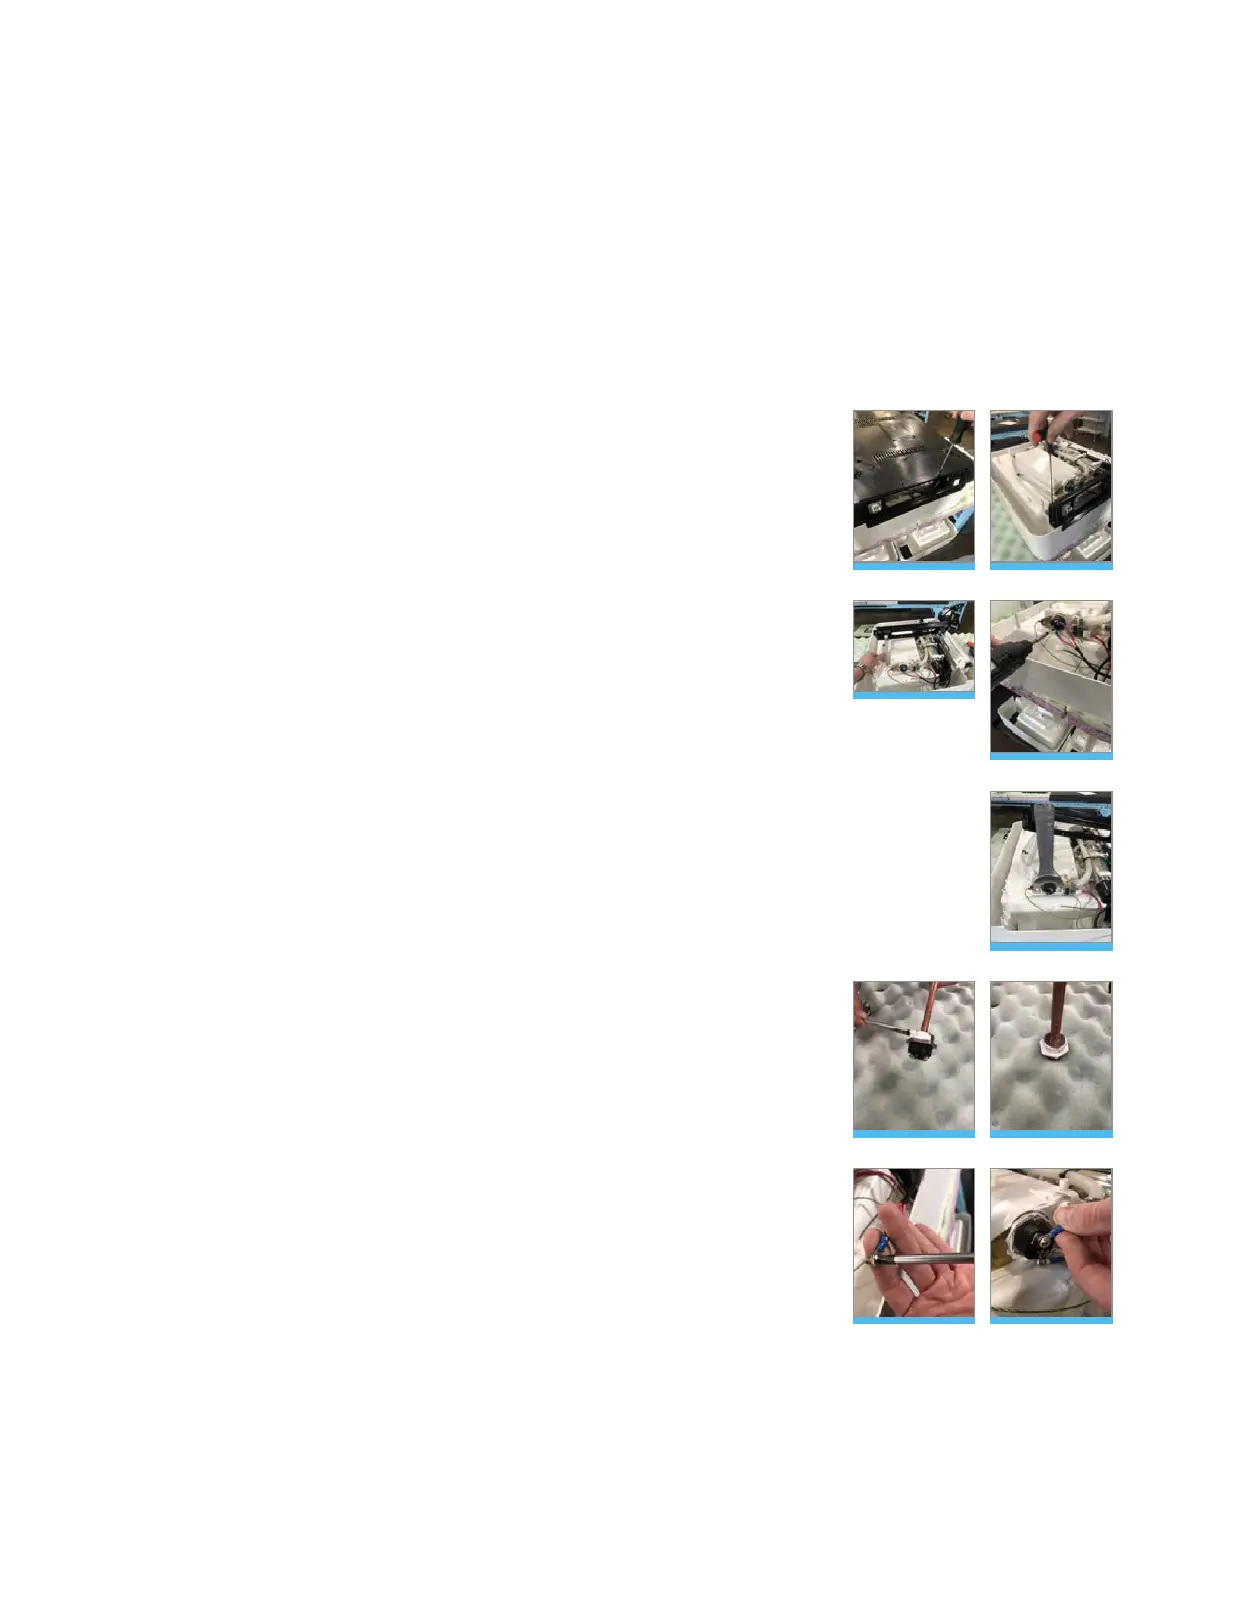
• Use a 3/32” allen head or #2 Phillips screwdriver, remove all (13)
screws from black base pan. Figure 57
• Once base pan is removed, use a 3/32” allen wrench to remove the
two screws off of the back panel. Figure 58
• Once back panel is removed, fold it away from you. Remove the two
mains screws from the heater with a #2 Phillips screwdriver (discard
screws at this time). Figure 59 & 60
• With the provided 1 ¼” open-end wrench, loosen the metal phalange
on the heater counter-clockwise. Figure 61
• Pull heater out of heater port.
• Vacuum out debris.
Figure 57
Figure 59
Figure 58
Figure 60
Figure 61
Step 2: Prep and insert the new heating element
• Brush the provided Flex Seal onto the threaded area of the heating
element phalange. Figure 62
• Cover the entire circumference of the flange with thick coating.
Figure 63
• Insert the new heating element back into the heater port (be certain
that it inserts through the brass ground ring terminal).
• Screw in clock-wise, tightening with the provided 1 ¼” open-end
wrench until it will not move.
• Remove the two mains screws from the new heating element.
• Insert the mains screws into the wire harness. Figure 64
• Re-attach heater harness mains to the heating element. Figure 65
Figure 62
Figure 64
Figure 63
Figure 65



 To Next Page