SURVIVOR LED-REPAIR INSTRUCTIONS
II. LED MODULE ASSEMBLY-REPLACEMENT
A. Disassembly (cont’d.)
3) Inspect Battery Door Assembly (Item 3) for damage or corrosion. If
replacement is required, remove assembly by pressing out the Battery
Retaining Pin (Item 7) from body and battery door assembly. Replace
Battery Door Assembly as required.
4) Remove Pin (Item 8) from Belt Clip (Item 9) and Double torsion Spring
(Item 10). Remove (2) Self Tapping Screws (Item 11) and Clip Bracket
(Item 12) from body. Note the orientation of the Clip Bracket when
removed. Retain these items for reassembly. Replace as required.
5) Slide LED Module Assembly (Item 13) from Body Assembly (Item 15).
6) Remove Switch Spacer (Item 6) and retain for re-assembly.
7) Replace Valve (Item 14) if missing.
B. Reassembly
P/N #90556-Survivor Clip Replacement Tool Kit required for re-assembly
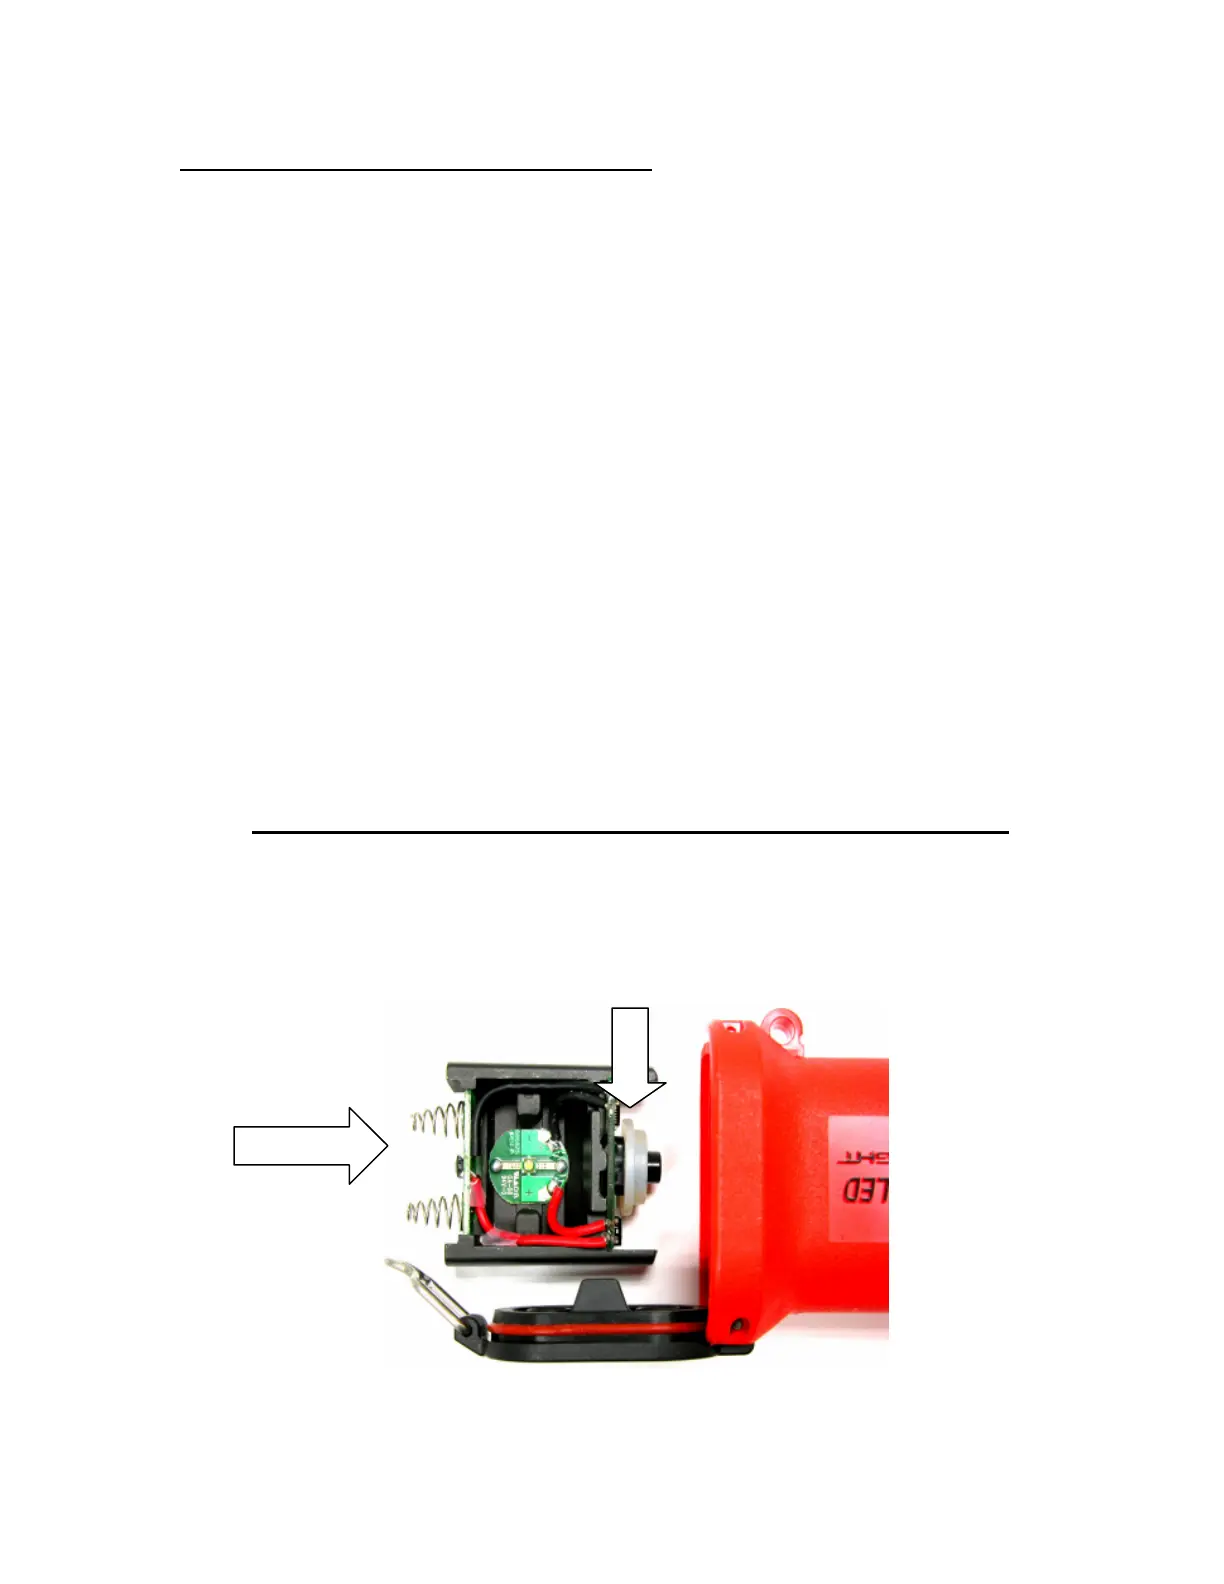
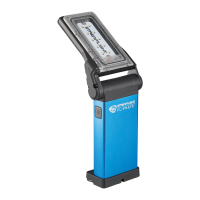
1) Insert Switch Spacer (Item 6) onto LED Module Assy.
(Picture 1-Arrow A).
2) Insert replacement LED Module Assembly (Picture 1-Arrow B) into
body. Align with belt clip mounting holes on back-side of body.
Picture 1
Page 4 of 14 DEC. 2011
B
A