Disposable Cartridge Ear Piercing System
©STUDEX
EAR PIERCING INSTRUCTIONS
10.
Piercing the Ear
Be sure the ears have been cleansed with Sterile
Prep Pad provided.
NOTE:
When the piercing is complete, ask the customer
if they are OK to stand up, or if they need a few
minutes. If the customer stands up and feels dizzy,
help them to sit down, and have them wait 3 to 5
minutes before leaving.
Give the customer signed After-piercing Care
Instructions to take home with them.
Place the ear between the end of the stud and
the clasp, carefully aligning the point of the
stud with mark on the ear as shown Figure 4.
While maintaining proper alignment, slowly
squeeze the handle. This will slide the stud
forward for more accurate positioning.
Keeping the proper alignment, squeeze the
handle firmly to pierce the ear. The clasp will
be automatically installed on the stud with the
proper spacing (Figure 5.).
Release pressure on the handle (Fig. 6.) and
carefully pull the handle straight away from the
ear (towards the bottom of the handle) - see
Figure 7. This will release the stud from the
clear plastic carrier and the clasp from the
cartridge.
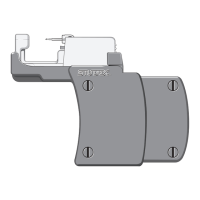
Remove the used cartridge from the handle
(see removal instructions) and discard the
cartridge and the blister. Repeat this procedure
for additional ear piercings.
1.
2.
3.
4.