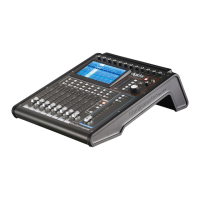
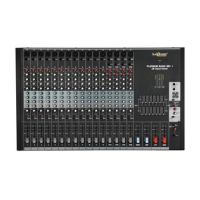
Connecting up
Connect your speakers or power amplier to the MIX OUTPUT L & R sockets as described
previously.
Plug the vocal microphone into MIC 1 input. Note Inputs MIC 1 to MIC 4 are “Combo” type sockets
which can accept either a male XLR connector or a jack plug (TRS or TR). Microphones intended
for live use will usually be the dynamic type, but in some AV situations condenser mics may be in
use; in this case, phantom power will need to be turned on for this input channel (see below).
Use Input MIC 2 for the instrument. Acoustic instruments such as acoustic guitars will need to
be mic’d up. An electroacoustic guitar can either be connected directly using a standard guitar
lead if it has sucient output level, or via a DI box. For amplied instruments, place a mic in front
of the amplier or use a DI box between the instrument and amplier to obtain a mic level signal;
alternatively, the amplier may have a “Line Out” socket which can be plugged into the mixer input
directly.
If you need to use a stereo source such as a laptop, tablet or similar audio device, it is most easily
connected to STEREO input 2, which is available both in the form of a 3.5 mm jack socket and
separate left and right ¼” jack sockets.
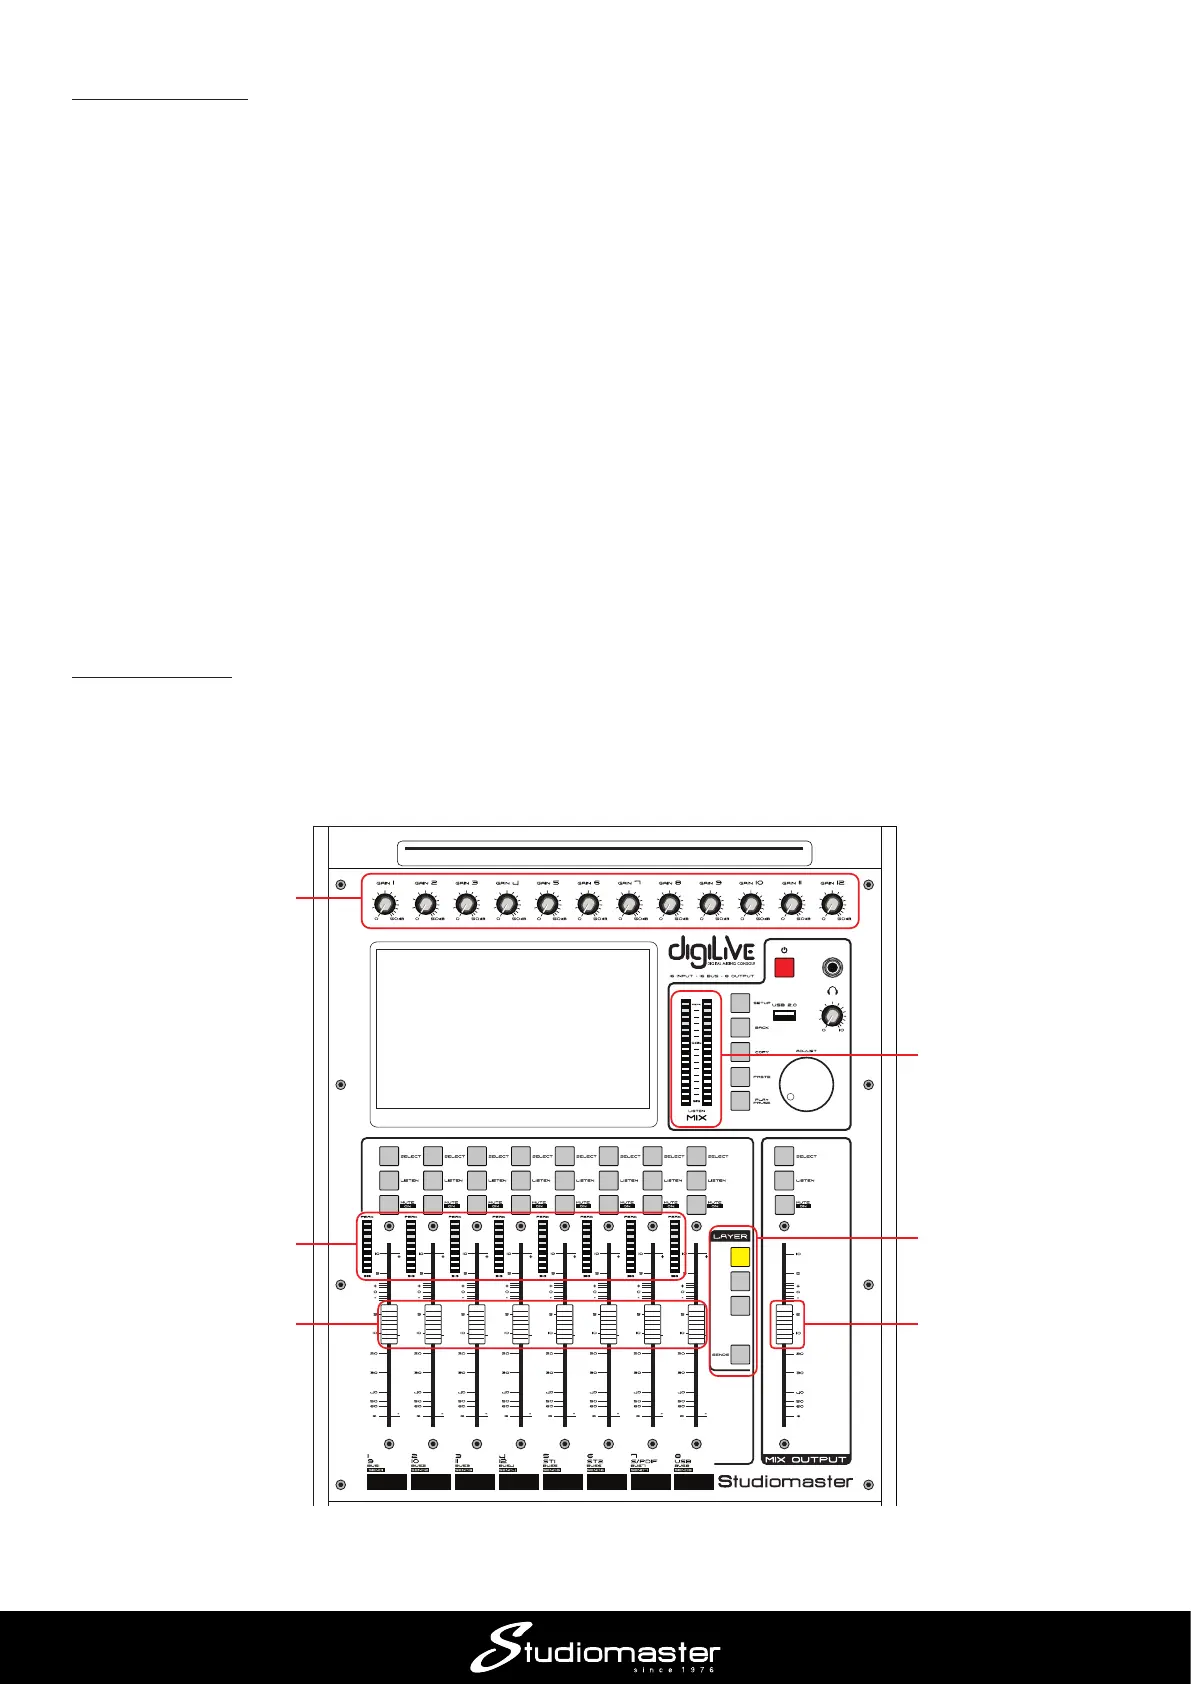
Making a mix
digiLiVE’s default conguration allows you to create a stereo mix simply by setting input channel
gain and then opening the channel and main faders. On switching on, INPUT 1-8 is selected in
the Layer section (note the button is lit), so the input channel faders, MUTE, SOLO and SELECT
buttons control Inputs 1 to 8, and the screen display shows Channels 1 to 8.
INPUT GAIN CONTROLS
INPUT METERS
INPUT CHANNEL FADERS
MIX OUTPUT FADER
LAYER BUTTONS
MIX METERS