17
SN 131766 - ...
1
1
2
3
4
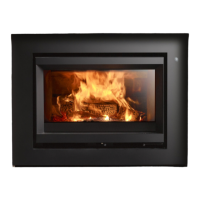
Stûv 30-compact haut - 02/14
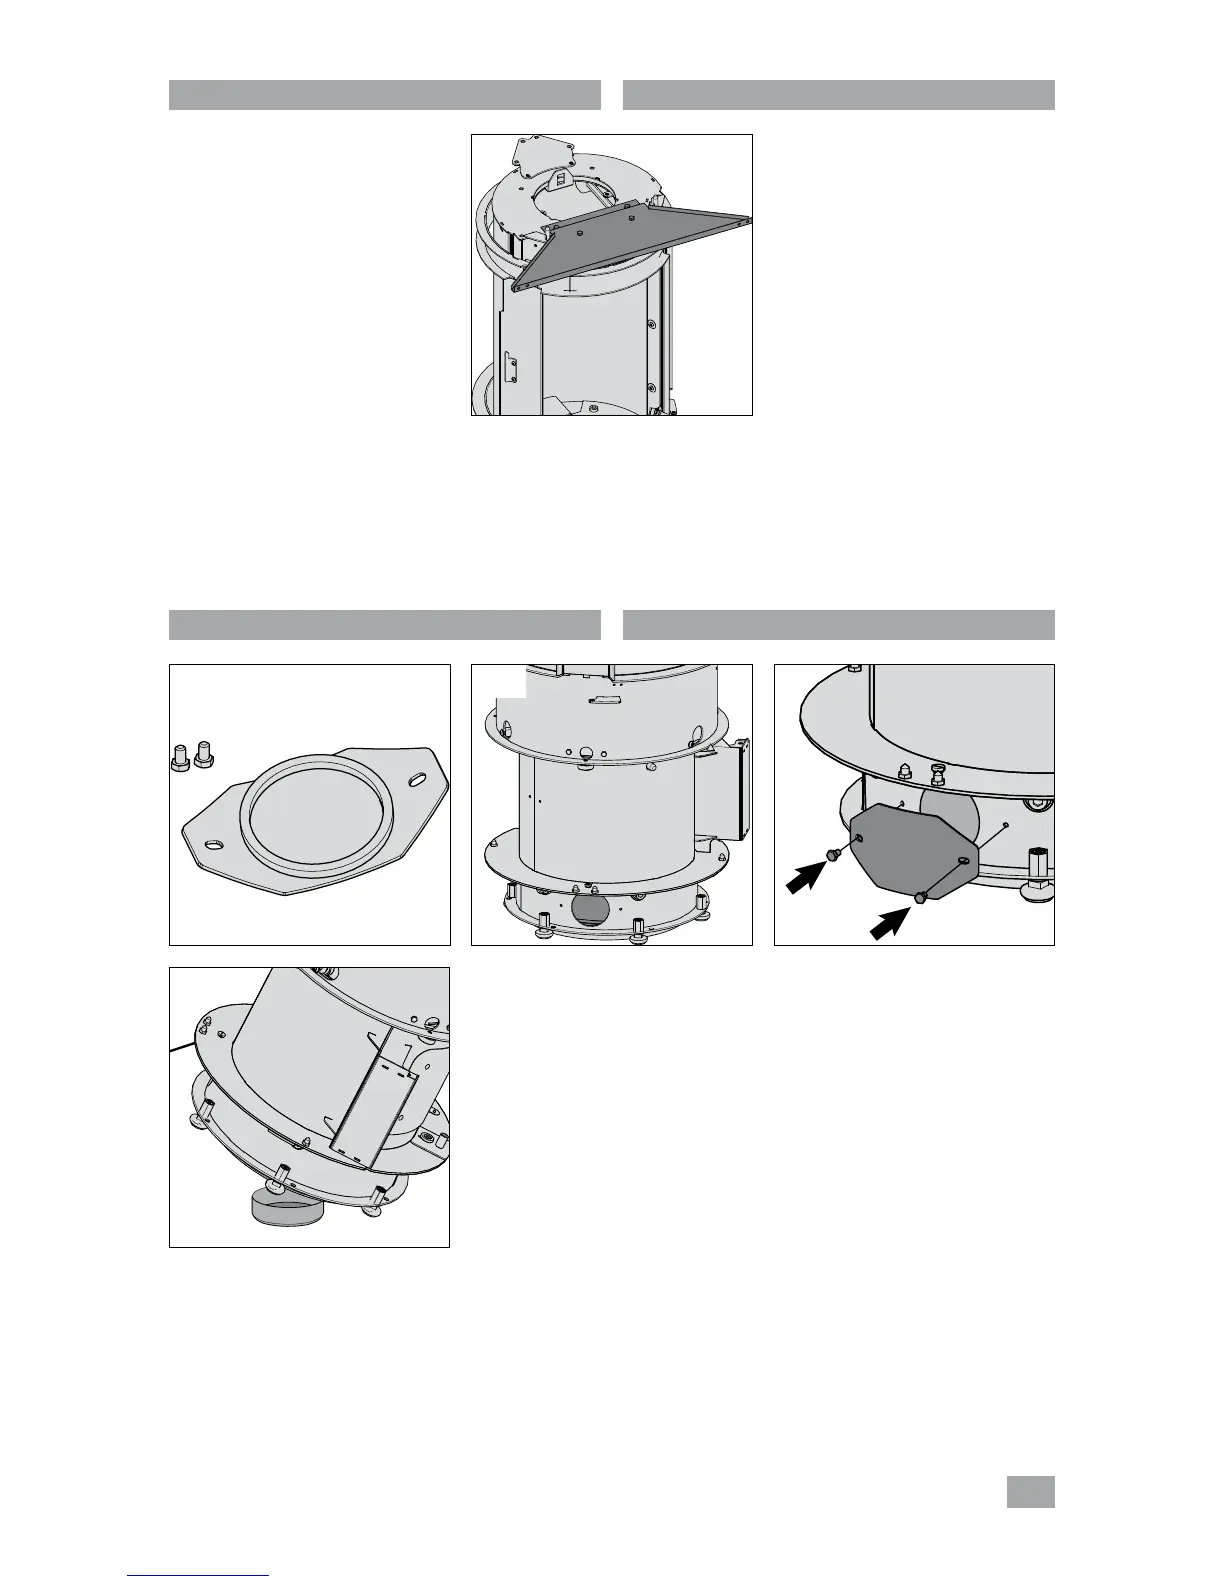
Placement définitif du foyer
Attention! Ne pas oublier de remettre la protection
transport diable avant de déplacer le foyer!
Le foyer peut maintenant être déplacé vers son
emplacement définitif:
basculer le foyer sur la face.
Attention, penser à ajouter un chiffon de protection entre
l'anneau de tambour et le diable.
Raccordement de l'air extérieur
Si vous ne raccordez pas votre foyer à l'air extérieur, passer
au chapitre suivant.
Si la connexion d'air vient du sol :
> Fixer la plaque d'obturation (à l'aide de la clef plate de
8mm et 2 vis M5x8 tête hexagonale) [photos1 à 3].
> Positionner le foyer au dessus de l'arrivée d'air extérieur
[photo 4].
> Vérifier la bonne étanchéité du joint par rapport au sol.
Final positioning of the stove
Please note ! Do not forget to put the hand-lift truck
protection back on before moving the stove !
The stove can now be moved to its final position : tilt the
stove onto its front.
Note : remember to put a soft protective cloth between the
drum ring and the hand-lift truck.
Connection with outside air
If you are not connecting your stove to the outside air, go
to the next section.
If the air connection comes from the ground :
> Fix the filling plate (with an 8mm flat spanner and 2
M5x8 hexagonal head screws) [photos 1 to 4] :
> Position the stove over the outside air inlet.
> Check that the joint is fully airtight in relation to the
floor.