19
SN 131766 - ...
12
11
1
2
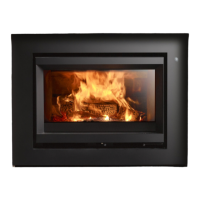
Stûv 30-compact haut - 02/14
> Préparer les 2 parements en éliminant la partie pré-
découpée inférieure (à l'aide d'une scie à métaux)
[photo11]. Ebavurer le parement avec une lime
demi-ronde.
> Mettre le foyer en place [photo12].
Raccordement de l'air extérieur (suite)
Mise à niveau du foyer
Avant de commencer, assurez-vous que le revêtement de
sol soit plat et propre.
Si le revêtement de sol n'est pas régulier, vous devrez
prendre les mesures nécessaires afin d'assurer l'étanchéité
parfaite au niveau du joint inférieur.
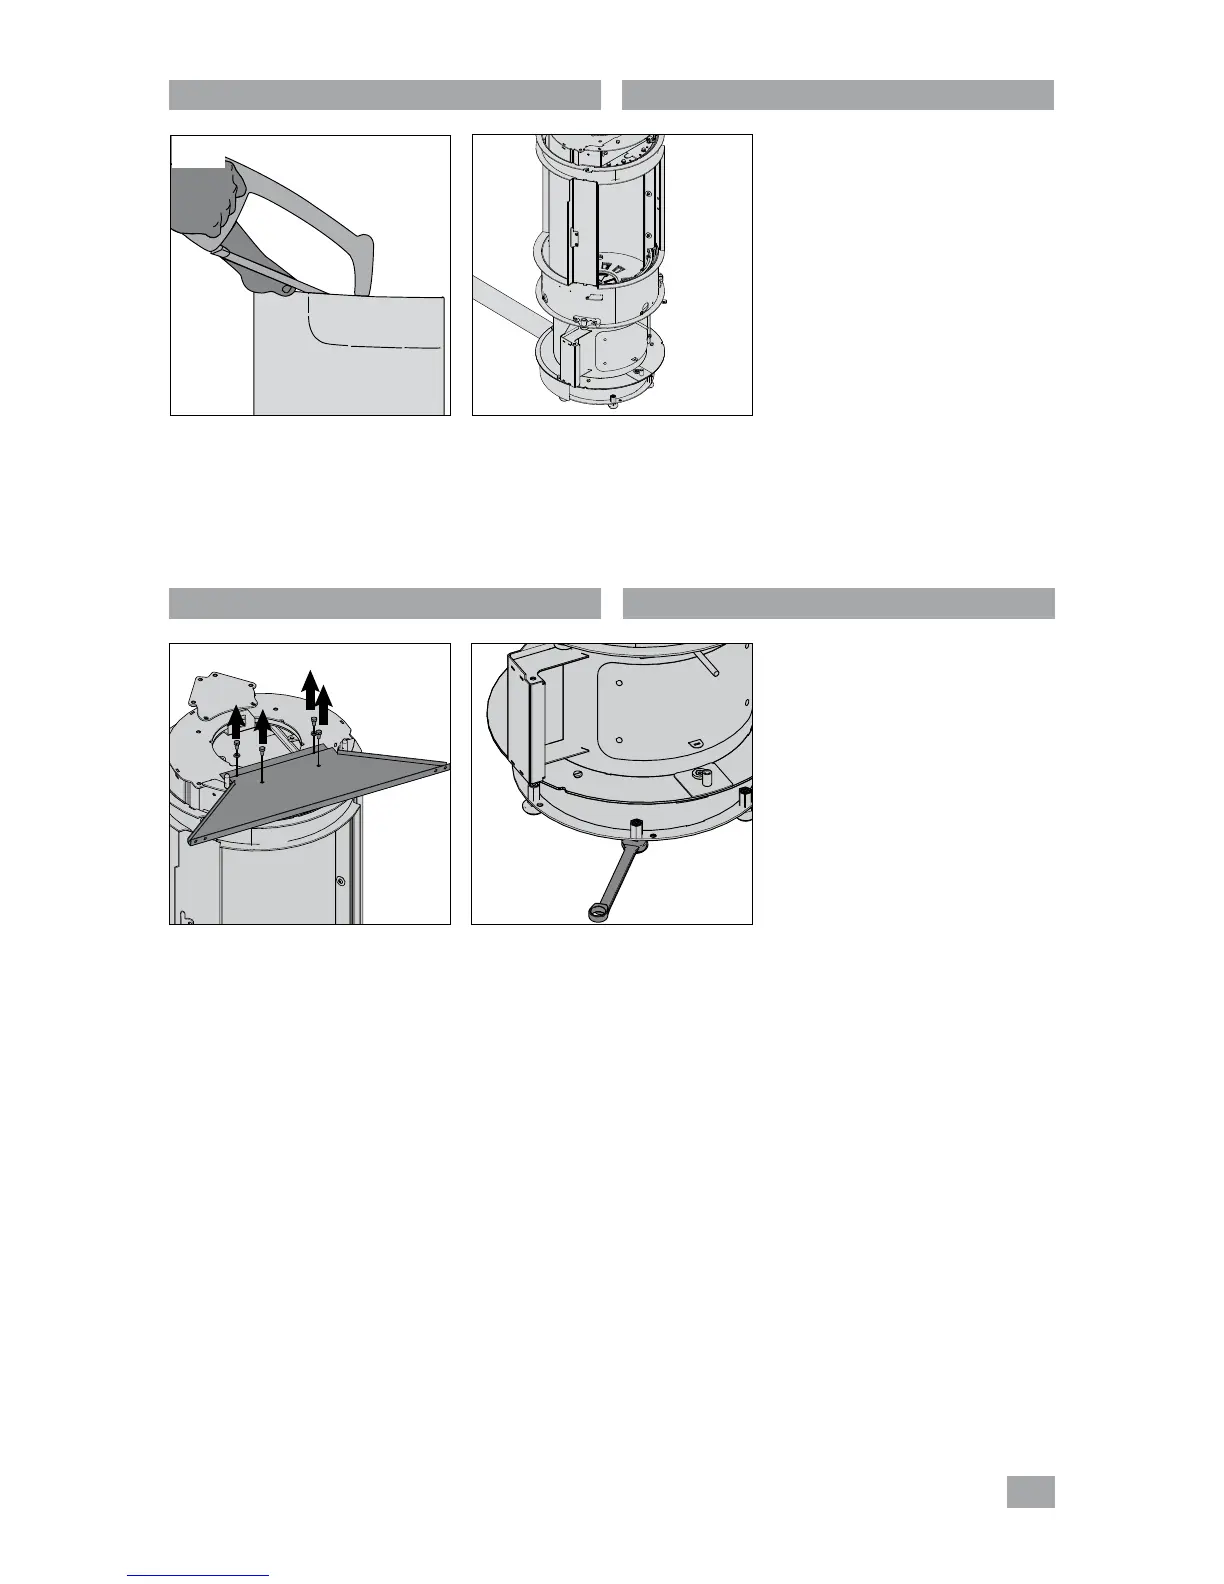
> Enlever définitivement la protection diable [photo1].
> Mettre le foyer de niveau : règler trois pieds sur les 6 (1
sur 2) en tournant dans le sens horlogique (à l'aide d'une
clé 13) [photo2]. Les trois autres pieds restent en suspend.
Attention ! Veillez à ce que le joint soit bien appuyé sur
le sol pour assurer l'étanchéité pour l'adduction d'air
extérieur.
> Prepare the 2 panels by removing the lower pre-cut part
(using a metal saw) [photo 11]. Smooth the panel edges
with a half-moon file.
> Put the stove in position
[photo 12].
Connection with outside air (continuation)
Levelling the stove
Before you start, make sure that the floor covering is flat
and clean.
If the floor covering is not level, you will have to take steps
to ensure that the lower joint is perfectly airtight.
> Remove the hand-lift truck protection for the final time
[photo 1].
> Level the stove : adjust 3 of the 6 feet (1 of each 2) by
turning them clockwise (using a size 13 spanner) [photo 2].
Leave the other 3 feet for the moment.
Please note ! Ensure that the joint is properly supported on
the ground to ensure air-tightness for outside air intake.