12
SUB-ZERO INTEGRATED USE & CARE
DRAWER STORAGE
DRAWER REMOVAL
I
MPORTANT NOTE:
B
efore removing the
top drawer from a base unit, you must first
disconnect the control cable as shown in the
i
llustration below.
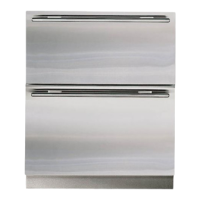
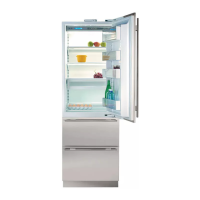
To remove a storage drawer from your
Integrated tall or base unit, pull it open until it
stops. Raise the drawer front and pull out as
shown in the illustration.
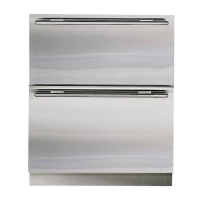
To replace a drawer, raise the front of it and
place onto the tracks. Engage the hook at the
rear of each slide with slots in the back of the
drawer tub. For 36" (914 mm) wide units, there
are tabs on each drawer that must be posi-
tioned between the hooks. Then engage the
small white pegs at the front of each drawer
slide with holes at the front of the drawer tub.
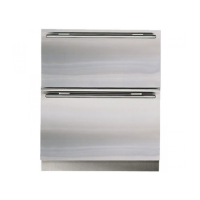
You must first disconnect the control
cable before removing the top drawer of
a base unit.
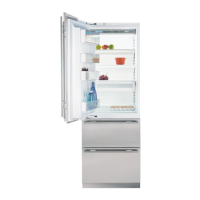
Crisper – Model 736TC(I) Control cable
disconnection
Storage drawer removal
TOP COMPARTMENT STORAGE
DELI DRAWER AND SHELF
The one-piece deli drawer and shelf assembly
in Models 700TR, 700TC(I) and 736TR is easily
r
emoved for cleaning and repositioning. The
deli drawer is convenient for storage of those
small easy-to-lose items as well as for keeping
d
eli items fresh.
Remove this assembly in much the same way
you remove the standard adjustable shelves in
the tall unit. See the instructions and illustra-
tion for Adjustable Glass Shelves on page 11.
CRISPER – MODEL 736TC(I)
The sealed crisper in Model 736TC(I) offers
convenient storage of fruits and vegetables
and comes with two dividers.
To remove the crisper,
the glass shelf must
first be taken out by lifting the glass off of the
plastic side supports. Next, lift the crisper bin
up off of the bin cradle. Refer to the illustration
below.
To replace the crisper,
place the bin on top of
the bin cradle. The groove across the bottom
of the bin should align with the crossbar at the
front of the cradle. Next, place the glass shelf
on top of the side plastic side supports.