Dimensions in parentheses are in
millimeters unless otherwise specified.8
PANEL CONSIDERATIONS
DOOR AND DRAWER PANELS
To install door and drawer panels, refer to the
instructions under Panel Installation on page
1
4. You should check panel dimensions and
placement before proceeding with installation
of the Integrated unit. If you have questions,
c
ontact your Sub-Zero dealer or cabinet
supplier. Instructions regarding sizing of the
panels are provided in the Sub-Zero Design
Guide.
IMPORTANT NOTE:
The backside of the
decorative panels will need to be finished, as
they will be exposed when the doors are open.
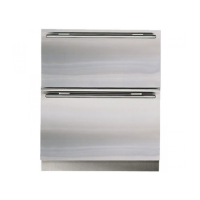
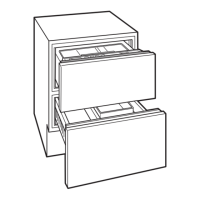
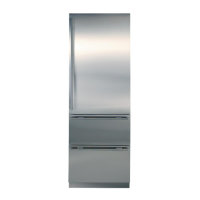
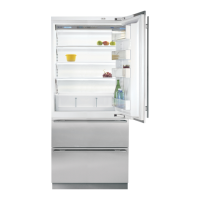
SIDE PANELS
Side panels for integrated models are not
attached to the unit. You must securely fasten
the panels to adjacent cabinets and floor.
Panels should be fastened to the floor and
walls using ’L’ brackets (hardware not
provided). To help you move the unit into
place, rout out an area in the floor so the ’L’
bracket will sit flush with the floor level.
Brackets and screws are provided for
mounting the unit to adjoining cabinets and
side panels. On the tall units, there are four
side mounting clips on each side and on the
base units, there are two per side. Side panels
must be a minimum of
3
/4" (19) thick.
IMPOR
T
ANT NOTE:
For installations wher
e
you are not attaching
to a side wall or you ar
e
installing two Integrated units together, you
must r
emove the clips before moving the unit
into place. After removing the clips, r
eplace
the screws in the holes and discard the clips.
Optional components are necessary for
anchoring two Integrated units together. Refer
to Dual Installations on page 17. Optional
installation components are available through
your Sub-Zero dealer. You can also visit our
website at subzero.com.
UNPACKING AND MOVING
Uncrate the unit, remove its wood base and
d
iscard the shipping bolts that hold the wood
base to the bottom of the unit. Remove all
packing materials and tape.
IMPORTANT NOTE:
Do not discard the
kickplate/grille, anti-tip bracket and hardware.
T
hese items will be needed for the installation.
Retract the front leveling legs to allow you to
move the unit more easily during installation.
You will extend the leveling legs when the unit
is in its final position to reduce the possibility
of the unit tipping forward.
Use an appliance dolly to move the Integrated
unit. Position the dolly at the side of the unit to
prevent damage to finished surfaces. Secure
the door and/or drawers so they do not open
while moving the unit.
INTEGRATED INSTALLATION INSTRUCTIONS
PANEL
DESIGN
Additional panel
design information
can be found in
the Sub-Zero
Design Guide.
Check our website
at subzero.com.
Before moving the Integrated unit into
position, protect any finished flooring
with appropriate materials.
 Loading...