12
Removing the grille
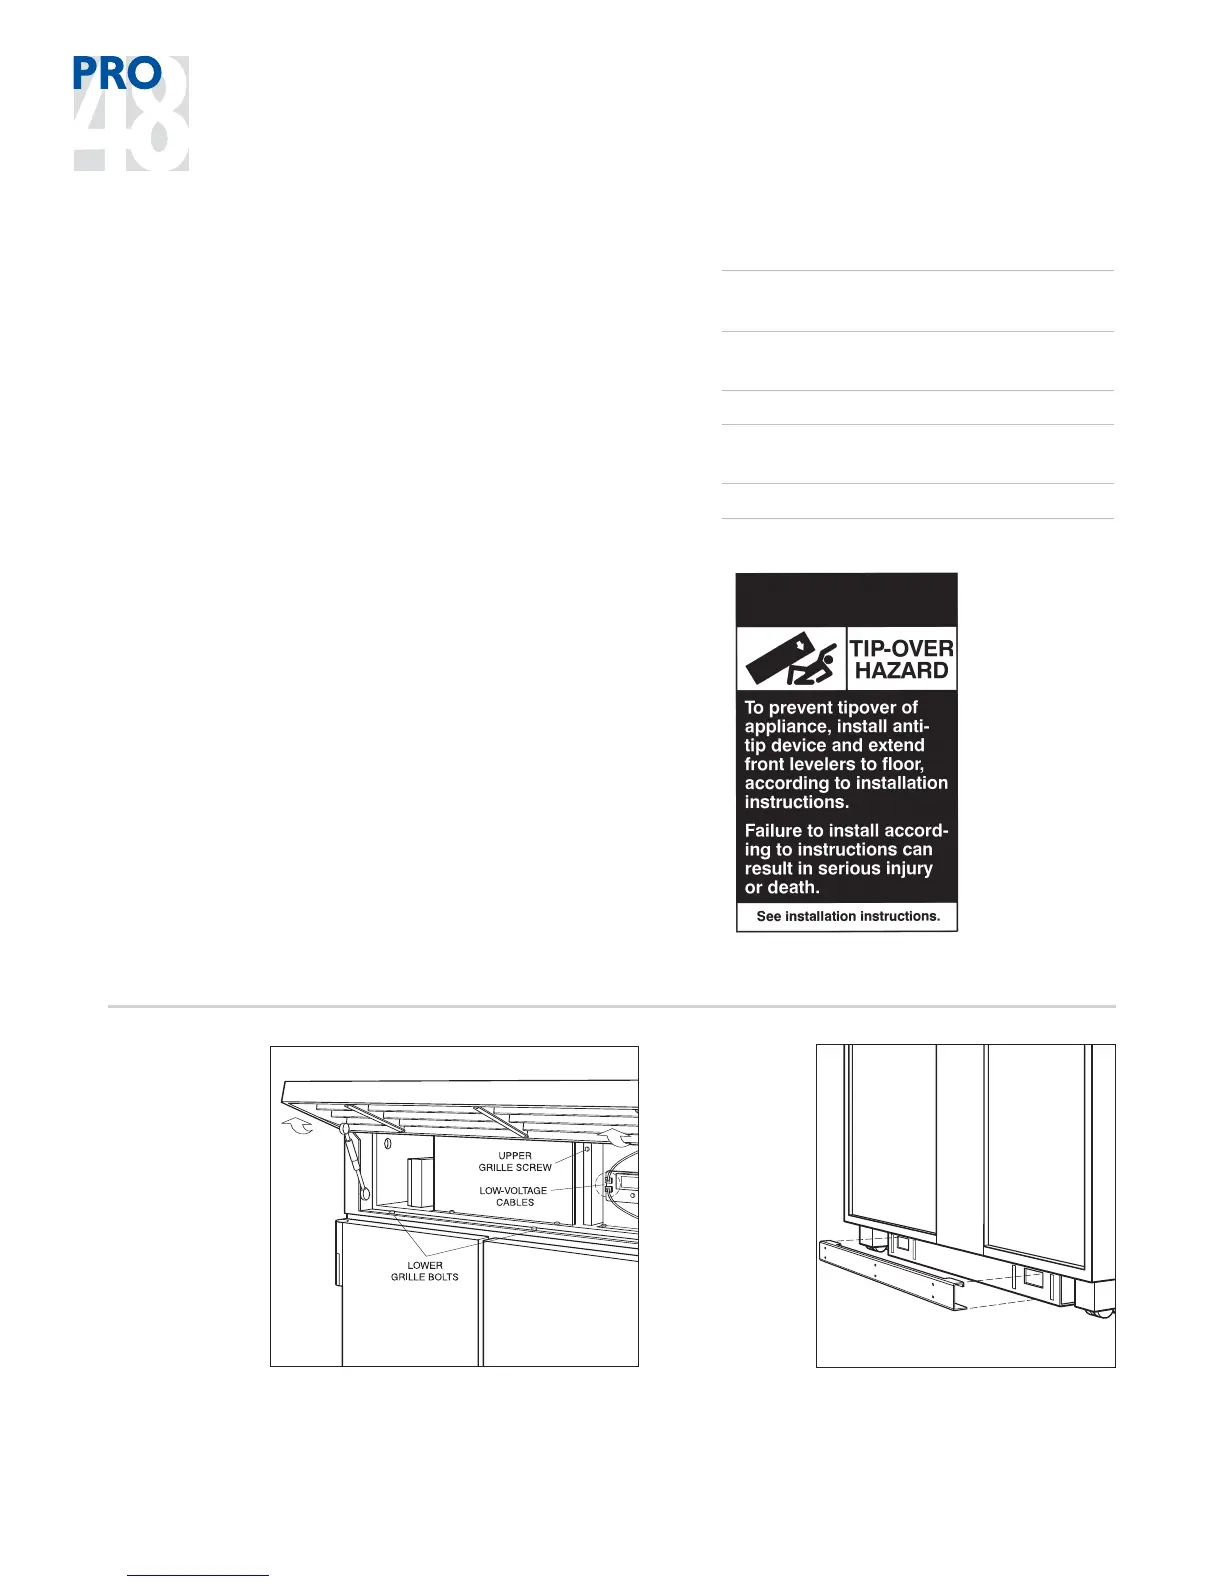
REMOVING THE GRILLE
In order to prevent damage to the grille, the
top grille assembly should be removed prior
to moving the unit.
To remove the grille assembly, pull out on the
bottom edge of the grille and tilt the grille
frame forward. Disconnect the low-voltage
cable which connects the exterior temperature
displays on the grille to the display module,
and cut the two white cable ties which attach
the network cable to the right grille support.
These cables ties should be replaced once the
unit is properly installed with the extra cable
ties provided in this package. Remove the
three 11 mm bolts from base of the grille.
Remove the screw from the upper grille area to
remove the grille assembly. Refer to the illus-
tration below.
ANTI-TIP BRACKET
INSTALLATION
Anti-tip bracket alignment
ANTI-TIP HARDWARE INCLUDED
12 12 x 63.5 mm PN HD
Wood Screw 6201190
3 9,52 mm x 95,25 mm
Trubolt Anchor 6110620
12 #12 flat washer 6240040
3 #8–18 x 31,75 mm
AB PH HD Screw 6201520
3 Nylon Zip-It Wall Anchor 6160390
PRO 48 INSTALLATION INSTRUCTIONS