16
6B Kick Drops
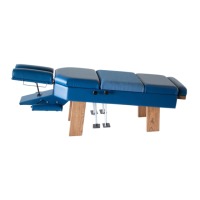
1. You will have been provided an appropriate
number of kick drop pedals with your table. Each
pedal is attached to a down rod. That down rod
has a 5/8 inch nut on it and a single lock nut above
it. Please consult the picture to the left.
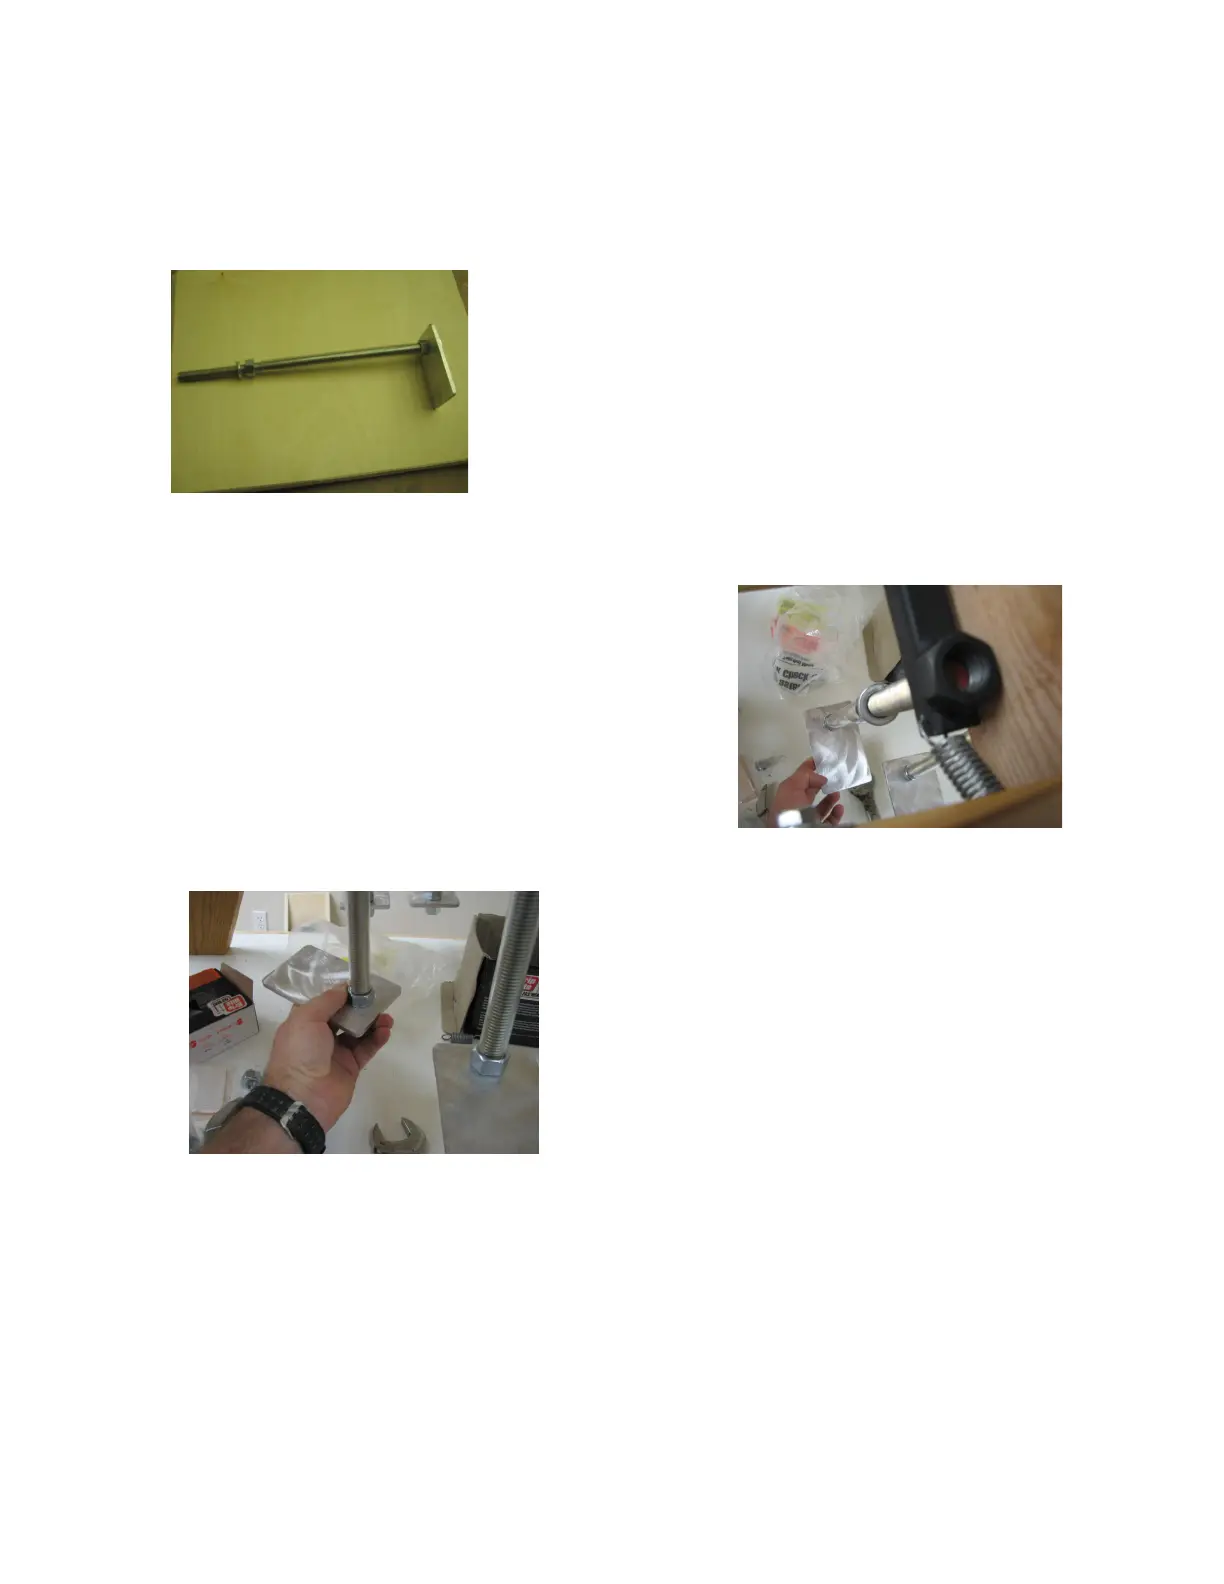
2. Take the down rod and loosely insert it into
the kick drop receiver which can be accessed
from the bottom of the table (see picture to the
right).
On tables with both thoracic and lumbar
drops, it will be necessary when installing the
second pedal to push the pedal back and
cock the drop. Then holding the pedal to the
rear you will be able to screw the down rod
into the receiver.
Now simply screw the down rod in until it is
flush with the top of the nut (see pictures to
the left.)
To make it easy you can use the pedal as a
handle to turn the rod. In some cases it may
be a bit stiff and the pedal may turn a but, but
this is OK.
Also note that you may need to jiggle the rod
a bit until it starts into the threads. If it turns
very hard, back it out and try again to avoid
cross threading the nut.
***The pedals have been designed to rest
approximately 4 inches above the floor.
This is to allow for good shoe clearance.
Should you need longer down rods, please
contact us.****