6
With the table upside down, place the wedge over the
front of the table and pull it all the way forward.
On your table there will be a black line with two arrows
that will line up with the rear of the triangle attachment
plate.
Insert the lag screws into the holes, and using a socket
wrench, tighten them to the table (be careful not to over-
tighten).
Please note that the plate will not tighten flush with the
attachment surface. It is designed to “wedge” and will
install at a slight incline with a gap between the attach-
ment plate on the triangle and the attachment surface of
the table towards the front of the wedge. This will cause
the triangle to tip forward and transfer all of the down-
ward force put on the wedge to the table frame.
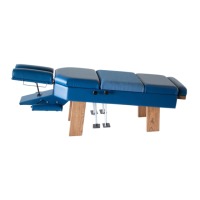
Step 2: Attaching the Legs
All adjusting tables will need their legs at-
tached. The legs are attached using twelve 3"
Bolts w/ split lock washer, flat washer and
fender washer. Each leg has a letter written
on it corresponding to its position on the table
frame.