12
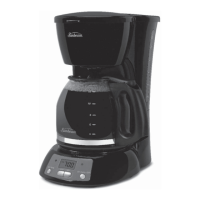
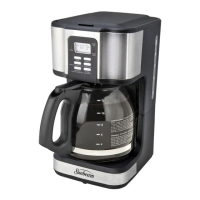
C. Adding Water and Ground Coffee
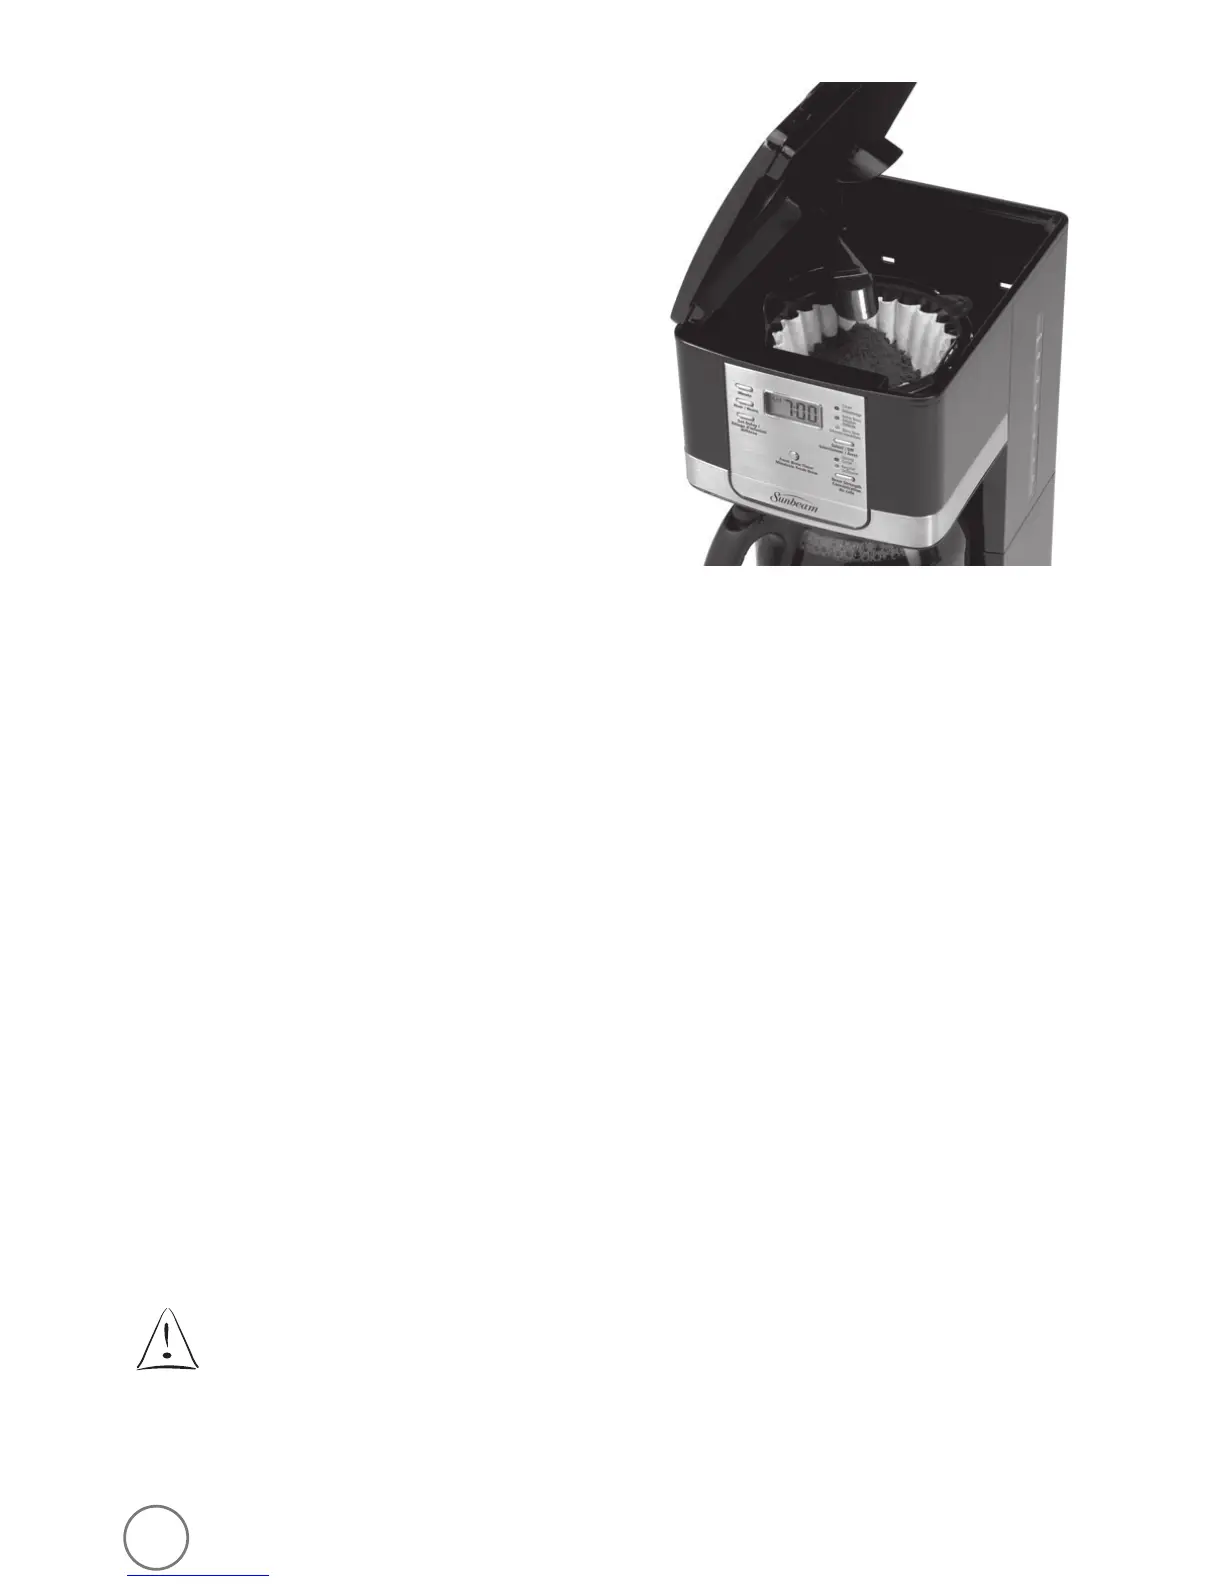
1. Open the brew basket lid. For your
convenience, you can lift out the removable
filter basket.
2. Place a 10-12 cup paper basket-style filter
or a permanent filter into the removable
filter basket (Figure 5).
NOTE: If using paper filters, it is important that
the sides of the filter fit flush against the side of
the filter
basket. If filter collapse occurs, dampen
the filter before placing in the filter basket and
adding ground coffee and water.
3. Add the desired amount of coffee and
gently shake to level the coffee. See the
Suggested Coffee Measurement Chart.
4. After following instructions in the Water Filtration System, place the SUNBEAM
®
water filter in the basket (not available on all models), making sure that the side
marked “this side up” faces you and that the water filter is level.
5. Be sure the removable filter basket is properly centered and all the way down in
the brew basket and close the lid.
6. Fill the decanter with cold, fresh water to the desired capacity (1 cup equals 5 ounces)
For easy and accurate filling, the water markings on the glass decanter and on the
water window show the amount of water needed to make the corresponding
desired number of cups. Do not fill past the “12 cup MAX line” or water will flow
out of the overfill hole in the back of the coffeemaker.
The amount of coffee brewed will always be slightly less than the amount of water
poured in the water reservoir. This is due to the minimum absorption of water by
the coffee grounds.
7. Lift the pour through reservoir lid and pour the water into the water reservoir.
Close the lid and place the empty decanter onto the warmer plate.
NOTE: Make sure the decanter is fully placed on the warming plate or the water and
the grounds will overflow from the filter basket. An overflow may cause personal
injury or damage to property.
CAUTION! To reduce the risk of damaging the decanter and/or the risk of
personal injury, do not add cold water to the decanter if the decanter is
already hot. Allow the decanter to cool before using.
F
IGURE
5
33
INFUSION IMMÉDIATE DU CAFÉ
1. Après avoir agi tel qu’indiqué sous Addition
d’eau et de mouture de café et la verseuse
ainsi que le panier-filtre étant placés tel que
préconisé, appuyez une fois sur la touche SELECT
(sélection). Le voyant lumineux vert BREW NOW
(infusion immédiate) s’allumera, signalant que la
cafetière est sous tension et qu’elle filtre le café
(figure 6).
2. Si vous désirez déguster un café plus corsé,
appuyez une fois sur la touche Brew Strength de
concentration du café. Le voyant rouge STRONG
(café corsé) s’allumera. Ce réglage sera maintenu
jusqu’à ce que vous le changiez au réglage de
café ordinaire en appuyant de nouveau sur la
touche de concentration du café ou jusqu’à ce
que vous débranchiez la cafetière (figure 7).
3. Quand le marc de café a refroidi, sortez
prudemment le panier-filtre et jetez le marc.
REMARQUE: Laissez toujours refroidir la cafetière
avant d’entreprendre son nettoyage.
FIGURE 6
F
IGURE 7
 Loading...