EasyManua.ls Logo

Sunbeam Mini Barista EM4300 User Manual

Sunbeam Mini Barista EM4300
2 pages
To Next Page IconTo Next Page
Page #1 background imageLoading...
Page #1 background image
HOT
WATER
STEAM
ON /OFF
READY
ONE
CUP
ONE CUP
TWO CUP
S
INSERT
THERMOBLOCK
58MM CAFÉ GROUP HEAD
HOT
WATER
STEAM
TWO
CUP
STEAM
HOT
WATER
RETURN
INSERT
2.TURN
1. ALIGN
ONE CUP TWO CUP
MAX
2 L
MIN
S
INSERT
THERMOBLOCK
58MM CAFÉ GROUP HEAD
Quick Coffee Making Guide
1 L
1
Min
ON /OFF
OR
Check for water in
reservoir.
Keep Group Handle flat,
insert into Group Head
& turn to centre position.
Turn on.
Select either:
- One Cup Filter Basket.
- Two Cup Filter Basket.
ON/OFF LIGHT pulses
= Heating up.
Turn DIAL to either:
- One Cup - 30mL pour.
- Two Cup - 60mL pour.
Evenly tamp (press) grinds to
the level indicated.
READY LIGHT flashes
= Pour finished.
Return DIAL.
Leave Group Handle
in Group Head, until
after milk texturing.
Extraction begins
& will automatically
stop.
ON/OFF & READY LIGHTS are both
fully illuminated = Ready.
1. Start Up
3. Dose & Tamp2. Select Filter Baskets 4. Insert Group Handle
5. Extraction
Before First Use:
Wash parts. Prime machine by
running water through the Group Head.
See User Guide page 5 for details.
EM4300
Question and Answer IconNeed help?

Do you have a question about the Sunbeam Mini Barista EM4300 and is the answer not in the manual?

Sunbeam Mini Barista EM4300 Specifications

General IconGeneral
BrandSunbeam
ModelMini Barista EM4300
CategoryCoffee Maker
LanguageEnglish

Summary

1. Start Up

Check Water Level

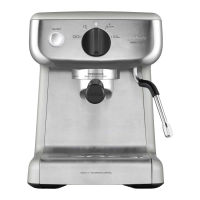
Verify the water in the reservoir is between the MIN and MAX levels.

Machine Heating and Readiness

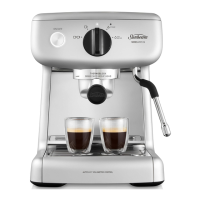
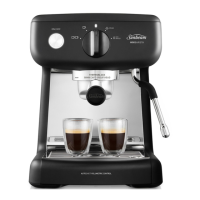
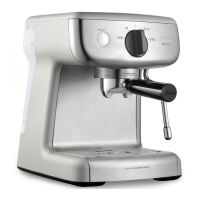
Observe the ON/OFF and READY lights for heating status and readiness indication.

2. Select Filter Baskets

Choose Filter Basket

Select either the One Cup or Two Cup filter basket for brewing.

3. Dose & Tamp

Dose and Tamp Coffee Grounds

Fill the selected filter basket with coffee grounds and tamp evenly to the indicated level.

4. Insert Group Handle

Insert and Lock Group Handle

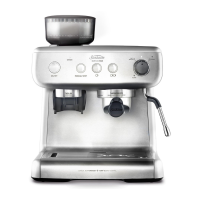
Align the group handle, insert it flat into the group head, and turn to the centre position.

5. Extraction

Select Pour Volume

Turn the dial to select either 30mL for one cup or 60mL for two cups.

Extraction Process and Completion

Extraction starts automatically and stops when the set volume is reached, indicated by flashing READY light.

6. Prep Milk Jug

Prepare Milk Jug

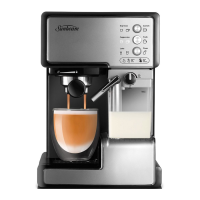
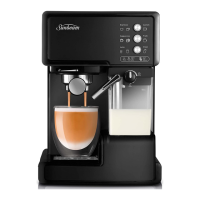
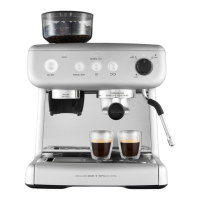
Fill the milk jug with cold milk, ensuring the level is just below the bottom of the spout.

7. Before Texturing Milk

Prepare Steam Wand

Turn dial to STEAM. Observe STEAM LIGHT flashes for warming up.

Steam Readiness

STEAM LIGHT ON indicates Steam Ready. Pause steaming by returning the dial to vertical position.

8. Milk Texturing

Steam Wand Positioning

Insert steam wand tip just below milk surface, position arm at 12 o'clock, tip at 3 o'clock.

Start Milk Texturing

Turn dial to STEAM to begin texturing. Milk is ready when jug is hot to touch for 3 secs.

Stop Milk Texturing

Return the dial to the vertical position once milk texturing is complete.

9. Purge & Clean Steam Wand

Purge Steam Wand

Turn dial to HOT WATER for 1-2 seconds to purge the steam wand.

Clean Steam Wand

Wipe the steam wand and tip with a damp cloth after purging.

10. Cleaning Up

Remove Spent Coffee

Remove the spent coffee cake from the Group Handle after brewing.

Related product manuals