EN-5
Refer to the user manual for detailed instructions!
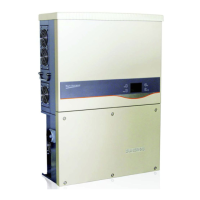
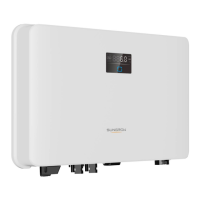
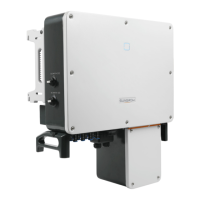
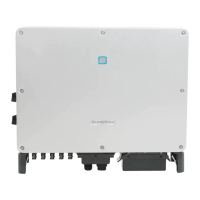
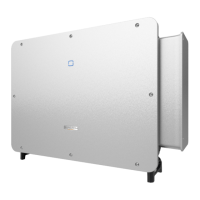
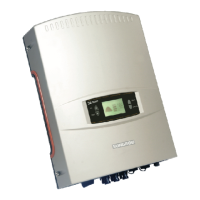
The images shown here are indicative only. The actual product may differ.
Specifications are subject to changes without advance notice.
3
Commissioning
EN-6EN-4
SG3_4_4.6_5KTL-M-QIEN-Ver15-201310 Version1.5
QIEN F-H-001374
b) Connect RS485 to 5-pin terminal
c) Connect RS485 to RJ45 terminal
7. Several communication methods are
a) Connect WiFi to 5-pin terminal
RS485/WiFi
1
2
3
4
5
RS485/WIFI
Pins definition:
1 Vcc(+5V)
2 A RS485
3 B RS485
4 GND
5 Null
2
3
1
RS485/WiFi
Yellow-green to pin4
Red to pin2
Black to pin3
Front connector
Water-proof
terminal
Cable
gland
RJ45 plug
1----8
3
6
Pin 1: White-orange;
Pin 3: White-green;
Pin 5: White-blue;
Pin 7: White-brown;
Pin 2: Orange;
Pin 4: Blue;
Pin 6: Green;
Pin 8: Brown.
Corresponding Relationship Between
Cables and Pins:
Pin 3 and Pin 6 are used for communication.
- Pin 3 to RS485-B
- Pin 6 to RS485+A
12345678
RS485 +A
RS485 -B
RJ45 Port
If several inverters need communication conguration, connect them as shown below.
SolarInfo Logger
RS485
SolarInfo Logger
RS485
RS485-232 converter
RS232
PC
RS232
PC
RS232
RS485
Inverter 1
RS485 RS485/WiFi
5-core terminal
RJ45 terminal
Inverter 2
RS485 RS485/WiFi
5-core terminal
RJ45 terminal
Inverter n
RS485 RS485/WiFi
5-core terminal
RJ45 terminal
A
Shielding layer is
grounded
120Ω
Pin 2
Pin 3
Inverter 1
RS485 RS485/WiFi
5-core terminal
RJ45 terminal
Inverter 2
RS485 RS485/WiFi
5-core terminal
RJ45 terminal
Inverter n
RS485 RS485/WiFi
5-core terminal
RJ45 terminal
WiFi
B
Shielding layer is
grounded
120Ω
White-green
green
15.6
2O12/O1/31 1O:3O
4.OOO
4976
Run
kWh
kW
E-day
E-tot
P-ac
State
P[%]
1OO
8O
6O
4O
2O
O
8 14 2O t
kWh
▼
Com-param
Address
RF address
Com-param
Address: 001
Set-param
Password: 1111
Are you sure
to set it ?
Set complete!
▼
PV config mode
Password: 111111
PV config mode
[0]Independent mode
[1]Parallel mode
Sys-param
Run-param
Pro-param
Com-param
PV config mode
▼
RF address
00 00 00 00
▼
Com-param
Address
RF address
▼
His-inform
Start/Stop
Set-param
ENT
ENT
ENT
ENT
ENT
ENT
ENT
ENT
ENT
Only qualied personnel are allowed to adjust or congure parameters related to system protection .
Press for less than two seconds
Press for more than two seconds
Press for less than two seconds
Press for more than two seconds
Button Operation Description
“ESC/▼”
“ENTER/ ”
▼
Move the arrow upwards/downwards, or scroll to set value.
It is referred to as “Short press ESC/▼” hereinafter.
Return to the parent menu or cancel the command.
It is referred to as “Long press ESC/▼” hereinafter.
Move left or right or turn pages.
It is referred to as “Short press ENTER/ ” hereinafter.
Enter into the sub-screen or conrm the command.
It is referred to as “Long press ENTER/ ” hereinafter.
▼
▼
1. Before starting the inverter, make sure all installation and connections are completed and veried.
2. Close the external AC circuit breaker.
3. Rotate the DC switch to the “ON” position.
5. When the initial conguration is completed, inverter will enter into startup process.
6. Perform the following operation to set the communication address for the inverter.
Default menu ( Long press ENTER ) → Menu screen ( Short press ▼×2 ) → Set-param ( Short press
ENTER ) → Enter password ( Long press ENTER, Short press ▼×3 ) →Set Com-param ( Short press
ENTER to set Address or Short press ▼ then Short press ENTER to set Wireless Address ).
Main screen ( Long press ENTER ) → Menu screen ( Short press ▼×2 ) → Set-param ( Short press
ENTER ) → Enter password ( Long press ENTER, Short press ▼×4 ) →PV cong mode ( Short press
ENTER to set the password 111111 ) → PV cong mode ( Short press ENTER or Short press ▼ then
Long press ENTER to choose PV conguration mode ) → Conrm PV conguration mode ( Long
press ENTER).
The range of communication address is from 1 to 247.
1) If the inverter’s commissioning succeeds, “RUN” indicator will be on and “ ” in the LCD will
display “Run”.
State
4. Provided that there is sucient sunlight, the inverter begins to initialize and the LCD is activated.
Press buttons to congure initial inverter parameters.
2) If inverter’s commissioning fails, “ FAULT ” indicator will be on. “ ” in the LCD screen will
display the type of fault. Long press ENTER to view “current fault” information. Refer to the user
manual for troubleshooting. Repeat the above procedures for inverter commissioning.
State
120Ω
 Loading...