5
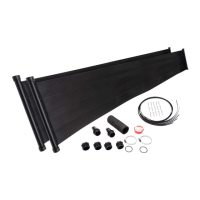
Additional parts required
• Flexible pool hose or rigid PVC pipe. Length dependent on distance from pool pump to solar panels.
• Metal collars (Hose clamps) - Quantity dependant on installation.
• For rack or roof placement a mounting kit (part # SQ-RMK5) is required
Tools required
• Flat head screwdriver.
• For rack or roof placement: a utility knife, a power drill and silicone sealant.
PANEL ASSEMBLY
1. Choose placement for your solar panel(s). Make sure that it will be in the sun for most of the day. The area should be
clear of sharp objects.
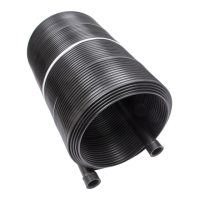
2. Take the panel out of the box, remove the strap from panel and let the panel sit in the sun for approximately 30
minutes so it will become flexible.
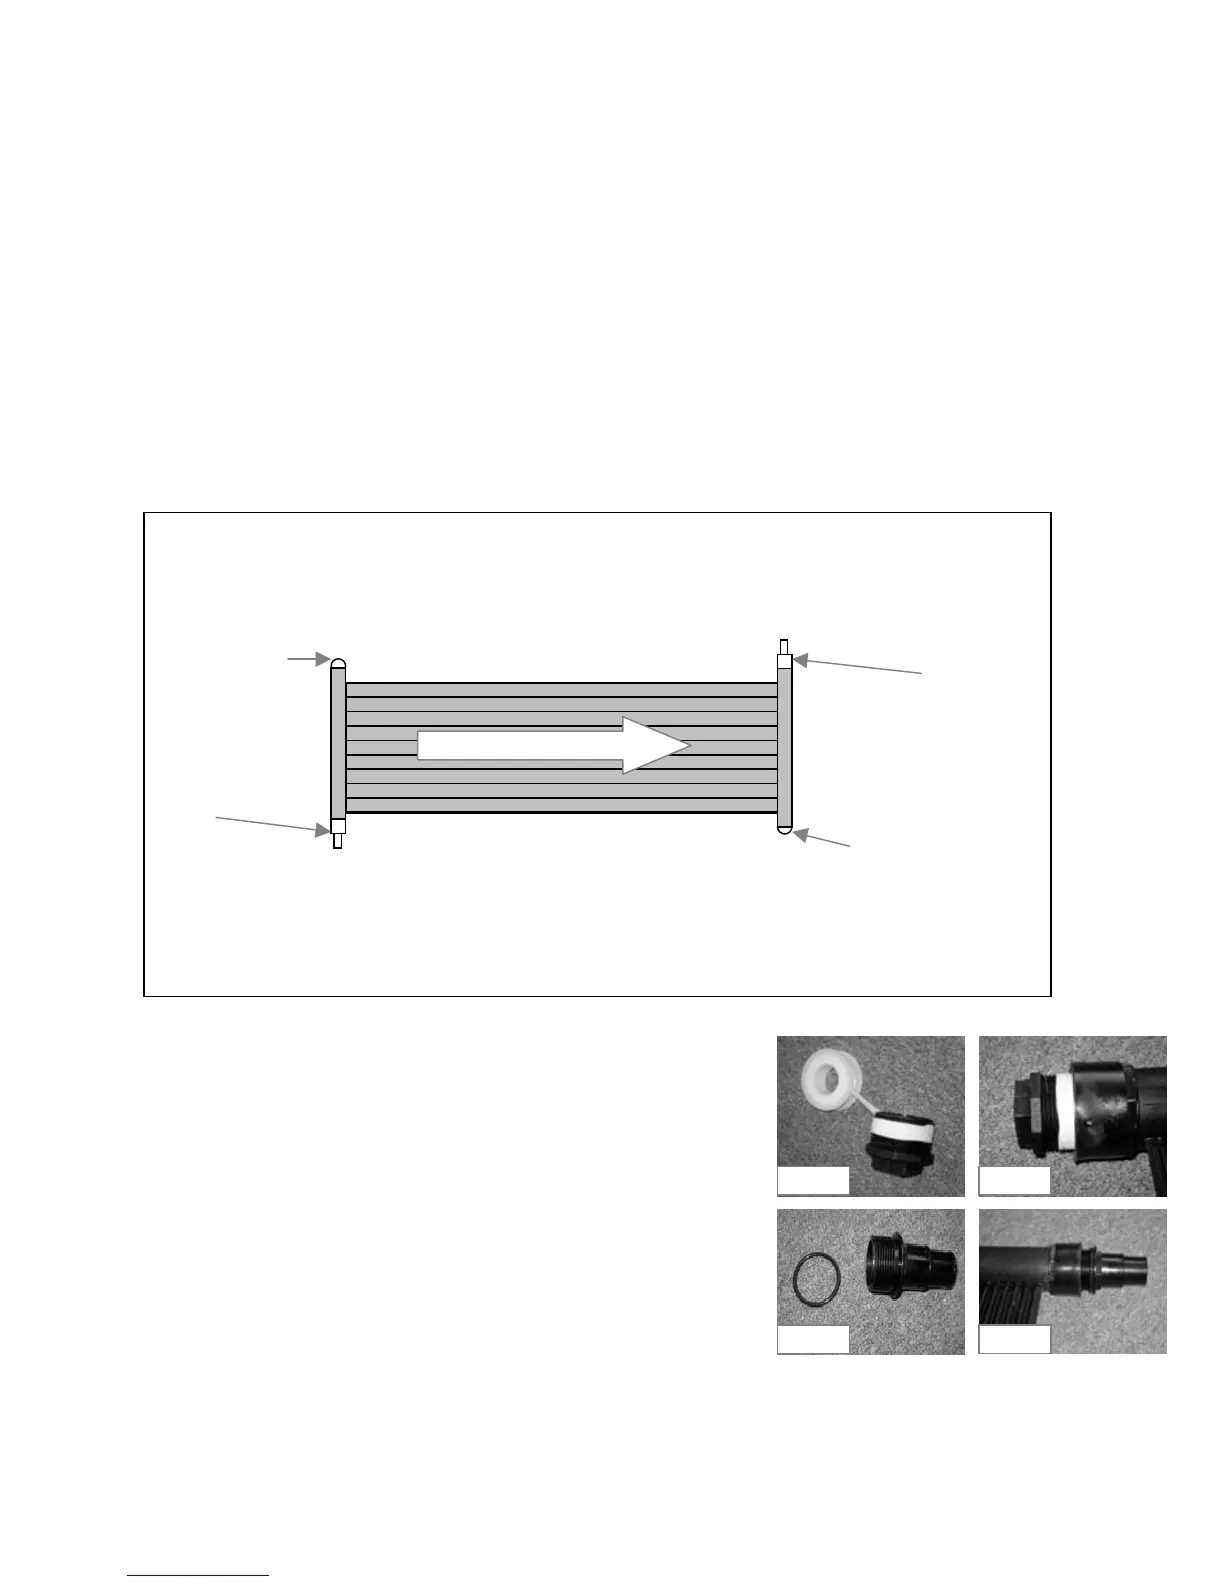
3. a) Installation: one system on ground.
Diagram Step 3a
• Apply Teflon tape to threads of 2 caps (SK-FTG-F )
See Fig 3a-1
• Thread 2 caps into the panels as per Diagram Step 3a.
Do not over tighten. See Fig 3a-2
• Put "O" rings (SK-FTG-I ) on both combination adapters (SK-
FTG-D) See Fig 3a-3
• Thread both combination adapters into the panels as per
Diagram Step 3a. Do not over tighten. See Fig 3a-4
3 b) Installation: one system on rack or roof. (Horizontal only)
Fig 3a-1 Fig 3a-2
Fig 3a-3 Fig 3a-4
Inlet
Outlet