While holding the base section in one hand, pull the lower half of the display front towards you to pivot it away from
the base.
Using the wire nuts included with the thermostat:
Connect the ground wire from the power supply to the ground wire from the floor heating power lead. If the
electrical box is metal, use a short length of wire to connect ground wires to the bonding screw.
Connect the white wire labeled LOAD 2 on the thermostat to the white (or blue for 240 VAC) wire from the
heating mat or cable power lead.
Connect the black wire labeled LOAD 1 on the thermostat to the black wire from the heating mat or cable power
lead.
For 120 VAC connections, the L wire connects to the black (L) hot conductor from the breaker panel. The N wire
connects to the white (N) neutral conductor.
For 240 VAC connections, the L1 connects to one side of the 240 VAC supply from the breaker panel and the
L2 to the other.
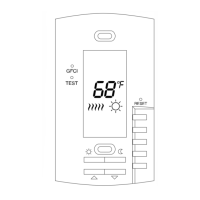
Sensor, relay and home automation connections are made to the terminal block by inserting the wires into the square
openings and tightening the screws on the side.
Connect the sensor wires to the SENSOR terminals on the thermostat. These connections are not polarity
sensitive.
For a SunStat Relay C3, connect 2 wires from the relay to the Com and Relay terminals on the thermostat.
Ensure the Com wire at the relay is the same conductor connected to the Com terminal on the thermostat.
Connect the Away and Com terminals to the appropriate conductors from a home automation system. Refer to