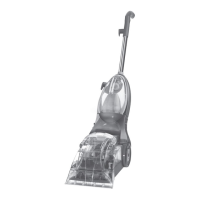
04 SUPERHERO CARPET SHAMPOOER
Assembly and Use
The appliance should be switched o and
disconnected from the mains supply before you
start to assemble.
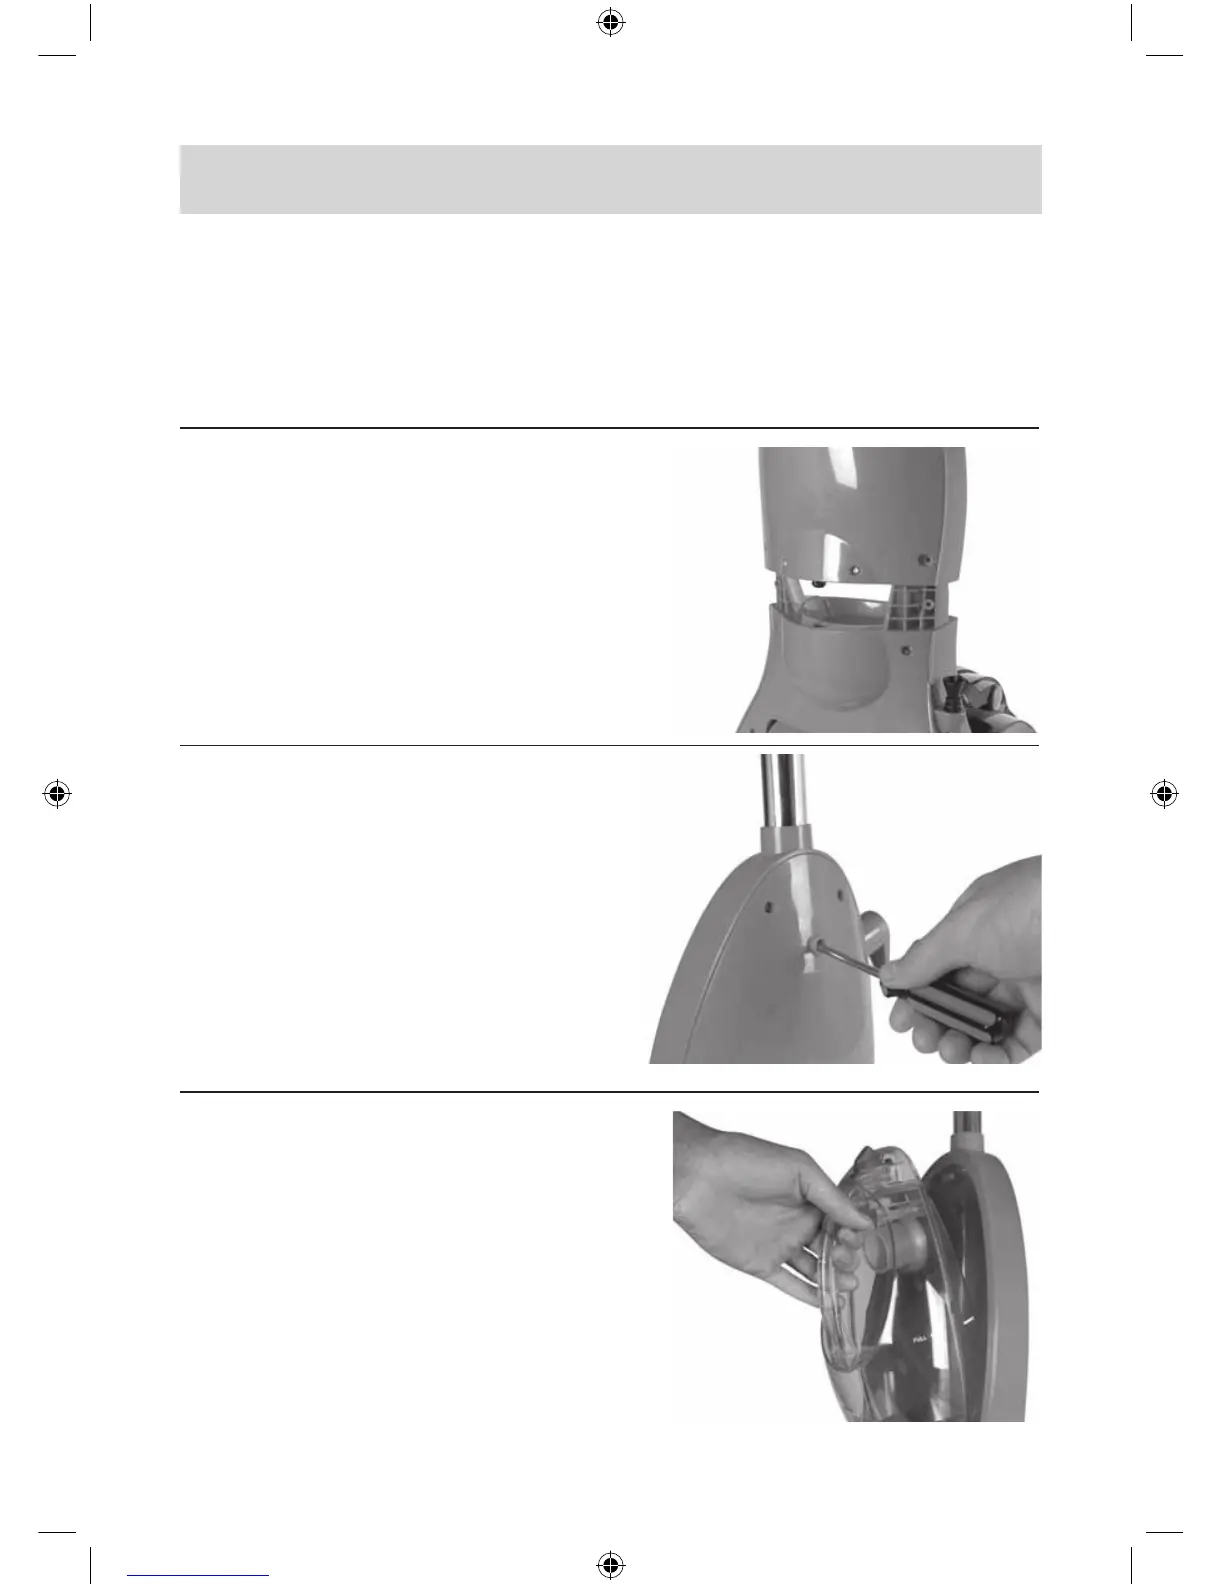
1. Assembly
a. Line up mid-section with base unit and slot into
place. Insert and tighten screws to x into place.
See g. 1
b. Insert handle into mid-section ensuring that the
solution trigger is at the back of the appliance.
Slot handle into neck, insert and tighten screw
to x into place.
See g. 2
c. Insert clean water tank and appliance is fully
assembled.
See g. 3
02 HOME HERO CARPET SHAMPOOER
HOME HERO CARPET SHAMPOOER
03
1
2
3
4
5
6
1. Trigger
2. Rod
3. Clean water tank
release button
4. Clean water tank
5. Dirty water tank
release latch
6. Dirty water tank
Parts and coMPonents descriPtion asseMbling Your
cleaner
The appliance should be switched
o and disconnected from the mains
supply before you start to assemble.
1. Line up mid-section with base
unit and slot into place. Insert and
tighten screws to x into place.
See g. 1.
2. Insert handle into mid-section
ensuring that the solution trigger
is at the back of the appliance. Slot
handle into neck, insert and tighten
screw to x into place.
See g. 2.
3. Insert clean water tank and
appliance is fully assembled.
See g. 3.
g. 1
g. 2
g. 3
 Loading...