MNL-2173-QRG-10b
© 2019 Supermicro Computer Inc. All rights reserved. Reproduction of this document whether in part or in whole is strictly prohibited without Super-
micro's written consent. All Trademarks are property of their respective entities. All information provided is deemed accurate at the time of printing;
however, it is not guaranteed.
Notes
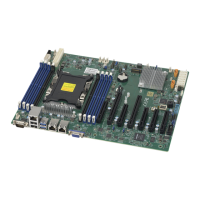
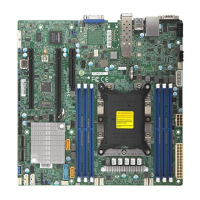
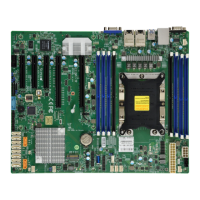
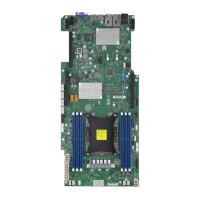
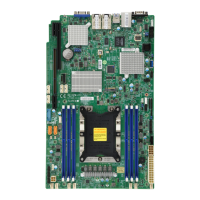
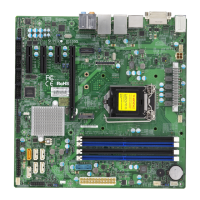
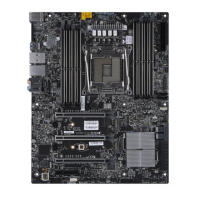
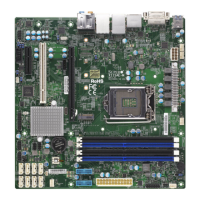
• Graphics shown in this quick reference guide are for illustration only. Your components may or
may not look exactly the same as drawings shown in this guide.
• Refer to Chapter 2 of the User Manual for detailed information on jumpers, connectors, LED
indicators, memory support and CPU/motherboard installation instructions.
Front Control Panel (JF1)
CPU and PHM Installation
Back Panel I/O Connectors
A. 1Gb RJ45 Port 1 G. USB 3.1 Gen1 Port 7 M. Surround Out
B. USB 3.1 Gen2 Port 9 H. USB 3.1 Gen1 Port 6 N. S/PDIF Out
C. USB 3.1 Gen2 Port 8 (Type C) I. 10Gb RJ45 Port 2 O. Line In
D. COM1 Port J. USB 3.1 Gen1 Port 5 P. Line Out
E. VGA Port K. USB 3.1 Gen1 Port 4 Q. Mic In
F. Dedicated IPMI LAN Port L. Center/LFE Out R. UID Switch
Power Button
UID-LED
NIC1 Active LED
Reset Button
HDD LED
PWR LED
Reset
PWR
P3V3_STBY_UID SW
P3V3_STBY
Ground
19
X
Ground
X
P3V3_STBY
20
1 2
Ground
Power Fail LED
NIC2 Active LED
SW_NMI_N
P3V3
OH/Fan Fail LED
P3V3
A
A
B
B
Pin 1
Align CPU Pin 1
CPU (Upside Down)
with CPU LGA Lands up
Processor Carrier
(Upside Down)
Align Point B of the CPU and
Point B of the Processor Carrier
Align Point A of the CPU and
Point A of the Processor Carrier
1
1
Assemble the processor carrier assembly by
inserting the CPU into the processor carrier.
Heatsink
(Upside Down)
1
2
1
2
Remaining plastic clips snap
into the other corner holes
of the heatsink
Plastic clips 1 and 2 lock
outside the heatsink’s
mounting holes
1
2
Triangle on the CPU
Triangle on the
Processor Carrier
1
2
To form the processor heatsink module (PHM),
mount the processor carrier assembly onto the
heatsink and snap into place.
1
3
After assembling the PHM, mount it onto the CPU socket of the
motherboard. Use a T-30 Torx-bit screwdriver to gradually install four
screws into the mounting holes from #1-4.
#1
#2
#3
#4
Small Guide Post
Large Guide Post
Oval D
T30 Torx Screwdriver
Use a torque
of 12 lbf-in
Oval C
Printed Triangle
Mounting the Processor Heatsink Module
onto the CPU socket (on the motherboard)
Tighten the screws in
the sequence of 1, 2, 3, 4
G
H
I
J
K
L
A
B
C
D
E
F
M
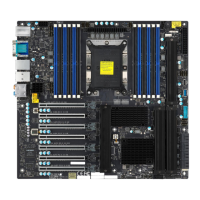
X11SPA-TF/-T
N
O
P
Q
R
 Loading...