11
Illust.45
Illust.46
ACCESSORY INSTRUCTIONS
Extension Hose (G) & Jet Nozzle (F) Attachments
1. Pull the adaptor (23) out of the Hand-Held Steamer channel. (Illust. 40)
2. Turn the adaptor (23) to access the channel opening. (Illust. 41)
3. Align the Jet Nozzle (F) or the Extension Hose (G) with the corresponding slots inside the
channel. (Illust 42)
4. Push the Jet Nozzle or the Extension Hose into the channel until it reaches the end, then
turn it clock-wise to lock it into place. (Illust. 43)
Illust.40 Illust.41 Illust.42 Illust.43
NOTE: To remove
attachments, turn
attachments
counter-clockwise
then pull out of
the channel.
The Jet Nozzle (F) can be connected to the Hand-Held Steamer directly or can be connected to
the Extension Hose (G) as desired.
Window Cleaning Kit (A)
To use, attach to the Extension Hose (G) or directly to the
Hand-Held Steamer. We recommend using the
Extension Hose for maximum maneuverability.
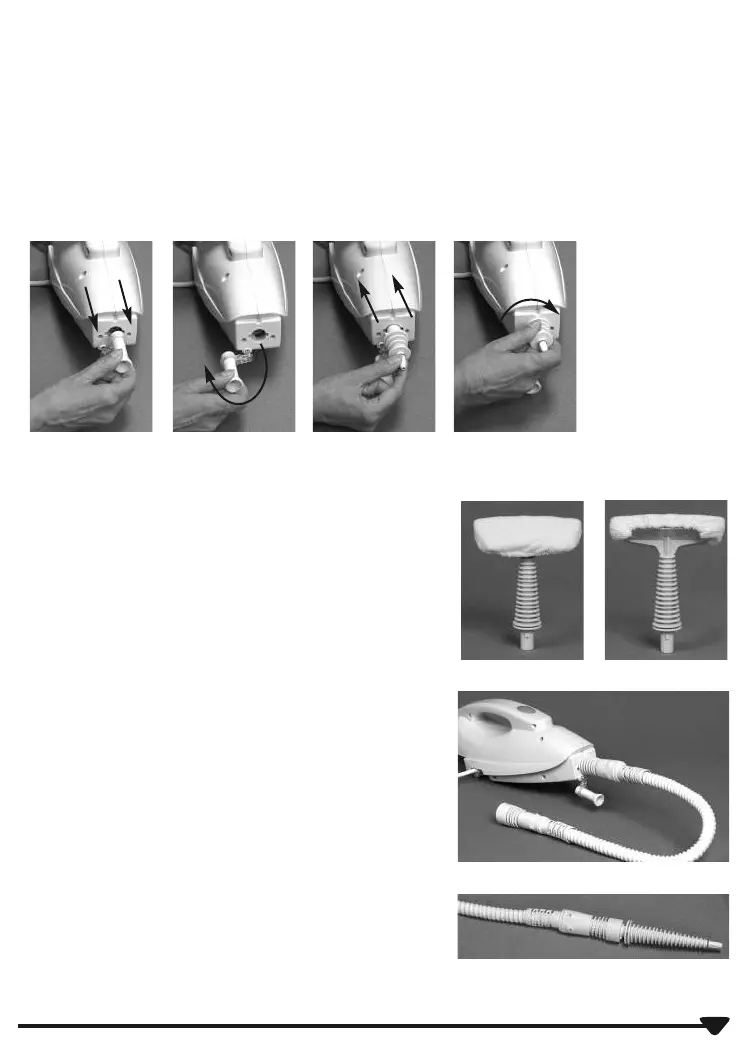
Fabric Tool (B)
To use, remove the Squeegee from the Window
Cleaning Kit and attach a small Microfiber Cleaning Pad
(2 Main Parts List). (Illust. 44A & 44B)
Round Brushes (C), Triangular Nylon Brush (D),
Scoop Nozzle (E), Angle Nozzle (H)
1. Attach the Extension Hose (G) to the Hand-Held
Steamer. (Illust. 45)
2. Attach the Jet Nozzle (F) to the Extension Hose (G).
(Illust. 46)
NOTE: You can also attach the Jet Nozzle directly to the
Hand-Held Steamer, however we recommend attaching
it to the Extension Hose for better maneuverability.
Illust.44A
Illust.44B
3. Attach the attachment of your choice to the Jet Nozzle.