The Radio Collar Receiver
The radio collar has two modes of operation: “Training Mode”and “Containment Mode”.
In Training Mode the correction mechanism is switched off but the warning sound will still activate at the boundary. Leave the collar in
Training Mode during the initial two days of training. Also, switch to Training Mode whenever you want to test or adjust the Activation
Distance.
Containment Mode is used only after training is completed. If your dog enters the outer zone of the “no-go” area, the radio collar will emit a
warning sound for 3 seconds before giving a correction. This warning sound is your dog’s cue to back-off. If your dog does not back away
then the collar will generate a low level correction. While your dog remains in the outer zone the collar will repeatedly sound a 3 second
warning followed by a further low level correction. After 15 seconds a cutout will activate which will only reset after your dog exits the no-go
area.
If your dog enters the inner zone, the collar will activate
instantly. The intensity of the correction is higher in the inner
zone. Twelve levels of intensity are available and the collar
automatically selects what is most appropriate according to
the history of recent encounters with the boundary. Once
activated in the inner zone, the collar will apply the correction
for a few seconds even after coming away from the
boundary. So, for example, if your dog is chasing another
animal the prolonged correction will distract your dog in
order to stop the chase. Your dog will learn it is undesirable to
cross the boundary. Correction is never more than 15
seconds because of the automatic cutout.
NOTE: When the warning sound activates at the boundary,
the light on the side of the case will flash in the inner zone but
not the outer zone.
1
2
3 4
Outer Zone
Inner Zone
Correction Zones
1
2
3 4
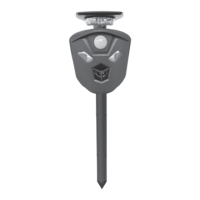
Activation
Distance (m)
2
3
4
1
5
Use a "Jeweller's Screwdriver" to adjust the
activation distance. The grey screw head in
the middle of the blue adjuster can be set to
the metre positions shown in this illustration.
How to Switch Between Training Mode and Containment Mode:
The mode of operation is selected when you install the battery. If the collar detects the radio transmission from the boundary wire at the
instant that you insert the battery then it will switch into training mode. Otherwise it will switch to containment mode.
1/ Switch ON the transmitter (ie. Fence light ON), 2/ open the radio collar, 3/ remove the battery, 4/ press the battery arm down to reset the
electronics, 5/ hold the collar next to the boundary wire and insert the batter y, 6/ the Alert Indicator (explained later) will verify that training
mode has been selected.
1/ Open the radio collar, 2/ remove the battery, 3/ press the battery arm down to reset the electronics, 4/ Switch OFF the transmitter, OR,
move well away from the no-go area and insert the battery, 5/ the collar will give a single “click” and is ready for use on your dog.
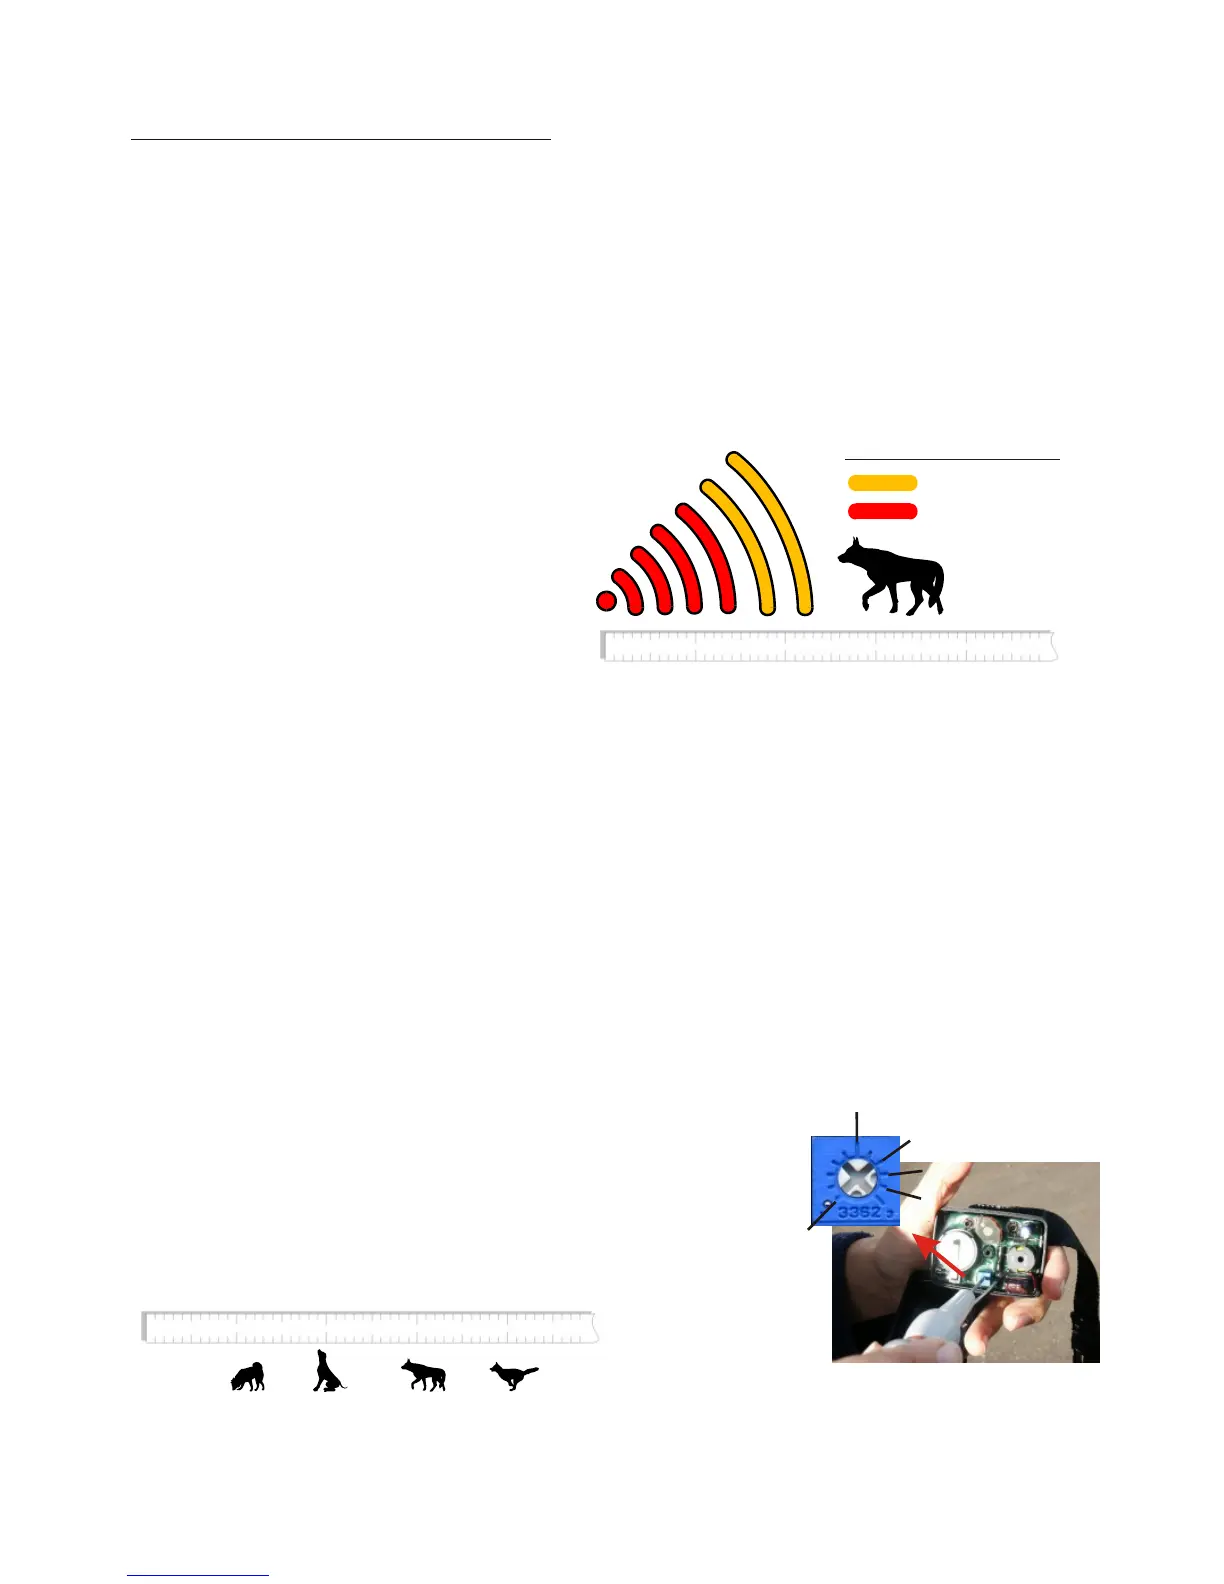
How to Adjust the Activation Distance:
The Activation Distance is measured from the boundary wire to the point at which the collar
starts to sound its warning. Each collar can have its own setting. You must select an
appropriate distance according to your dog’s behaviour and the type of boundary you have. For
best results we recommend a bigger distance during the first week or so. You can reduce the
distance once reliable containment is achieved.
Select Training Mode:
Select Containment Mode:
6