8
7. Install crank handle (10) onto previously installed
worm pinion (9) and tighten hex head bolt (11)
with wrench.
8. Install column lock handle (19) through plain side
of bracket (6) into threaded side and tighten.
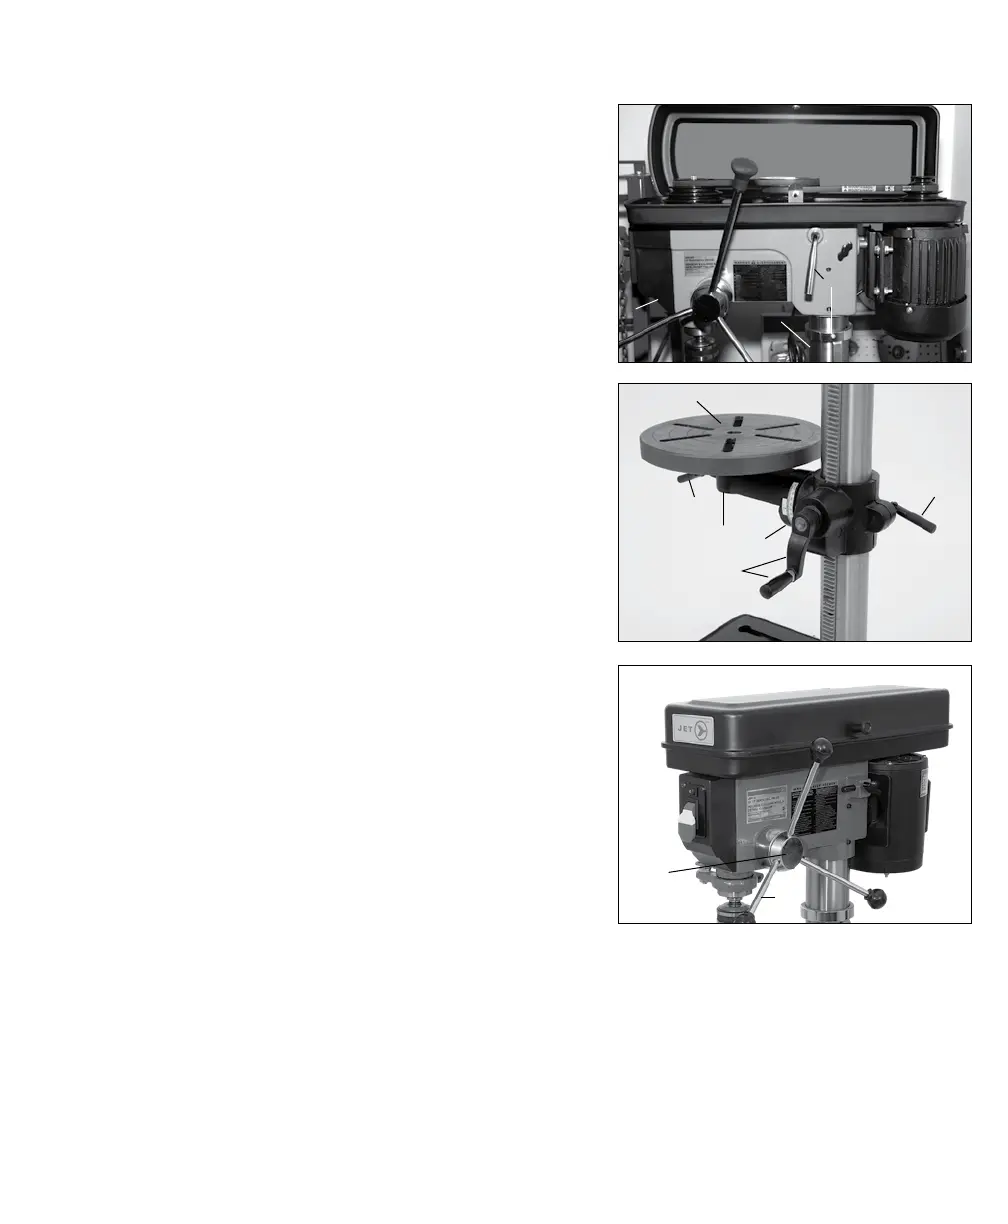
9. Place head assembly (25) on top of column (2A).
CAUTION! Head assembly is heavy - use two
people or appropriate material handling
equipment when lifting.
10. Align head (25) to base (1) and tighten to column
(2A) with two socket screws (26) found on right
side of head.
11. Install three handle bars (43A) into handle
body (37).
12. Install table (21) into table bracket (12) and
tighten table lock handle (20).
13. Install 60 watt (max.) light bulb (not included)
into receptacle on bottom of head (25).
26
21
20
11
10
37
43A
12
19
25
2A