10-44 SERVICING INFORMATION
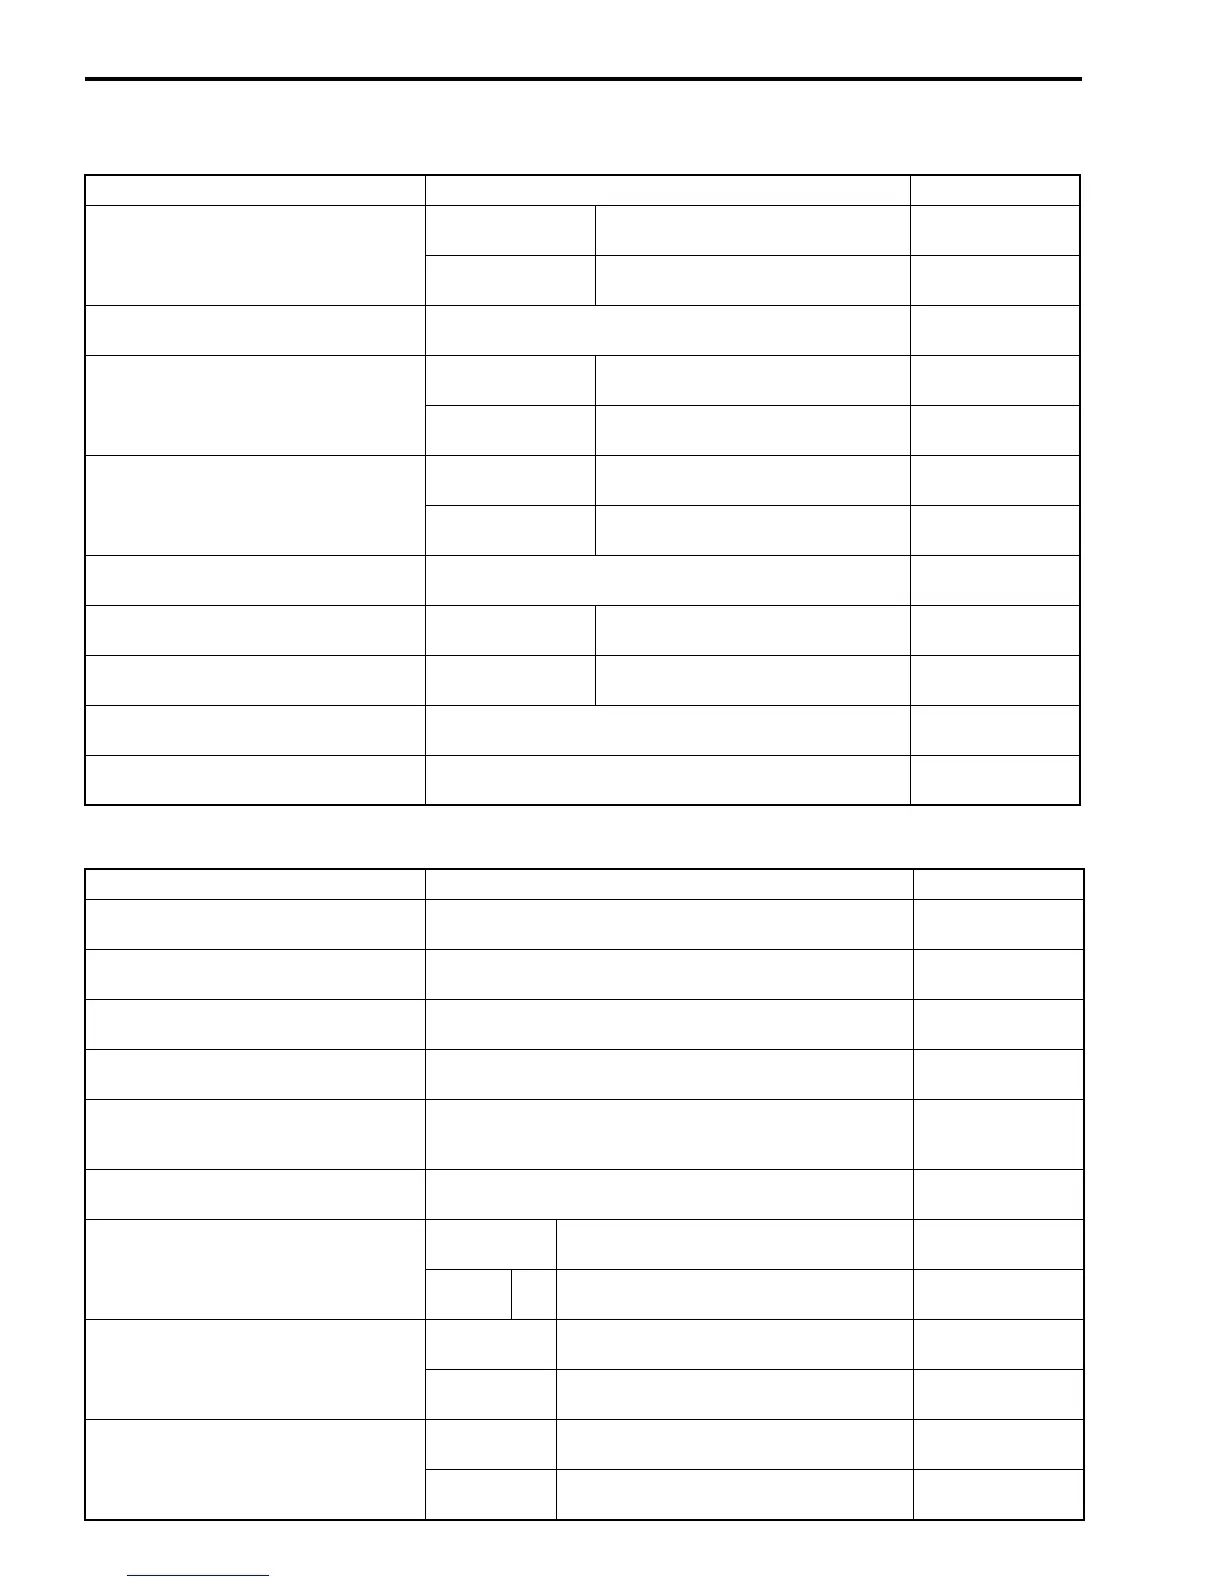
CAMSHAFT + CYLINDER HEAD Unit: mm (in)
CYLINDER + PISTON + PISTON RING Unit: mm (in)
ITEM STANDARD LIMIT
Cam height
IN.
35.50 – 35.54
(1.398 – 1.399)
35.20
(1.386)
EX.
36.58 – 36.62
(1.440 – 1.442)
36.28
(1.428)
Camshaft journal oil clearance 0.032 – 0.066
(0.0013 – 0.0026)
0.150
(0.0059)
Camshaft journal holder I.D. Rear left side
Front right side
20.012 – 20.025
(0.7879 – 0.7884)
—
Rear right side
Front left side
25.012 – 25.025
(0.9847 – 0.9852)
—
Camshaft journal O.D. Rear left side
Front right side
19.959 – 19.980
(0.7858 – 0.7866)
—
Rear right side
Front left side
24.959 – 24.980
(0.9826 – 0.9835)
—
Camshaft runout
—
0.10
(0.004)
Rocker arm I. D.
IN. & EX.
12.000 – 12.018
(0.4724 – 0.4731)
—
Rocker arm shaft O. D.
IN. & EX.
11.977 – 11.995
(0.4715 – 0.4722)
—
Cylinder head distortion
—
0.05
(0.002)
Cylinder head cover distortion
—
0.05
(0.002)
ITEM STANDARD LIMIT
Compression pressure 1 300 – 1 700 kPa
(13 – 17 kgf/cm², 185 – 242 psi)
1 100 kPa
(11 kgf/cm² 156 psi)
Compression pressure
difference
—
200 kPa
(2 kgf/cm² 28 psi)
Piston to cylinder clearance 0.045 – 0.055
(0.0018 – 0.0022)
0.120
(0.0047)
Cylinder bore 83.000 – 83.015
(3.2677 – 3.2683)
83.085
(3.2711)
Piston diam. 82.950 – 82.965
(3.2657 – 3.2663)
Measure at 15 mm (0.6 in) from the skirt end.
82.880
(3.2630)
Cylinder distortion
—
0.05
(0.002)
Piston ring free end gap
1st Approx. 9.6 (0.38)
7.7
(0.30)
2nd R Approx. 11.8 (0.46)
9.4
(0.37)
Piston ring end gap
1st
0.20 – 0.35
(0.008 – 0.014)
0.70
(0.028)
2nd
0.20 – 0.35
(0.008 – 0.014)
0.70
(0.028)
Piston ring to groove clearance
1st —
0.180
(0.007)
2nd —
0.150
(0.006)
SAMPLE

 Loading...