Fitted equipment
77
• Donousefoilontheovenshelvesas
thiscreatesarehazard,andcanhinder
circulation of heat.
• Keepallammablematerialawayfrom
the appliance.
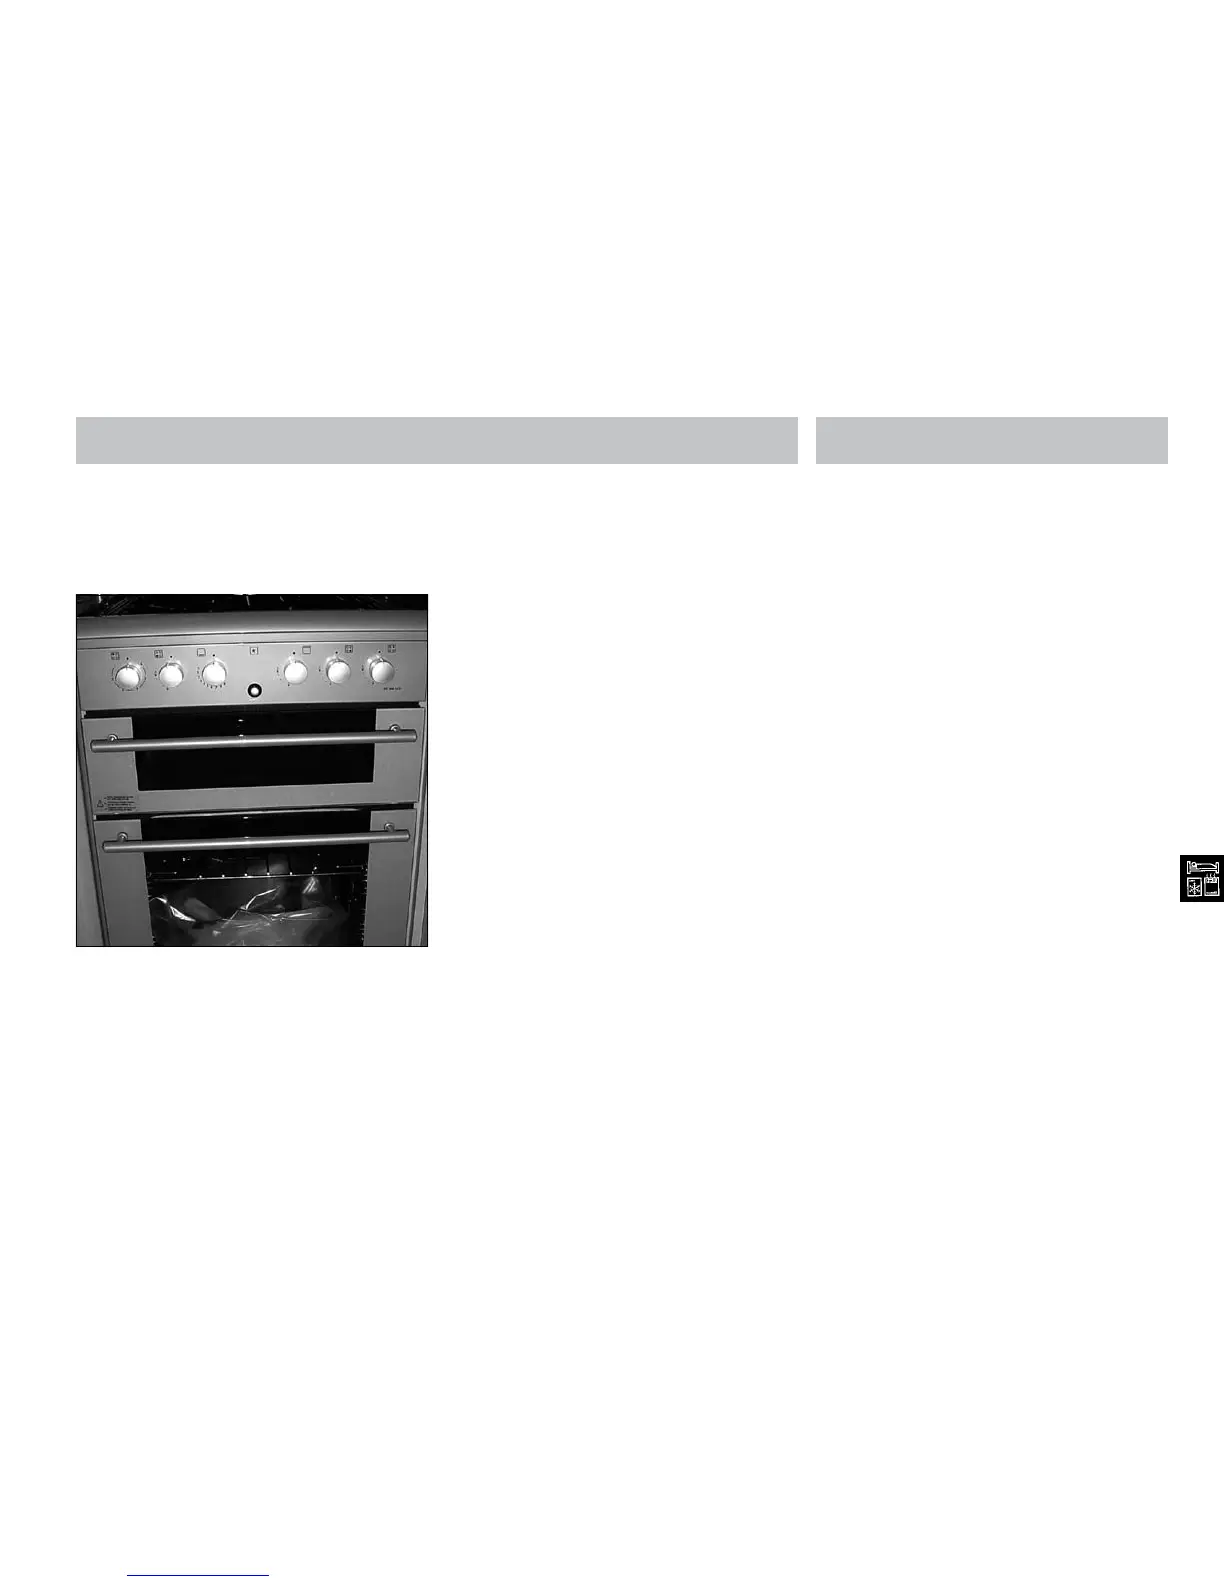
To light the oven
1. Opentheovendoorandturnthecontrol
knob anticlockwise to the required gas mark.
Push in and hold in the control knob, and
either press the ignition button (if fitted) or
use a hand held spark ignitor or gas lighter.
2. Once the burner has lit, close the oven door
andholdtheknobinfor15-20seconds.
3. If the flame goes out, the flame sensing
device cuts off the gas supply to the burner.
To light the oven again, wait for 3 minutes
then repeat the above procedure.
To turn off - Push in the control knob and
turn clockwise.
Preheating
Theovenmustbepreheatedfor10minutes
whenreheatingfrozenorchilledfood,andwe
recommend preheating for all yeast mixtures,
batters, soufflés and whisked sponges.
Using the oven
The shelf positions in the oven can be altered.
If you prefer darker cooked results, cook on a
higher shelf. For paler results use a lower shelf.
The cake tray and roasting tin that are
supplied with this appliance are the largest
which can be used for good results and even
baking. Extra shelves, tins or trays can be
ordered from your supplier.
Place food items on the tray and position the
tray on the centre of the shelf, leaving one clear
shelf position between shelves to allow for
circulation of air.
Cleaning
Caution: Any cleaning agent used incorrectly
may damage the appliance.
Always let the appliance cool before cleaning.
Some cooking operations generate a
considerable amount of grease. This combined
withspillagecanbecomeahazardifallowed
to accumulate on the appliance through lack
of cleaning. In extreme cases this may amount
to misuse of the appliance and could invalidate
your guarantee.
Do not use caustic pastes, abrasive cleaning
powders, coarse wire wool or any hard
implements as they will damage the surfaces.
All parts of the appliance can be safely cleaned
with a cloth wrung out in hot soapy water.
Burner caps and heads
Important: Allow burners to cool before cleaning.
Caution:Hotplateburnerscanbedamagedby
soaking, automatic dishwashers (or dishwater
powders/liquids), caustic pastes, hard
implements, coarse wire wool and abrasive
cleaning pastes.
For the burners to work safely, the slots in the
burner head, where the flames burn, need to be
kept clear of deposit. Clean with a nylon brush,
rinse and dry thoroughly.
Cleanwithamildcreamcleanereg;Cif,oruse
a moist soapy Brillo pad.
Note:Fixedburners(iftted):Someversions
incorporate fixed burners. These burners are
secured to the hob with 2 screws. Fixed burners
mustbecleanedwhilstinposition.Make
sure that the gap between the burner and the
hotplate does not become blocked with grease.
 Loading...