Do you have a question about the Swing-N-Slide Super Summit Slide and is the answer not in the manual?
List of parts provided in the Super Summit Slide kit for assembly.
List of parts and materials that must be acquired separately for assembly.
Tools necessary for the proper assembly of the Super Summit Slide.
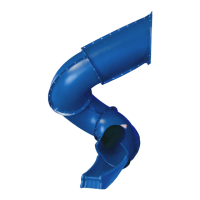
Illustration detailing the correct order for attaching slide sections and securing hardware.
Diagram showing the mandatory safe play area around the slide.
Instructions for attaching the slide base to a ground stake.
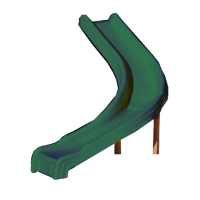
Visual guide for connecting the slide to the main playset structure.
Example of a slide block to conceal protruding screw ends for safety.
Essential checks for ensuring the play set is installed safely and correctly.
Guidelines for children's safe behavior and use of playground equipment.
Regular checks and upkeep to maintain equipment safety and integrity.
Critical anchoring and shock-absorbing surfacing instructions for safety.
Procedure for safely removing and disposing of the playground equipment.
Details on lifetime, 5-year, and accessory warranties for product defects.
Conditions that void the warranty or are not covered by its terms.
| Brand | Swing-N-Slide |
|---|---|
| Model | Super Summit Slide |
| Category | Play Sets & Playground Equipment |
| Language | English |