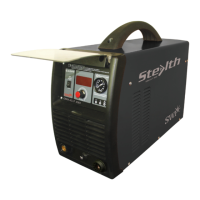
STEALTH DIGI-CUT100
6 MACHINE OPERATION
6.1 Connect the machine correctly according the diagram. Switch on the air compressor
until it reaches its rated pressure. It will turn off automatically. Adjust the air pressure
reducing valve to the required value (0.2-0.4MPa)
6.2 Connect the power to the machine and the power indicator light will illuminate and
the cooling fan will start. Select the AIR TESTING setting on the function switch and air
will flow through the torch. Select CUTTING on the function switch and air will flow
through the torch again.
6.3 Select a suitable current with the current control knob for the thickness of the material
and one that is suitable for the consumables fitted to the torch.
6.4 CUTTING: Hold the cutting torch on the workpiece at approximately a 15 degree angle
and press the torch switch. The air will flow first and then the arc will ignite. Start to
move the torch after the material has been pierced maintaining a uniform pace of travel
and distance across the material.
7 PRODUCT DESCRIPTION
This product is sold subject to the understanding that if any defect in manufacture or
material shall appear within 24 months from date of consumer sale, the supplier will
arrange for such defect to be rectied without charge (except for any damage due to
misuse).

 Loading...