7
Chapter 2: Hardware Setup
3
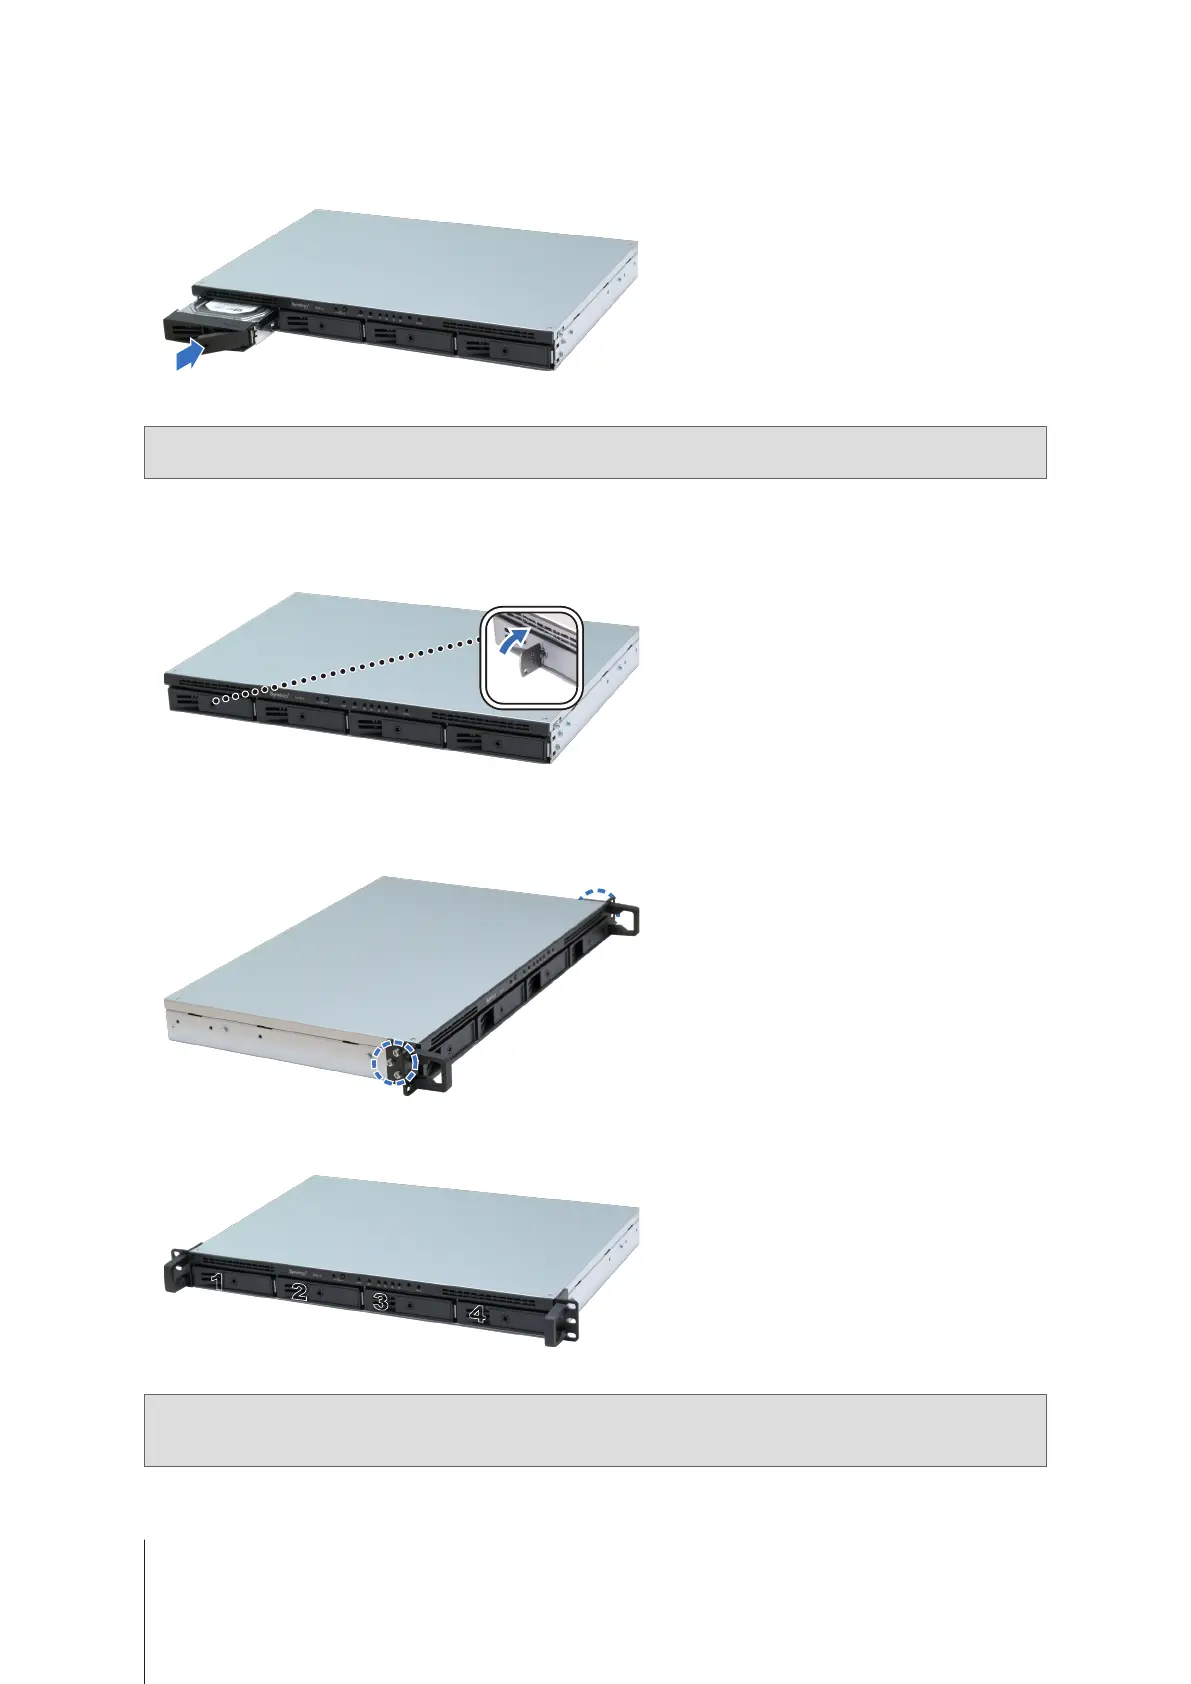
Insert the loaded drive tray into the empty drive bay.
Note:
Make sure the tray is pushed in all the way. Otherwise, the drive might not be able to function properly.
4
Press the handle in ush with the front panel to hold the drive tray in place.
5
Insert the drive tray key into the drive tray lock, turn the key clockwise to lock the handle of the drive tray, and
then remove the key.
6
Repeat the steps above to install all prepared drives.
7
Fix the two rack mount kits on both sides with the nuts provided.
8
Drives are numbered as shown below.
1 2
3
4
Note:
If you want to create a RAID volume, we recommend that all installed drives are of the same size to make the
best use of drive capacity.