9
PIN NAME WIRE COLOR
1 Damp Coil - Blue
2 Damp Coil + Red
3 Drive Coil + White
4 Drive Coil - Green
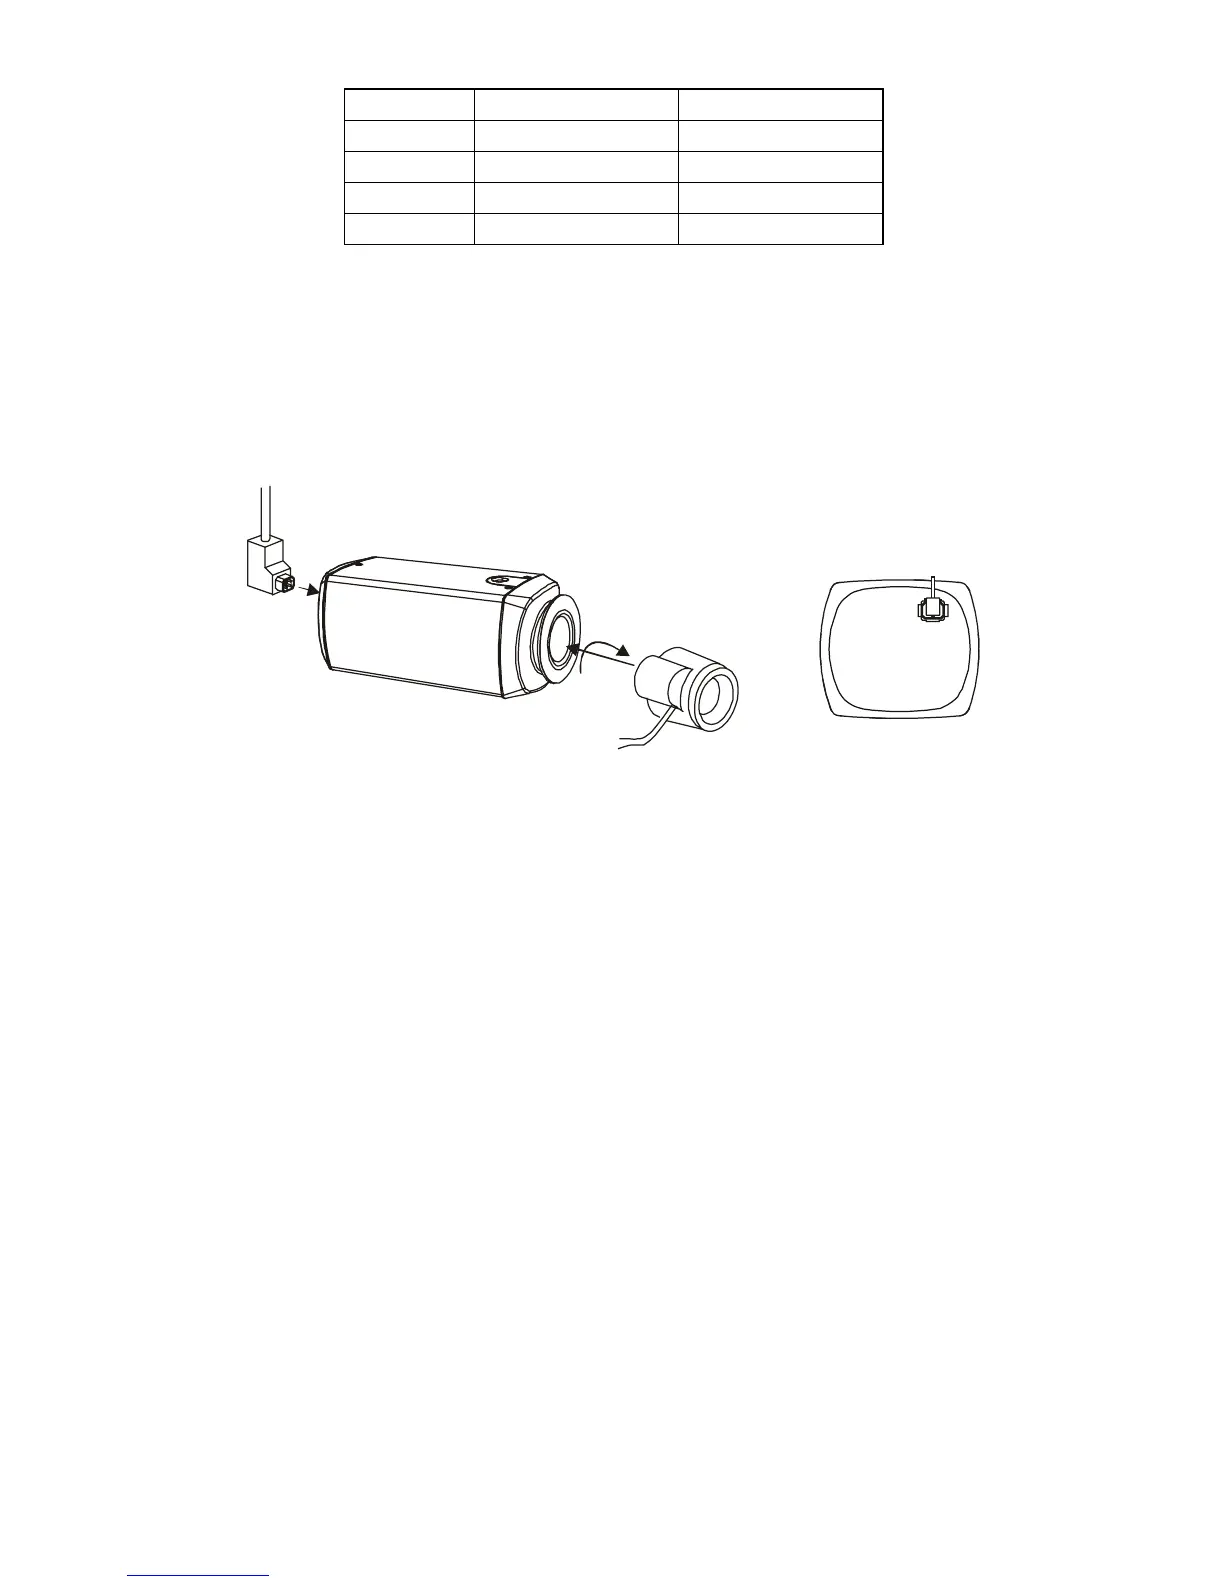
2. Attach the DC-type auto iris lens to the lens mount on the front of
the camera.
3. Plug the connector into the auto iris jack on the back of the camera.
The connector is polarized and can only be inserted into the jack
one way.
BACK VIEW
4. The E/I switch should be in the “OFF” position.
5. The A/I switch should be in the “DC” position.
6. Apply power to the camera.
7. Adjust the auto iris lens for an optimum picture using the LEVEL
control on the back of the camera.