1000 or 2500. Press the 0 button to reset the
cycle count, and then select a preset cycle
button(s) to set the new test cycle. A
PRESET CYCLES button may be pressed
during operation or when a test is stopped, to
increase total cycles by that amount.
It is possible to increase (or decrease) test
duration beyond the original cycles. To override,
the number of turntable revolutions must be a
value greater than the completed cycles. Press
ENTER to accept the new value.
For the model 5155 Abraser, both turntables can
be preset to different values depending on the
nature of the test. Prior to entering a new value
for the test cycles, ensure the KEYPAD indicator
is shown on the correct turntable. To change
between the left or right turntables, press either
the START or STOP buttons on the appropriate
table. The ongoing cycle count for each
turntable will be displayed in the corresponding
digital readout.
NOTE: An abrasion cycle, or test cycles, is defined
as one complete revolution of the specimen in contact
with the abrading wheels.
NOTE: The instrument can be stopped at any time for
inspection and started up again (by depressing the
START key) without interrupting the counter reading in
the digital display.
NOTE: Entering a new value DOES NOT
automatically zero the completed cycle count. This
enables you to reprogram the total test cycles to
continue testing beyond the original number of cycles.
If you change total cycles to a value less than the
completed cycles, you must first press CLEAR to zero
the completed cycle count, enter the new value and
then press START.
Setting the Vacuum Level
The vacuum furnished with the Model 5135 and
5155 Abrasion Test Sets is equipped with a
variable vacuum control. For test control and
standardization of vacuum suction, the vacuum
level is calibrated to values of 50 – 100%.
Changing the vacuum level adjusts the speed of
the vacuum unit motor and the corresponding
vacuum suction for accurate standardization and
control of test procedures.
The vacuum level should be set high enough to
lift the abraded particles, but not lift flexible
samples. A vacuum level of 100% is
programmed into the Abraser. If you require
less than 100% vacuum, follow the instructions
below. The vacuum level will default to the
value that was last entered.
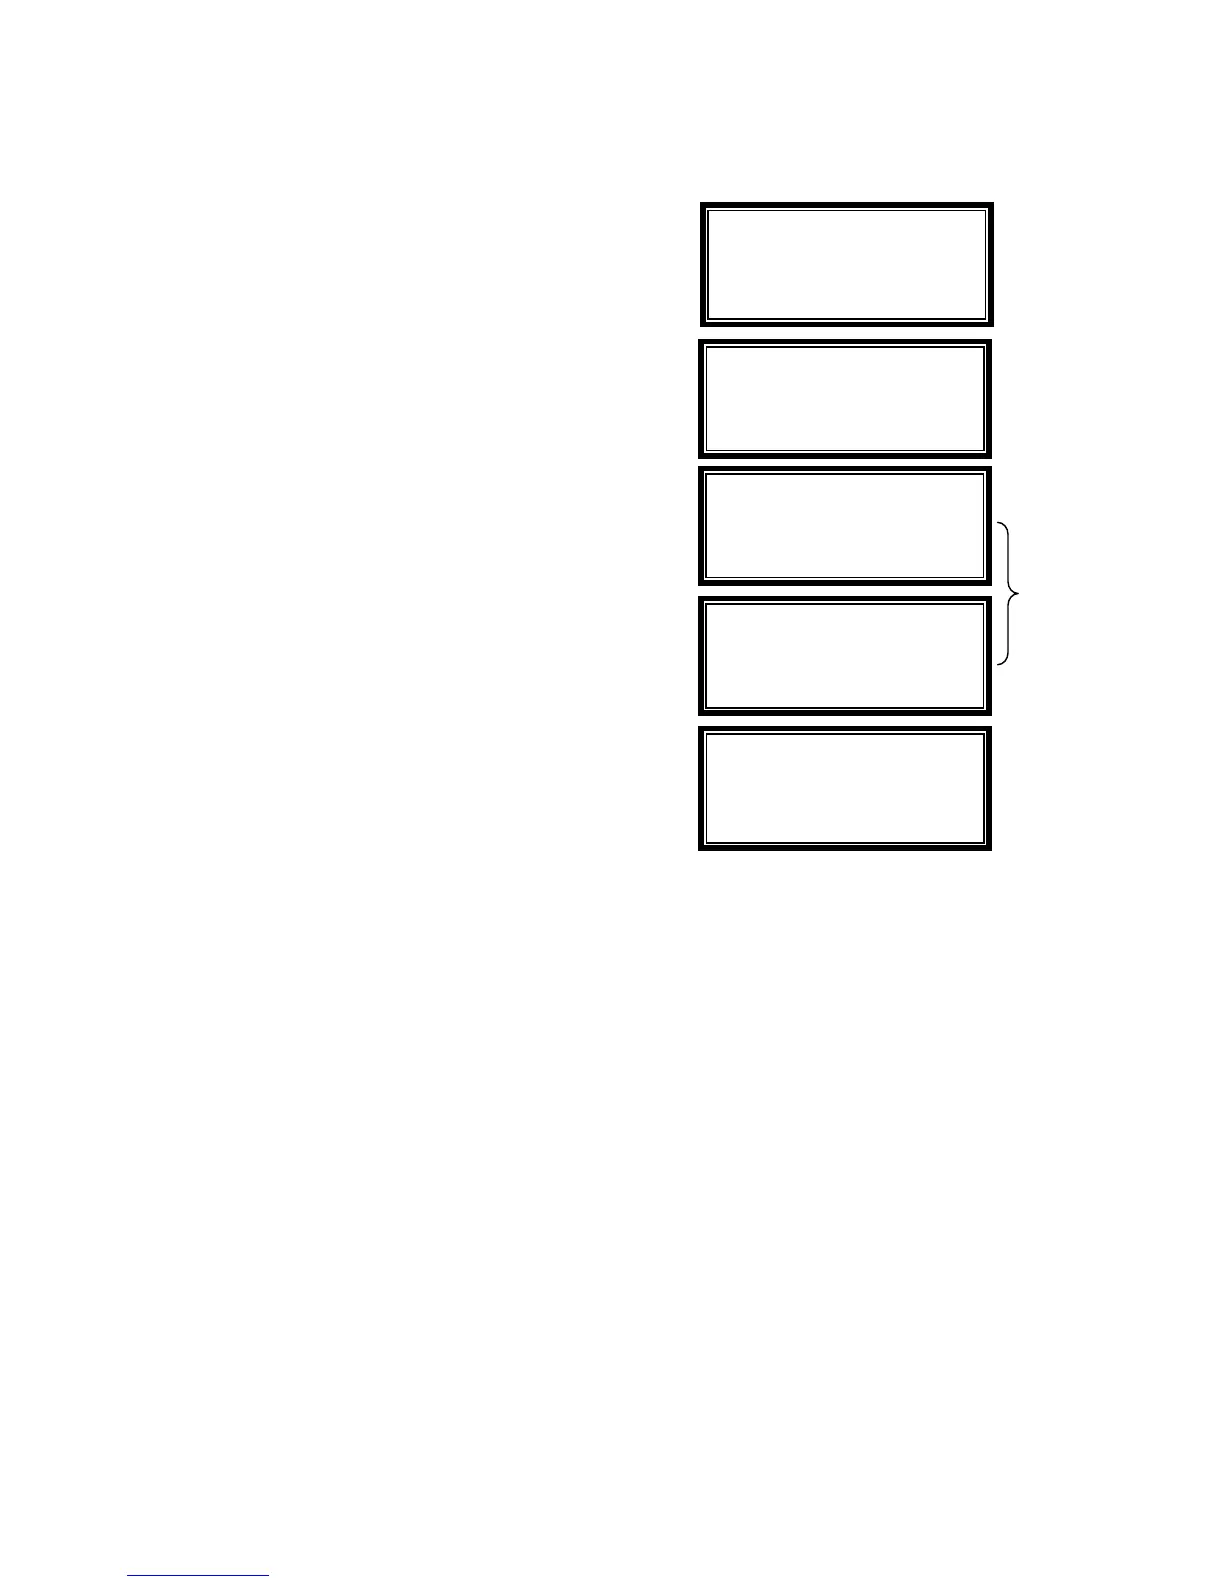
1. Press the MENU button to display Menu
Options (see below for screen displays).
2. From the menu options, press 4 to select
Vacuum.
3. Enter a new value between 50 and 100,
and press ENTER to save.
NOTE: The factory default vacuum level is set at 100.
U WARNING: Do not use the vacuum pickup for
tests on wet materials. When conducting wet
tests, raise the vacuum nozzle, and disconnect the
electrical cord to the vacuum unit.
U WARNING: Do not place the vacuum in a closed
cabinet without adequate ventilation. Failure to
provide sufficient airflow may cause the motor to
overheat, resulting in damage to the vacuum.
Vacuum Only
The VACUUM ONLY key allows you to operate
the vacuum unit without the Abraser. This may
be necessary to clean the drive shaft and
specimen holder cavity or to properly operate
the Wheel Refacer.
If only the vacuum is needed, turn the Abraser
on then depress the VACUUM ONLY key. The
vacuum will operate at the vacuum level last
entered.
1-Speed 4-
acuu
2-Refacing 5-Outlet
3-Display 6-Reset
>Select Menu Option
Change Vacuum Level
100%
>Enter new level
>CLEAR key to return
Vacuum Level set to:
90%
Alternating
Display
Screens
Change Vacuum Level
90%
>Enter new level
>ENTER key to save
Change Vacuum Level
90%
>Enter new level
>CLEAR key to return
10 5135 / 5155 Operating Instructions ver 1.1