6
1. Make sure the lter is turned off (the Power Switch is in the down OFF position and
the Power Cable is removed).
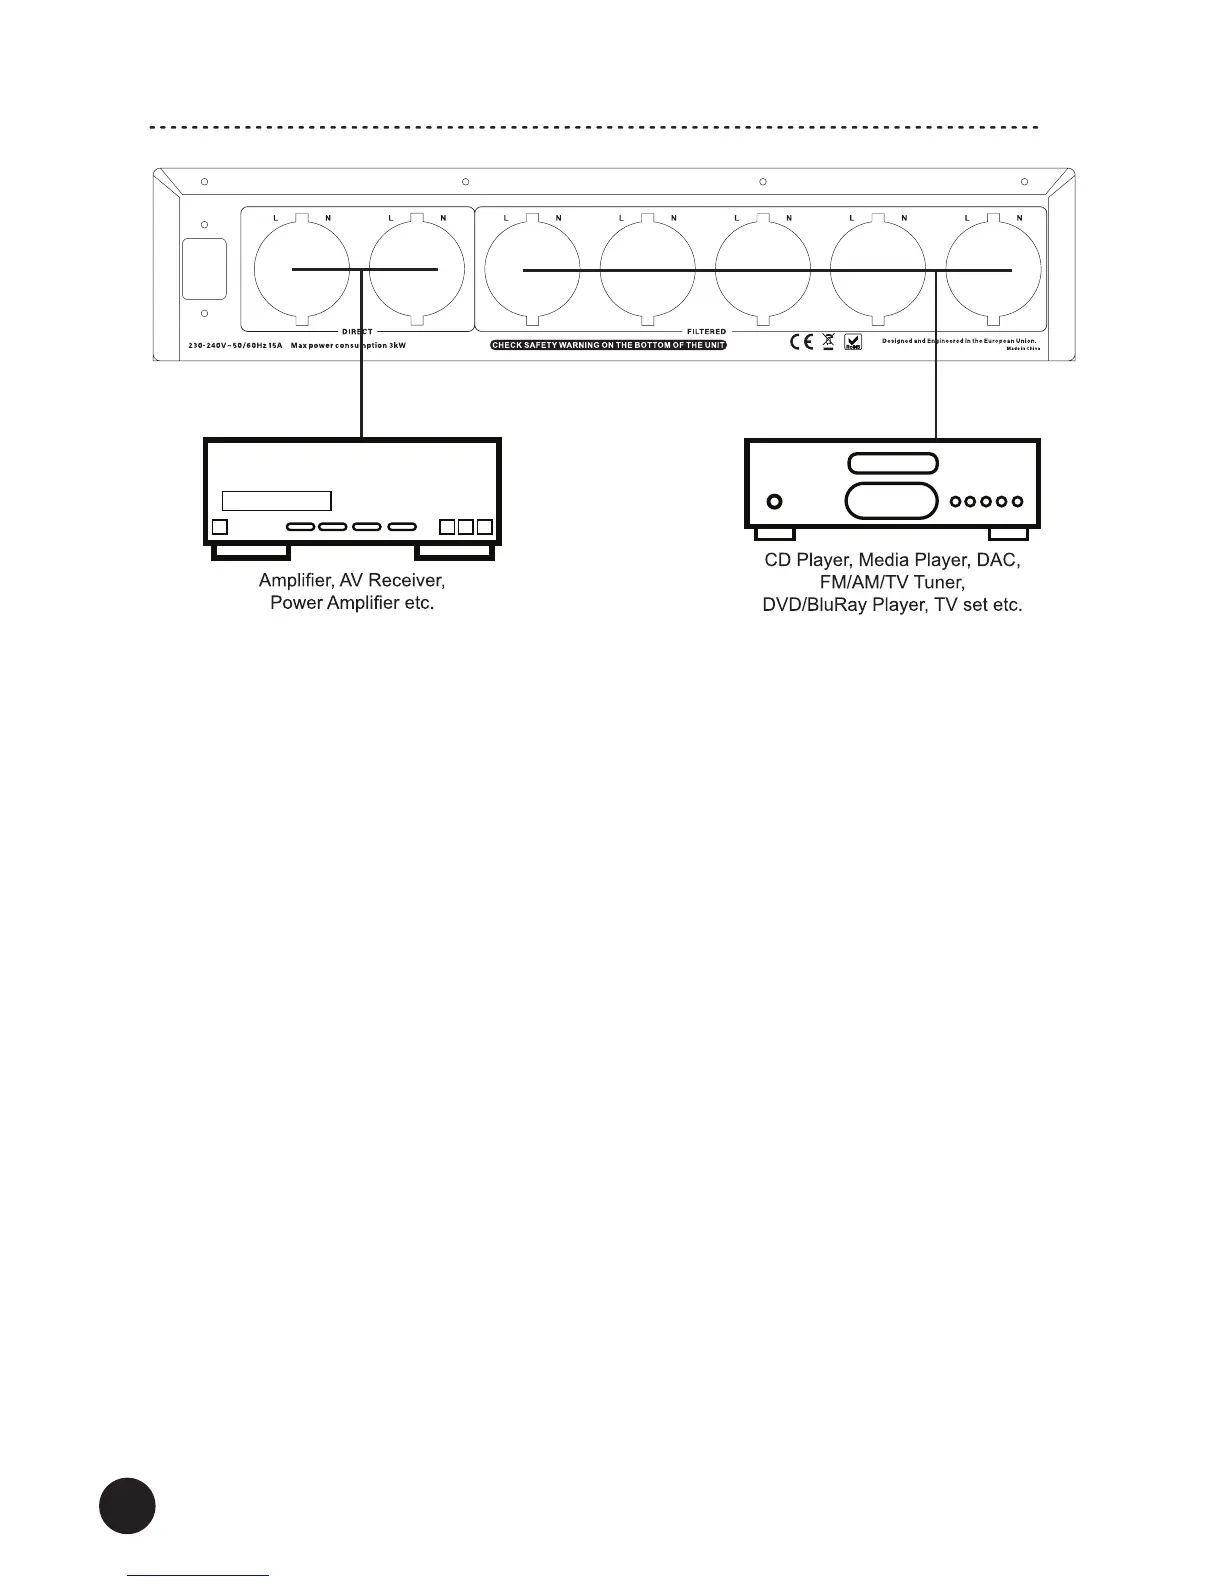
2. Using power cables (only a power cable for the lter is supplied with this product)
connect your audio-video equipment to the power sockets. Follow the below
recommendations:
FILTERED SOCKETS (these sockets are ltered. Electrical noises are ltered and
limited) – connect here your audio-video sources (CD/DVD/BluRay/Media Player,
Radio/TV Tuner, Digital-to-Analog Converter, Turntable, Preamplier, Active Speakers
etc.) and video display devices (TV Set, Video Projector etc.).
DIRECT SOCKETS (these sockets are not ltered) – connect here your amplication
audio equipment (Integrated/Power Amplier, AV/Stereo Receiver, Active Subwoofer
and similar)
Note! Check „Operation” for more information about the correct Phase when
connecting audio-video equipment.
3. Your lter is ready for operation.
Note!
We recommend to use Schuko plugs in all power cables.
Make sure not to overload the power lter. Add all amounts of power that connected
audio-video equipment consumes – the total amount should not exceed the maximum
power load which is marked on the lter and in the specications (usually 15A, 3000W).
Hooking Up the Filter
Power cable Power cable