18
ERC Square Back Rotary Cutter
Maintenance/Service
Warning: To avoid injury when changing blades, always wear Personal
Protective Equipment, gloves, eye protection, etc.
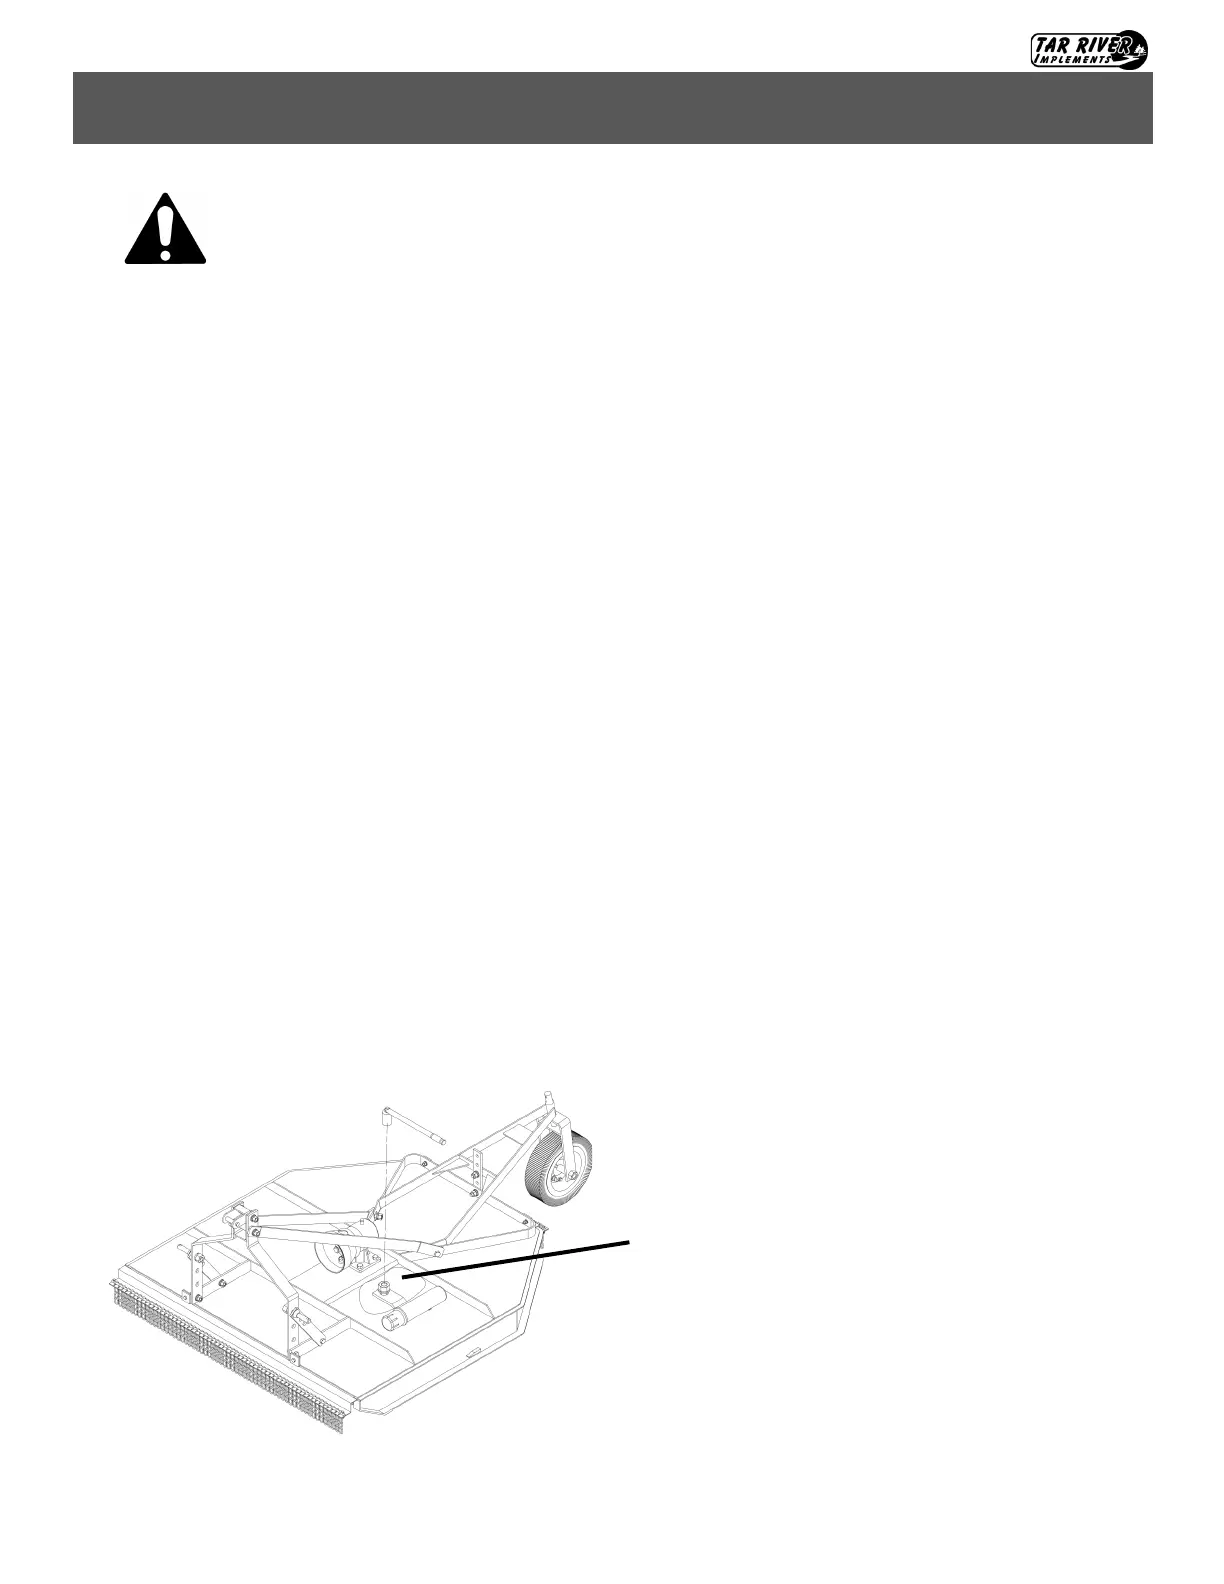
Blade inspection/replacement (Fig. 6)
1. Remove the access cap from the gearbox mount plate, to access the blade nuts. Rotate the blades so that
the blade bolt nut lines up with the access hole.
2. Block the blade to prevent it from moving. Using a pull bar, ratchet or impact wrench, remove the blade
nut and blade from the implement.
3. Inspect the condition of the blades and blade hardware.
4. Replace the blades if worn, dull, damaged or distorted. A worn or damaged blade will give a less than
optimal cut and can cause excessive vibration. Replace bolts if damaged or worn.
5. Install new OEM blades, OEM bolts and torque to proper torque specifications. Make sure the blades
swing freely to prevent damage to the rotary cutter.
6. It is important that the blade’s cutting edge faces the direction of rotation. Note that the rotary cutter
blades rotate in a clockwise direction as viewed from underneath the cutter.
7. Replace the access cap and any parts or shields removed.
Important:
• Blade bolts should be checked for proper torque every 8 hours. Replace with only OEM bolts. These bolts
are special made for this rotary cutter.
• Replace with OEM blades and in pairs to ensure proper balance. Unbalanced blades can cause excessive
vibration and possible damage to the rotary cutter.
Fig. 6
Access to blade bolt nuts.
Note: Some parts/shields removed for clarity. Al-
ways replace any parts/shields removed before
operating the rotary cutter.
 Loading...