English Targa DataBox V 320
8
Connect the Targa DataBox to the supplied power adapter [A], by inserting the power
adapter connector [6] into the connector port [3] of the Targa DataBox. Plug the power
adapter into a wall outlet.
Connecting via a USB Cable
1. Insert the flat connector [8] of the USB cable [B] into a free USB port on your
desktop PC or notebook.
2. Next connect the other connector [7] of the USB cable to the USB port [4] of
your Targa DataBox.
3. Power on the Targa DataBox using the On/Off switch [2]. The operating
system will automatically detect that a new USB device has been connected
and will install the corresponding driver.
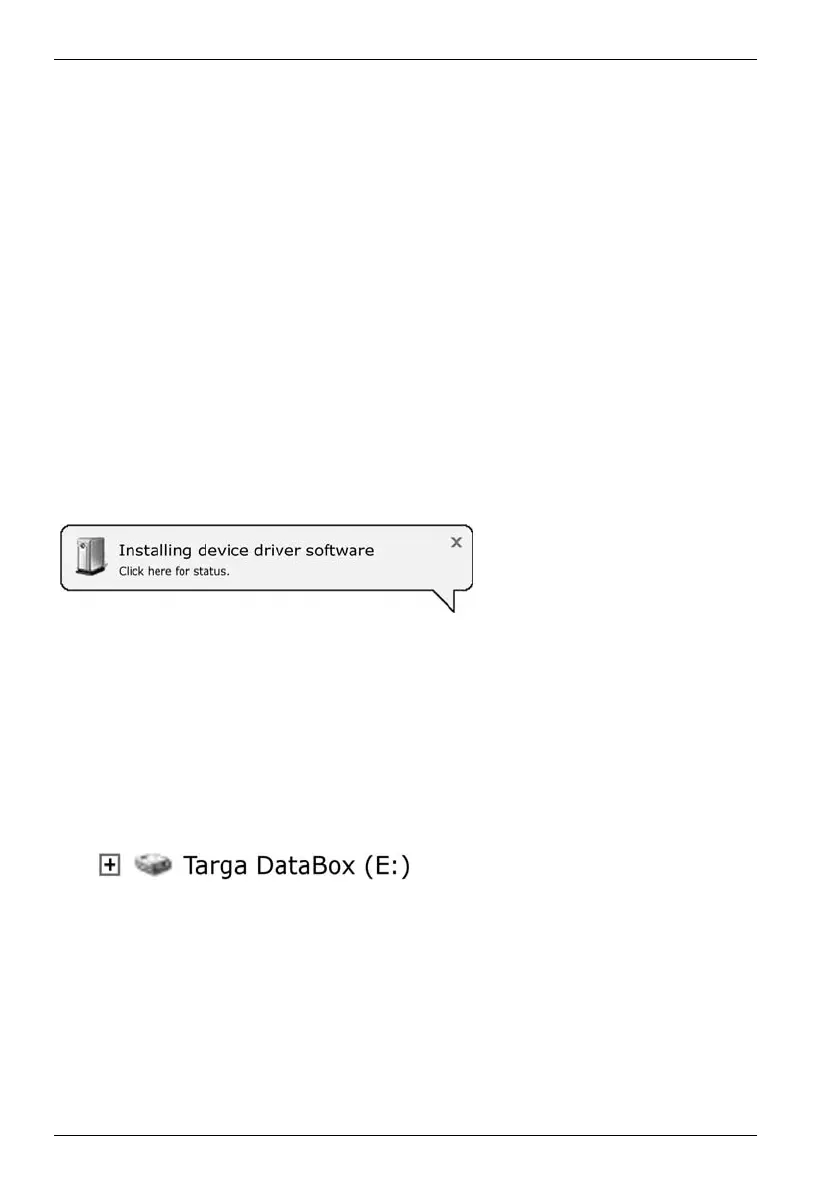
On first-time connection of the Targa DataBox, the operating system will notify of the
detection of new hardware with this message:
Figure: Installation message
(Message depending on
operating system)
The built-in hard disk has already been formatted with the NTFS file system and is
therefore ready for immediate use. The Targa DataBox shows as a new disk in "My
Computer" with a drive letter assigned by the operating system. The drive letter
assigned depends on the number of disk drives you already have connected to your
computer.
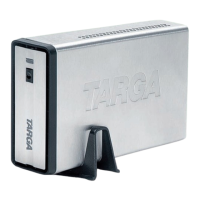
Figure: Drive in "My Computer"