Do you have a question about the Tascam DA-30 and is the answer not in the manual?
Outlines the component removal sequence, referring to subsequent pages for detailed steps.
Details the procedure for removing external components of the unit.
Explains the procedure for disassembling mechanical components of the device.
Explains how to adjust back tension torque for proper tape mechanism operation.
Covers adjustments to ensure smooth and correct tape path movement.
Details the procedure for adjusting the servo system of the tape deck.
Covers calibration and adjustment procedures for the audio circuitry.
Focuses on adjusting the error rate for the digital PCB section using an oscilloscope.
Adjusts the RF unit's equalizer (EQ) to minimize error flags.
Lists parts and their reference numbers for Exploded View-I.
Details components and part numbers for Exploded View-2.
Provides a list of parts corresponding to Exploded View-3 diagrams.
Displays the component layout and parts list for the Digital PCB.
Shows the component layout and parts list for the Audio PCB.
Displays the component layout and parts list for the Front PCB.
Detailed schematic diagram for the Audio PCB.
Detailed schematic diagram for the Digital PCB.
Detailed schematic diagram for the Power Supply PCB.
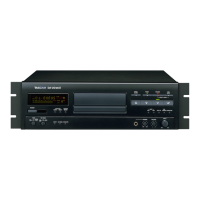
| Type | DAT Recorder |
|---|---|
| Tape Speed | 8.15 mm/s |
| Weight | 9.5 kg |
| Track System | 2-channel stereo |
| Sampling Frequency | 48kHz, 44.1kHz, 32kHz |
| Analog Inputs | XLR, RCA |
| Analog Outputs | XLR, RCA |
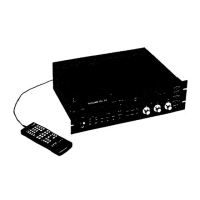
| Remote Control | Yes |
| Quantization | 16-bit linear |
| Signal to Noise Ratio | 92 dB |
| Dynamic Range | 92 dB |
| Digital Inputs | Coaxial, Optical |
| Digital Outputs | Coaxial, Optical |
| Power Supply | 120V AC, 60Hz |