Do you have a question about the Taylor 1431 and is the answer not in the manual?
Signals from other devices may interfere but do not affect general performance; transmission resumes after interference recedes.
Guidelines for careful handling and operation of the wireless thermometer to ensure satisfactory service and longevity.
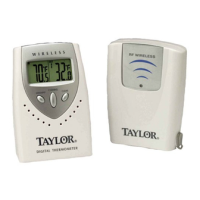
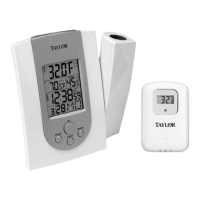
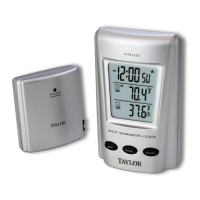
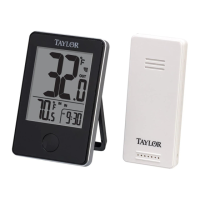
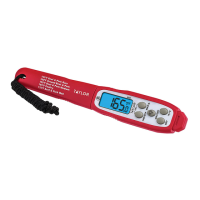
Receiver unit displays indoor temperature and up to three remote sensor readings.
Flashes when the remote sensor transmits a reading.
Selects channel 1, 2, or 3 for remote display; hold for 3 seconds to delete current channel.
Press to view daily high temperature for 5 seconds, then press again to view daily low temperature.
Press while Max/Min values are displayed to delete the record.
Hold 3 seconds to set temperature scale F°/C°; press to set temperature alert upper limit.
Turns temperature alert on/off; hold 3 seconds to enter alert setting mode.
Auto scrolls temperature displays for channels 1-3; press to set temperature alert lower limit.
Press to select F° or C° scale; this scale will control the receiver display.
Press to send a transmission signal to the receiver unit.
Houses batteries for receiver and remote units; requires 2 AAA alkaline batteries for each unit.
Position receiver close to remote for initial synchronization and easy signal reception.
Insert 2 AAA batteries into receiver first, then remote, replacing compartment cover.
Remove cover, insert 2 AAA batteries, select scale, replace cover and tighten screws.
Use Lithium batteries for outdoor units if temperatures fall below 10°F (-12°C) to prevent freezing.
Left half shows indoor temp, right half shows remote temp (channel 1). Use Channel button for other channels.
Icon lights up on receiver display when receiver batteries are low.
Replace batteries in both receiver and remote units and re-install to re-assign channels.
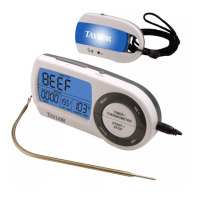
Press Alert button, use +/- to set upper/lower limits, press Alert to confirm each limit.
Alarm sounds and indicators flash when temperature reaches programmed upper or lower limits.
Press any key to stop the alarm sound and flashing indicators.
Display shows dashes if no transmission received for 1 hour; check positioning, batteries, and clear path.
Tested for Class B digital device compliance; may cause interference, user encouraged to correct it.
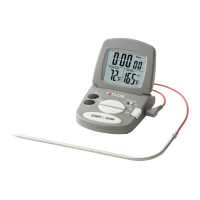
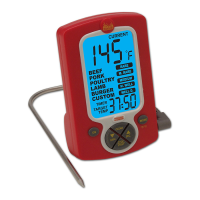
| Type | Digital Thermometer |
|---|---|
| Probe Type | Stainless Steel |
| Display | LCD |
| Resolution | 0.1°F/°C |
| Auto Power Off | Yes |