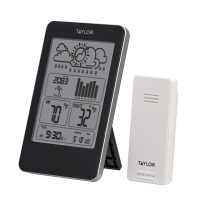
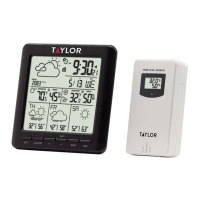
33MHz WIRELESS
ZZ
-¢-
:)
~
CHANIlEl SET
433MHz WIRELESS
'i>
ALERT
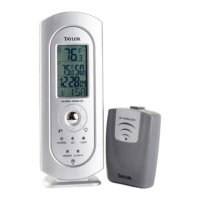
SNOOZE/ LIGHT
1. Press the SNOOZE/ LIGHT button (Zz/Iight icon button)
for an extended backlight.
2. In snooze alarm mode, press this button to trigger a
repetitive snooze alarm.
3. When normal alarm mode is selected, press the button to
turn off alarm for one day.
MAX/ MIN MEMORY SETTINGS
1. Press "MAX/ MIN" button to view the maximum values for
5 seconds. Press again to view the minimum values.
2. To clear the memory record, press "CLEAR" while the
respective values displaying on screen.
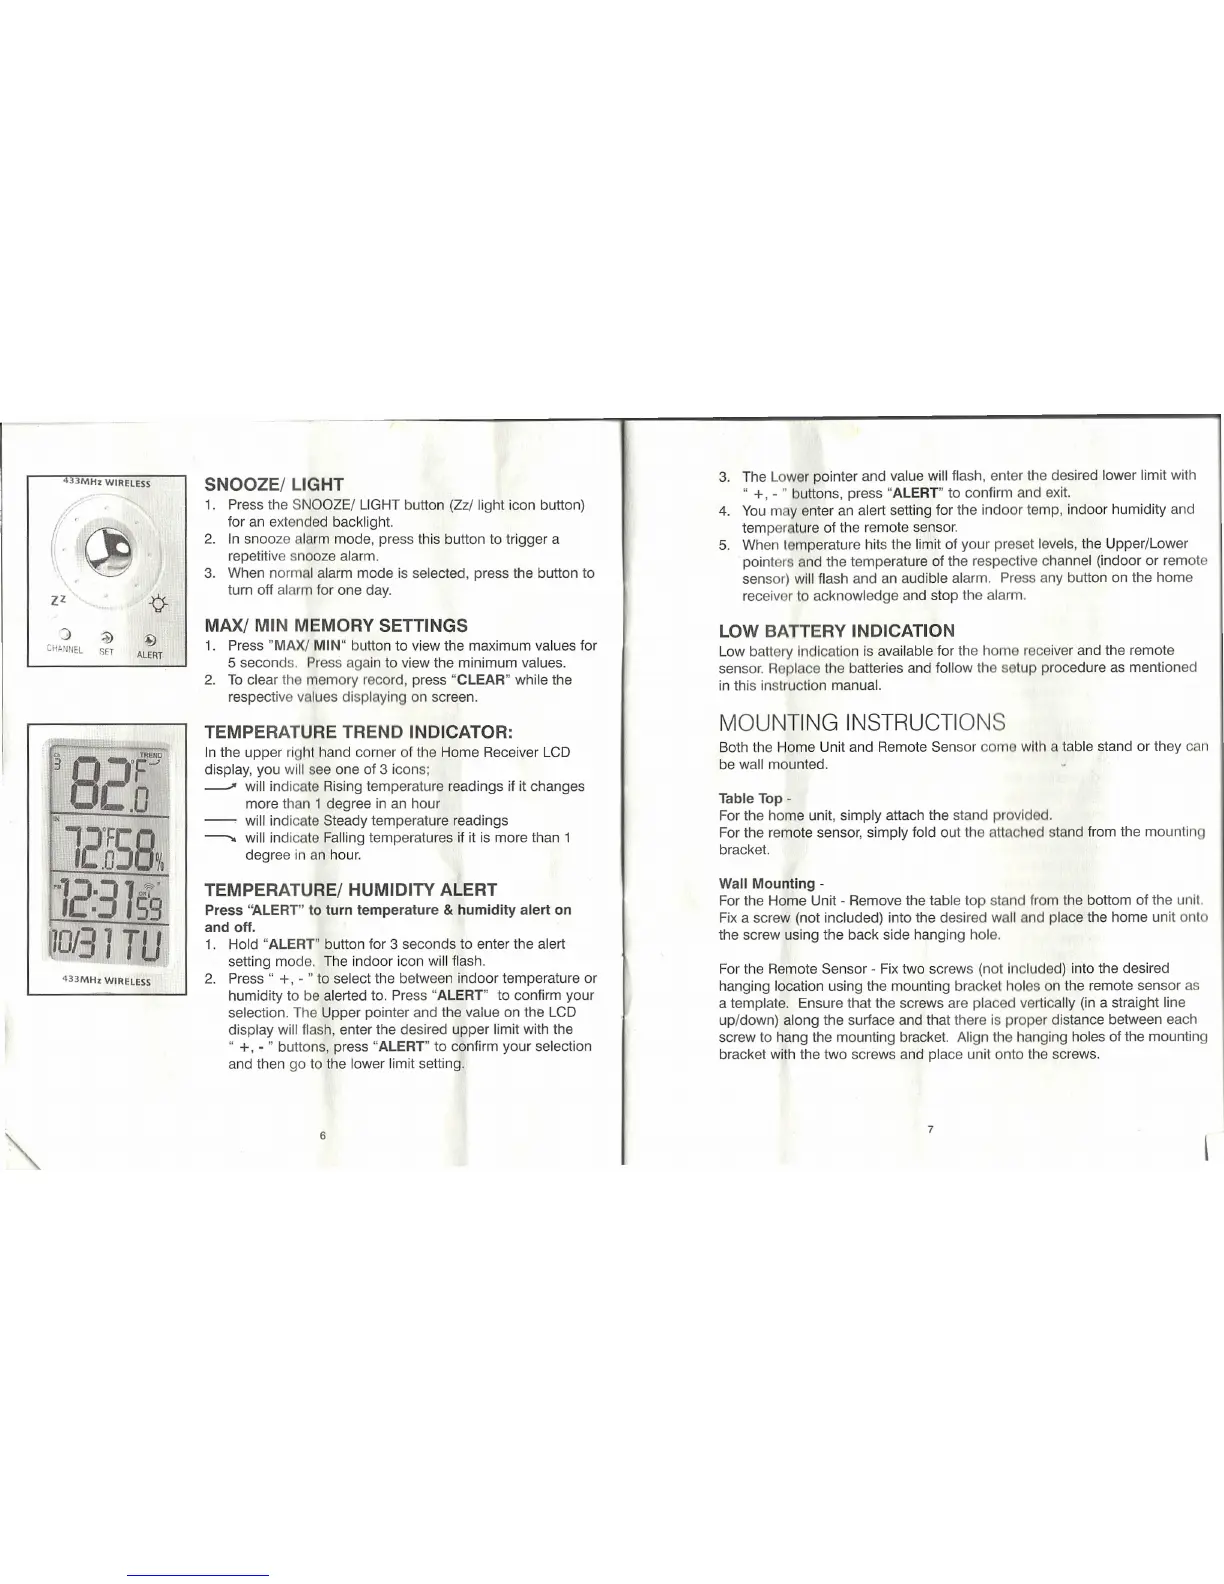
TEMPERATURE TREND INDICATOR:
In the upper right hand corner of the Home Receiver LCD
display, you will see one of 3 icons;
---" will indicate Rising temperature readings if it changes
more than 1 degree in an hour
--. will indicate Steady temperature readings
~ will indicate Falling temperatures if it is more than 1
degree in an hour.
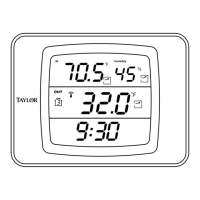
TEMPERATURE/ HUMIDITY ALERT
Press "ALERT" to turn temperature & humidity alert on
and off.
1. Hold "ALERT" button for 3 seconds to enter the alert
setting mode. The indoor icon will flash.
2. Press" +, - " to select the between indoor temperature or
humidity to be alerted to. Press "ALERT" to confirm your
selection. The Upper pointer and the value on the LCD
display will flash, enter the desired upper limit with the
" +, - " buttons, press "ALERT" to confirm your selection
and then go to the lower limit setting.
6
3. The Lower pointer and value will flash, enter the desired lower limit with
" +, - " buttons, press "ALERT" to confirm and exit.
4. You m y enter an alert setting for the indoor temp, indoor humidity and
temper ture of the remote sensor.
5. When temperature hits the limit of your preset levels, the Upper/Lower
pointers and the temperature of the respective channel (indoor or remote
sensor) will flash and an audible alarm. Press any button on the home
receiv r to acknowledge and stop the alarm.
LOW BATTERY INDICATION
Low battery Indication is available for the home receiver and the remote
sensor. Replace the batteries and follow the setup procedure as mentioned
in this instruction manual.
MOUNTING INSTRUCTIONS
Both the Home Unit and Remote Sensor como with a table stand or they can
be wall mounted. •
Table Top-
For the home unit, simply attach the stand provided.
For the remote sensor, simply fold out the attached stand from the mounting
bracket.
Wall Mounting -
For the Home Unit - Remove the table top stand from the bottom of the unit.
Fix a screw (not included) into the desired wall and place the home unit ont
the screw using the back side hanging hole.
For the Remote Sensor - Fix two screws (not Included) into the desired
hanging location using the mounting bracket holes on the remote sensor as
a template. Ensure that the screws are placed vertically (in a straight line
up/down) along the surface and that there is proper distance between each
screw to hang the mounting bracket. Align the hanging holes of the rnounting
bracket With the two screws and place unit onto the screws.
7
I ,