4
Unit Setup
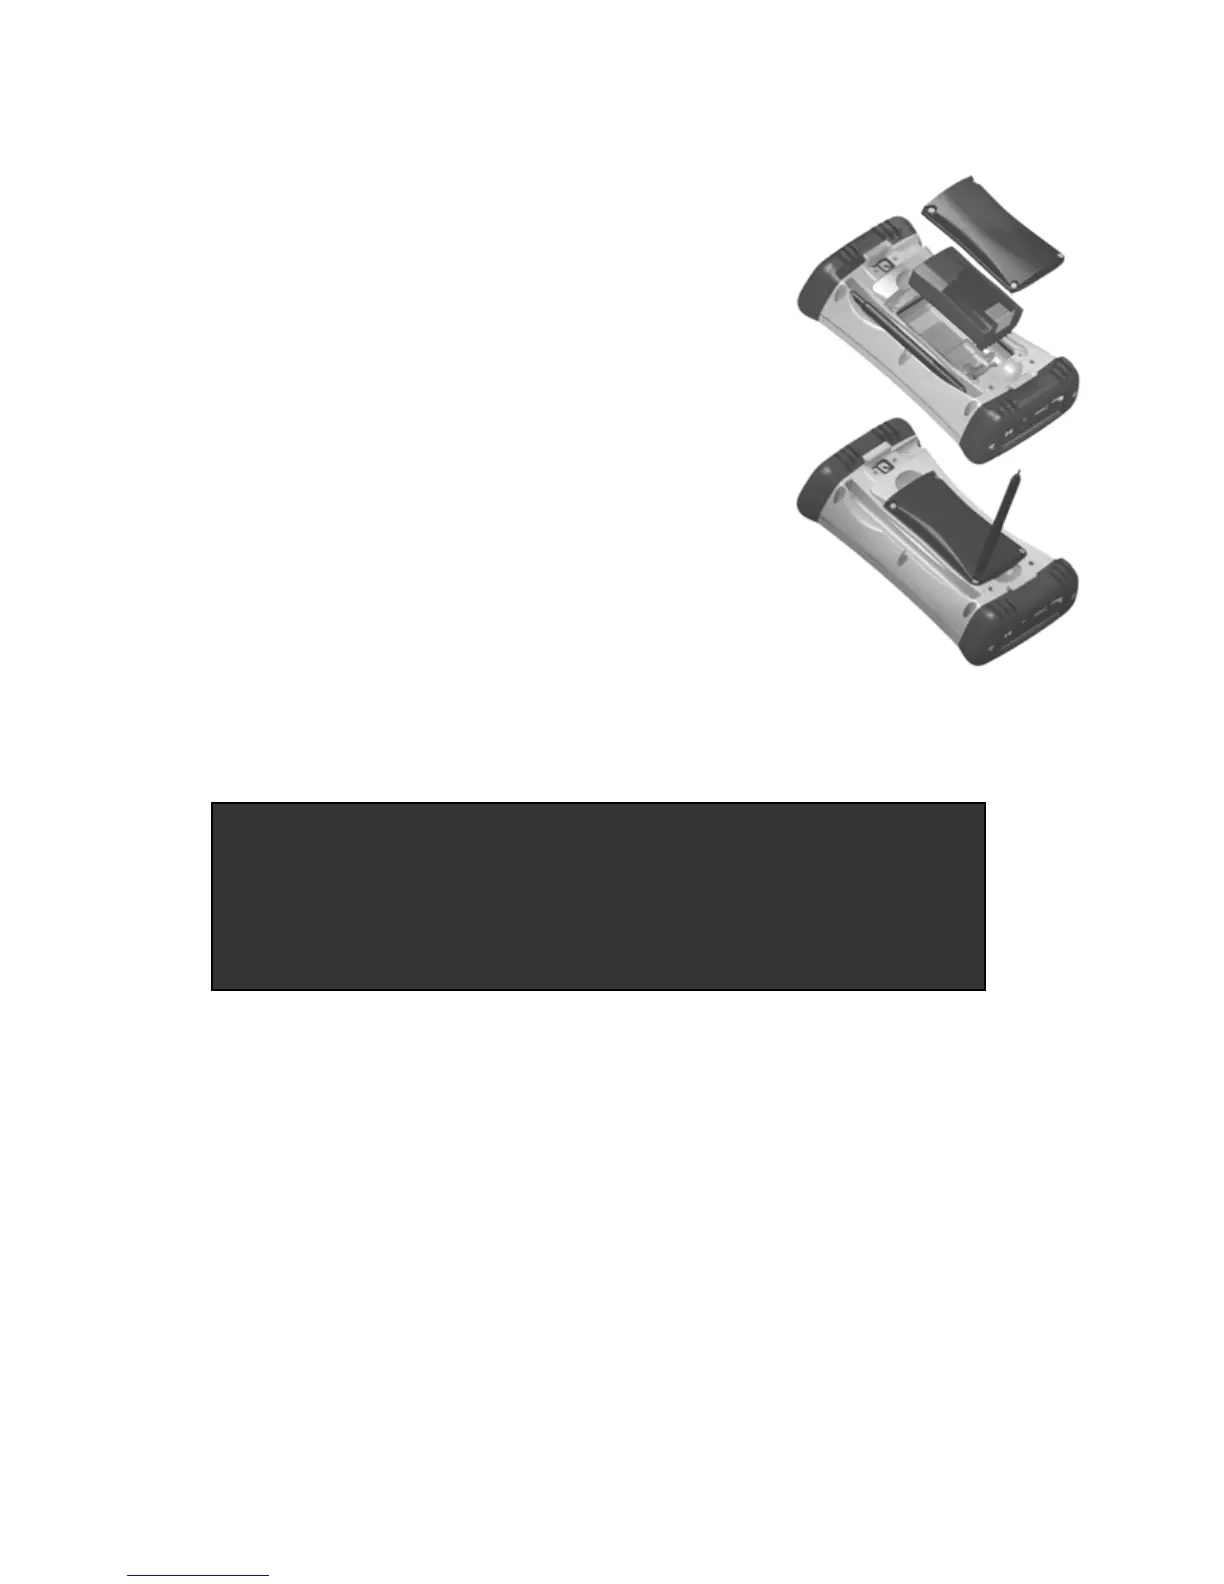
1. Install the battery
The Lithium-Ion (Li-Ion) battery and battery
cover are shipped detached from the unit.
Insert the battery into the compartment so
the connectors on the battery mate with the
pins in the battery compartment. Press
firmly. Place the battery door over the
battery, with the flat side of the battery door
at the top.
Remove the cap from the end of the stylus
to expose a Philips screwdriver, or use a
small #1 Philips head screwdriver to finger-
tighten the four screws in the battery door.
NOTE: DO NOT use the screwdriver part
of the stylus on the touchscreen or it will scratch your screen.
Only use the spring-tip end of the stylus.
2. Charge the battery
The AC adapter that ships with your unit has multi-national plugs
that fit almost every electrical outlet in the world. Connect the
appropriate AC plug to the AC adapter for your country. Plug into
an electrical outlet and plug the barrel end of the AC adapter into
the unit.
Warning! Be sure to only use the AC adapter included with your
unit. Use of other adapters will void the product warranty.
IMPORTANT: Fully charge the battery once it’s installed in the
unit. The battery gauge may not be accurate until it has
been fully charged at least one time, which should take
approximately 4 ½ hours. The battery LED (right side of
unit
will turn
reen once it’s full
char
ed.