2
Preparing your Personal computer for FD-235 Floppy Drive Installation
1. Unplug your computer from the power source.
2. Remove cover from your computer. Refer to your computer system
manual for this procedure.
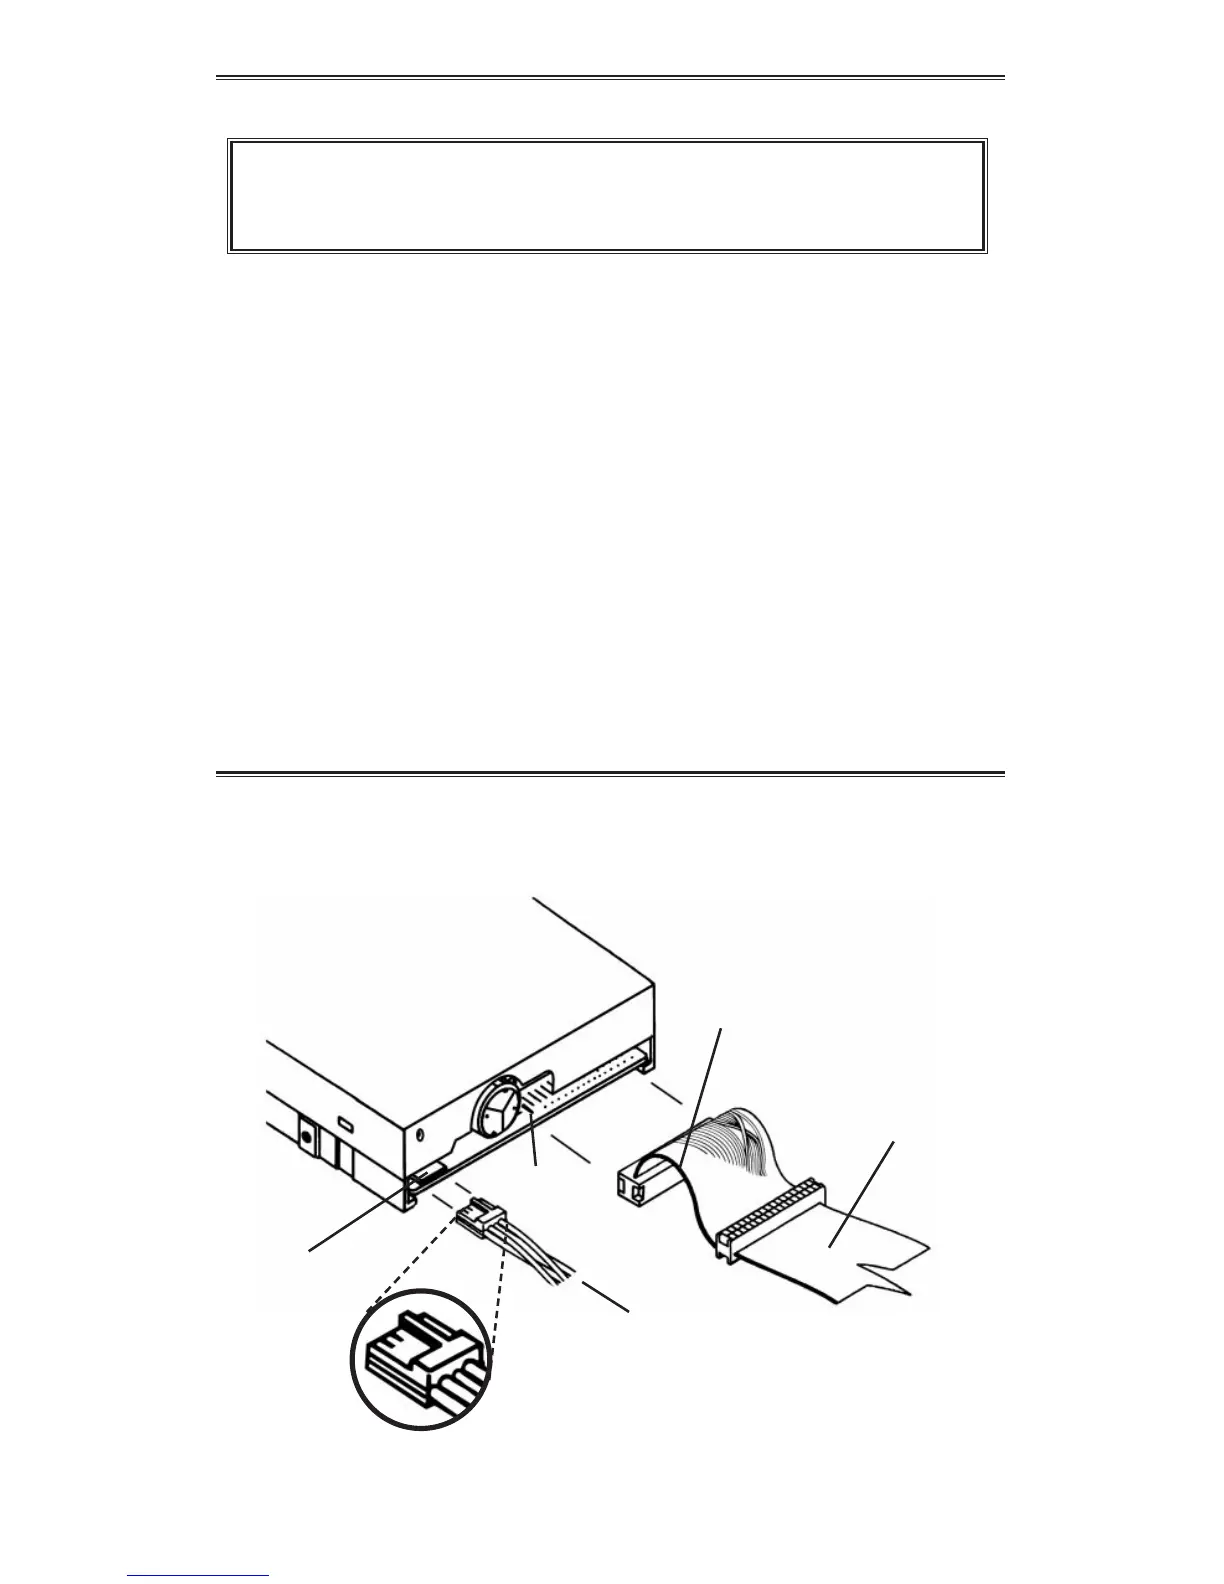
3. If you are replacing a current floppy, note the cables that are connected
to your floppy disk drive, as these same cables will be required to install
your FD-235. The floppy interface cable is the flat “ribbon” type, and
the power connector consists of the 4 or 2 separate wires attached to a
single connector. See Figure A.
Your system may also have a single ground wire attached to the floppy
disk drive. Carefully disconnect all cables from your floppy disk drive.
Remove original floppy disk drive.
4. Install the FD-235 Series 1.44 MB into an available drive bay.
Rear View of FD-235
CAUTION: TURN OFF YOUR COMPUTER AND UNPLUG IT FROM
THE AC POWER SOURCE BEFORE INSTALLING THE FD-235.
FAILURE TO DO SO MAY RESULT IN ELECTRIC SHOCK.
Traditional power connector
from PC power supply
Pin #1 indicator stripe
(red or blue)
Flat “ribbon” cable
Power connector
FIGURE A
Pin #1
 Loading...