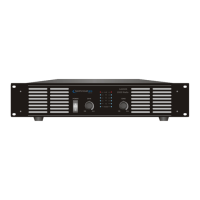
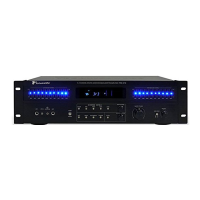
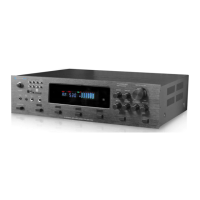
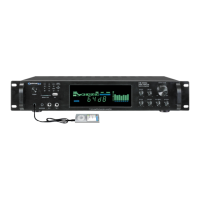
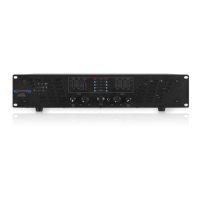
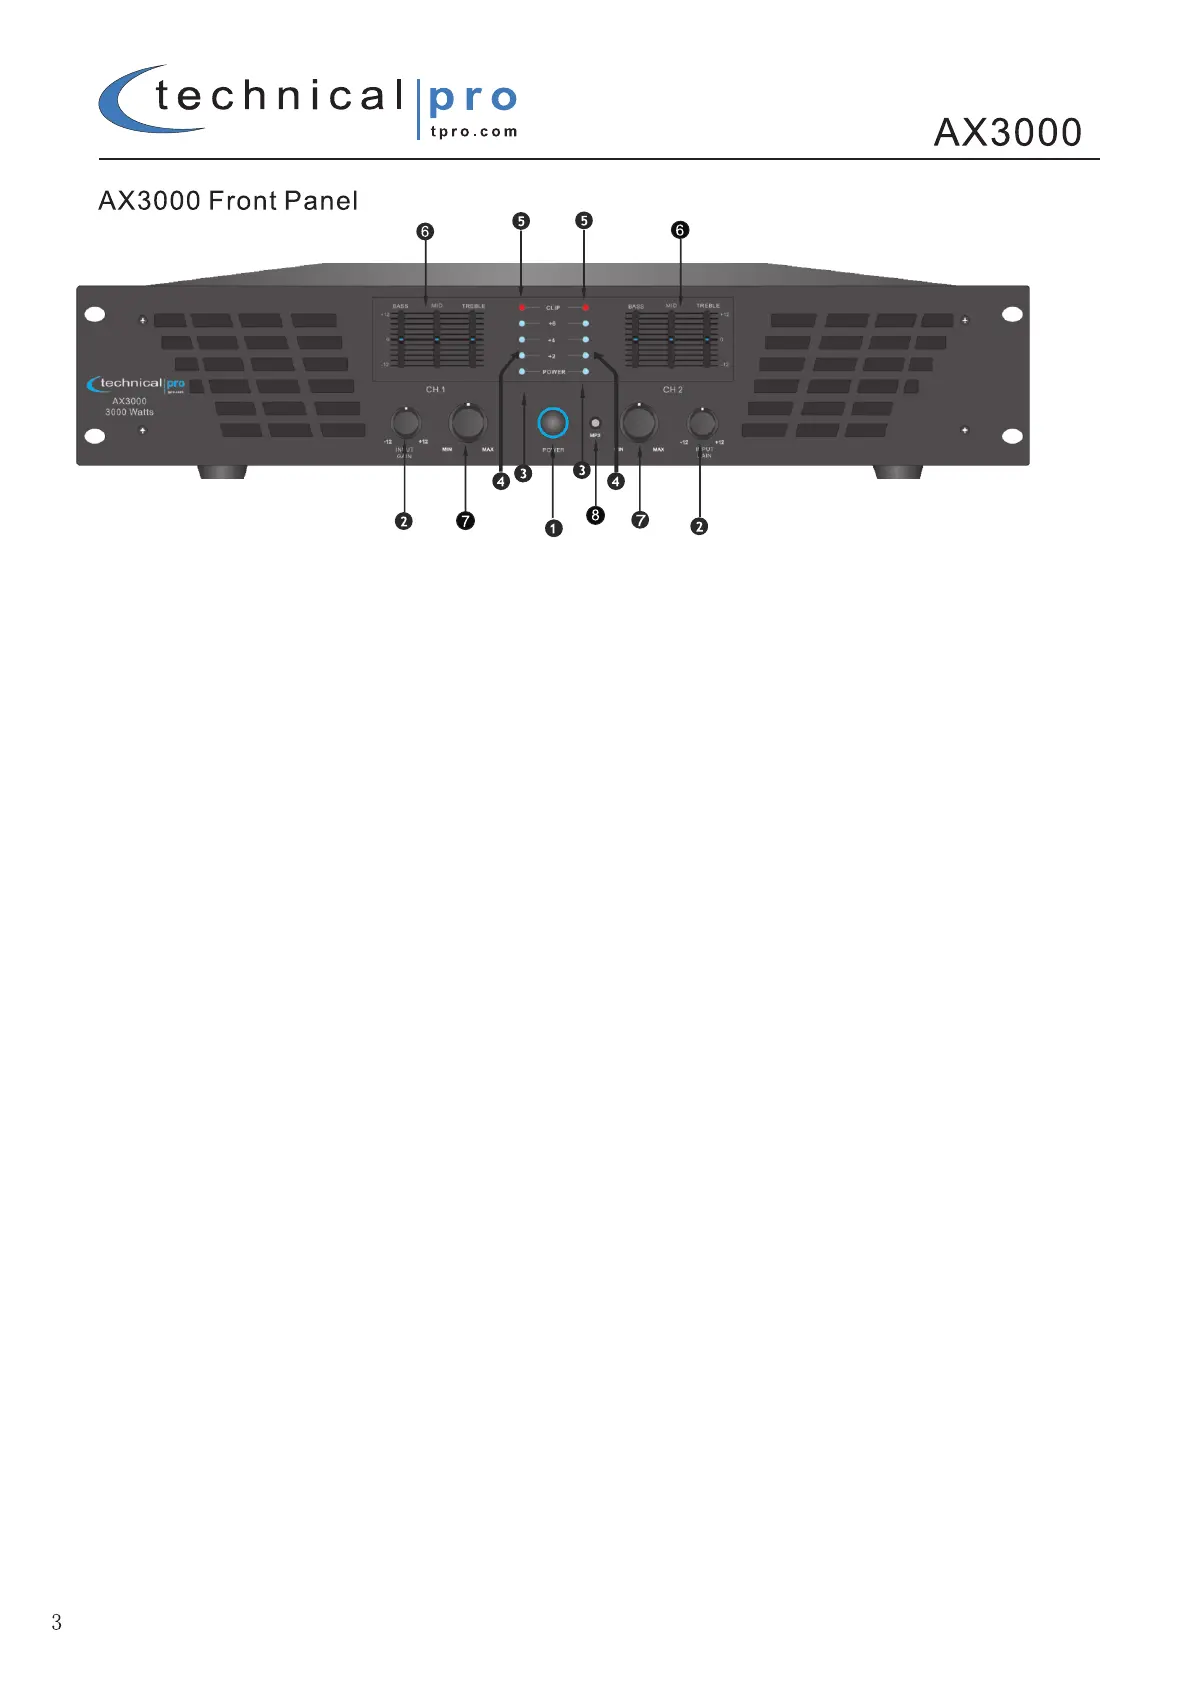
This button turns on the power to the amplifier. Before turning on the amplifier, set the input gain and volume knobs
all the way down.
2. INPUT GAIN (dB)
These two controls are used to adjust the input gain of each channel. Use the input gain knobs to adjust the input
signal level on each channel. To achieve the best sound levels without introducing any distortion set the input gain
levels as high as possible without clipping the amplifier. Only after the gain knobs is set should you adjust the volume
knob.
3. POWER LED INDICATOR
These indicators will illuminate when the AC main power is being supplied to the amp and both channels are
operational. If the channel experiences faulty conditions, then the channel power LED will not illuminate.
4. LEVEL LED INDICATOR
Channel A and Channel B level LED indicator. Allows you to monitor the decible level of the source’s input. If the CLIP
LED illuminates the input gain / volume levels should be adjusted.
5. OVERLOAD (CLIPPING) LED INDICATOR
These indicators illuminate when the associated channel has been overloaded. If the Clip (red) LED is consistently
Illuminating adjust the input gain and volume knob to prevent damaging your amplifier or speakers..
6. 3 BAND EQUALIZER
Equalizer with Bass, Mid and Treble adjustment from +12dB to -12dB . Frequency range for Bass: 80Hz +/-12dB,
Mid: 1KHz +/-12dB, Treble: 11KHz +/-12dB
7. VOLUME CONTROL
These two controls are used to adjust the output volume of each channel of the power amplifier.
8. MP3 INPUT
Connect your MP3 player or laptop directly to the amplifier using this 1/8” input.