2 Setup
Page4
2.1 Unpack Your Amplifier
Please unpack and inspect your amplifier for
any damage that may have occurred during
transit. If damage is found, notify the transpor-
tation company immediately. Only you can ini-
tiate a claim for shipping damage.
We also recommend that you save all packing
materials so you will have them if you ever
need to transport the unit. Never ship the
unit without the factory packing material.
You will need:
*Input wiring cables (not supplied)
*Output wiring cables (not supplied)
Rack and rack-mounting hardware for mounting
amplifier .
WARNING: Before you start to set up
your amplifier, make sure you read and
observe the Important Safety Instructions
found at the beginning of this manual.
!
!
2.2 Install Your Amplifier
CAUTION: Before you begin, make sure
your amplifier is disconnected from the
power source, with the power switch in
the off position and all level controls
turned completely down
(counterclockwise).
Use a standard 19-inch (482.6 mm) equipment
rack. See Figure 2.2 for amplifier dimensions.
You may also stack amps without using a
cabinet.
NOTE: When transporting, amplifiers should
be supported at both front and back.
2.3 Ensure Proper Cooling
When using an equipment rack, mount units
directly on top of each other. Close any open
spaces in rack with blank panels. DO NOT
block front or rear air vents. Be sure that cooler
air can flow through the rack either from the
front of back of the rack.
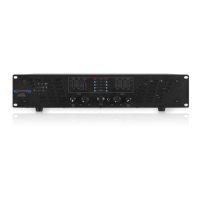
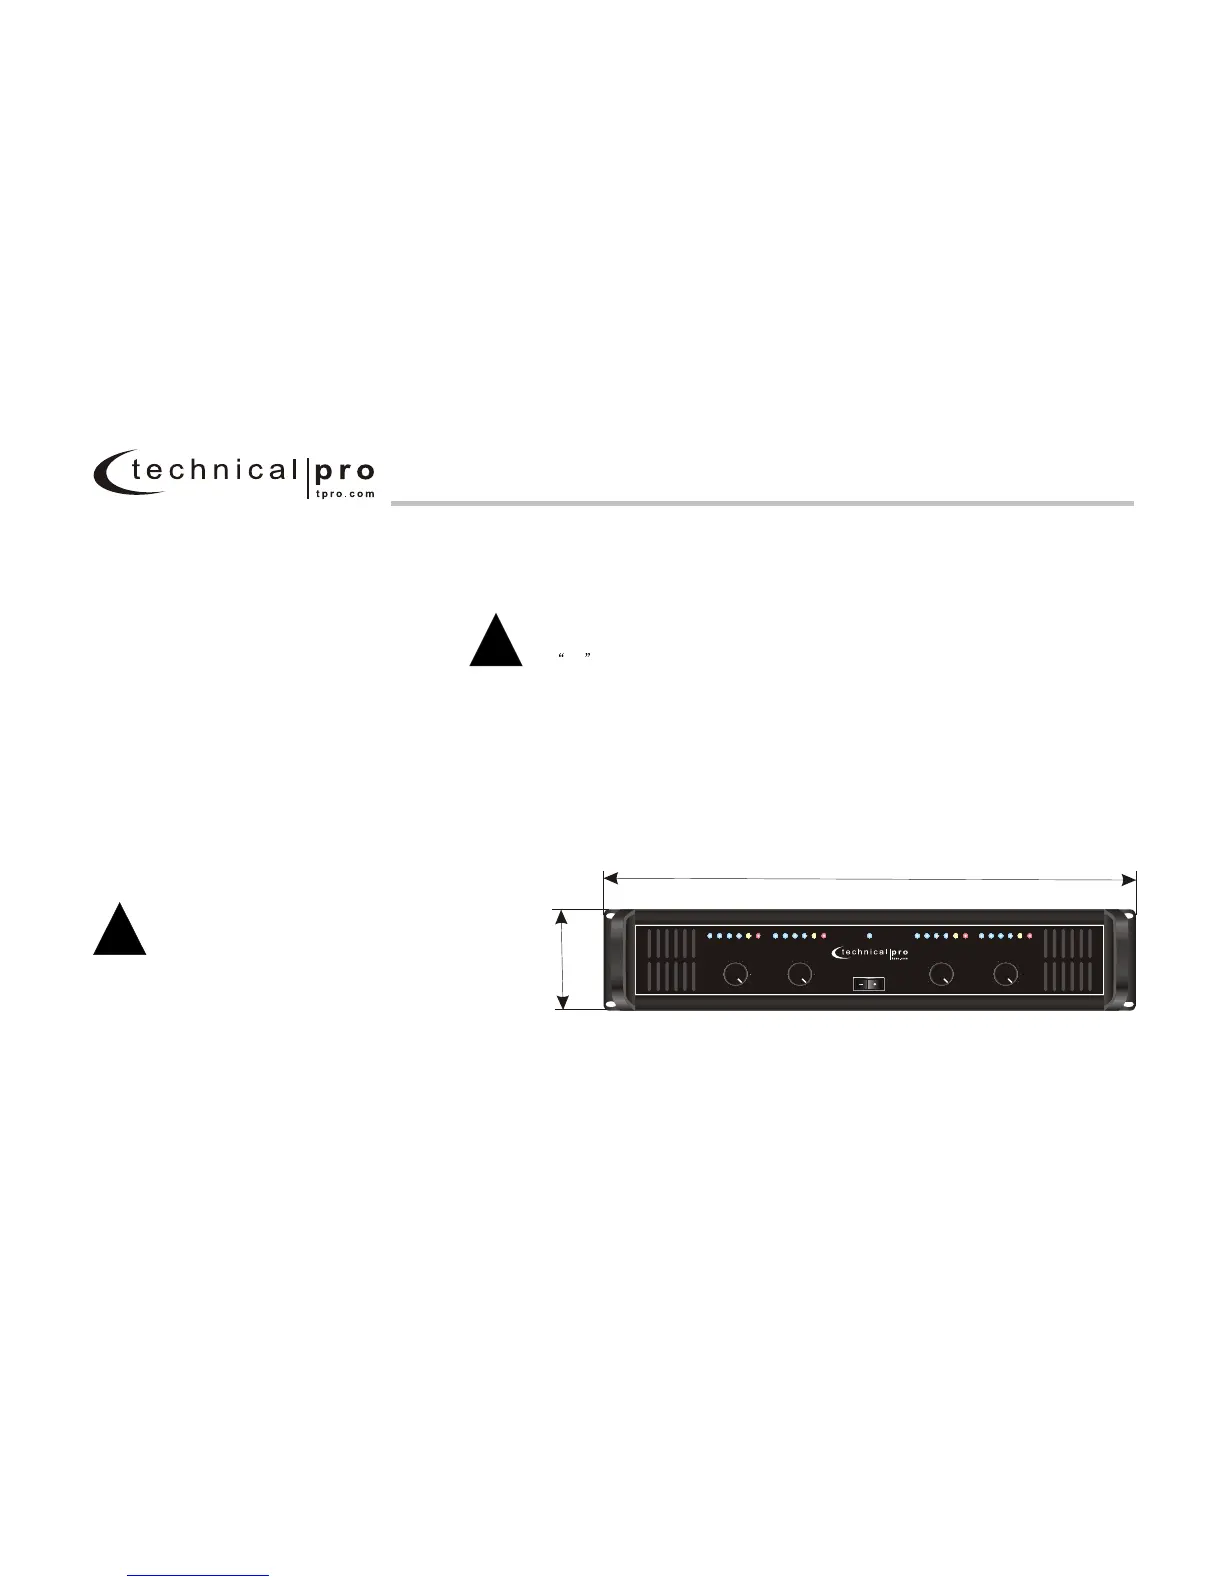
Figure 2.2 L-Series Dimensions
19”
3.5”
ON OFF
L4Z-4001L4Z-4001
POWER
MIN MAX MIN MAX
CH1 Ch2
CLIP +12 +6 0 -6 -12 CLIP +12 +6 0 -6 -12
MIN MAX MIN MAX
Ch3 Ch4
CLIP+12+60-6-12 CLIP+12+60-6-12
L - SERIES 4 Way Professional Amplifier