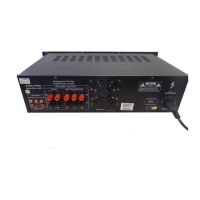
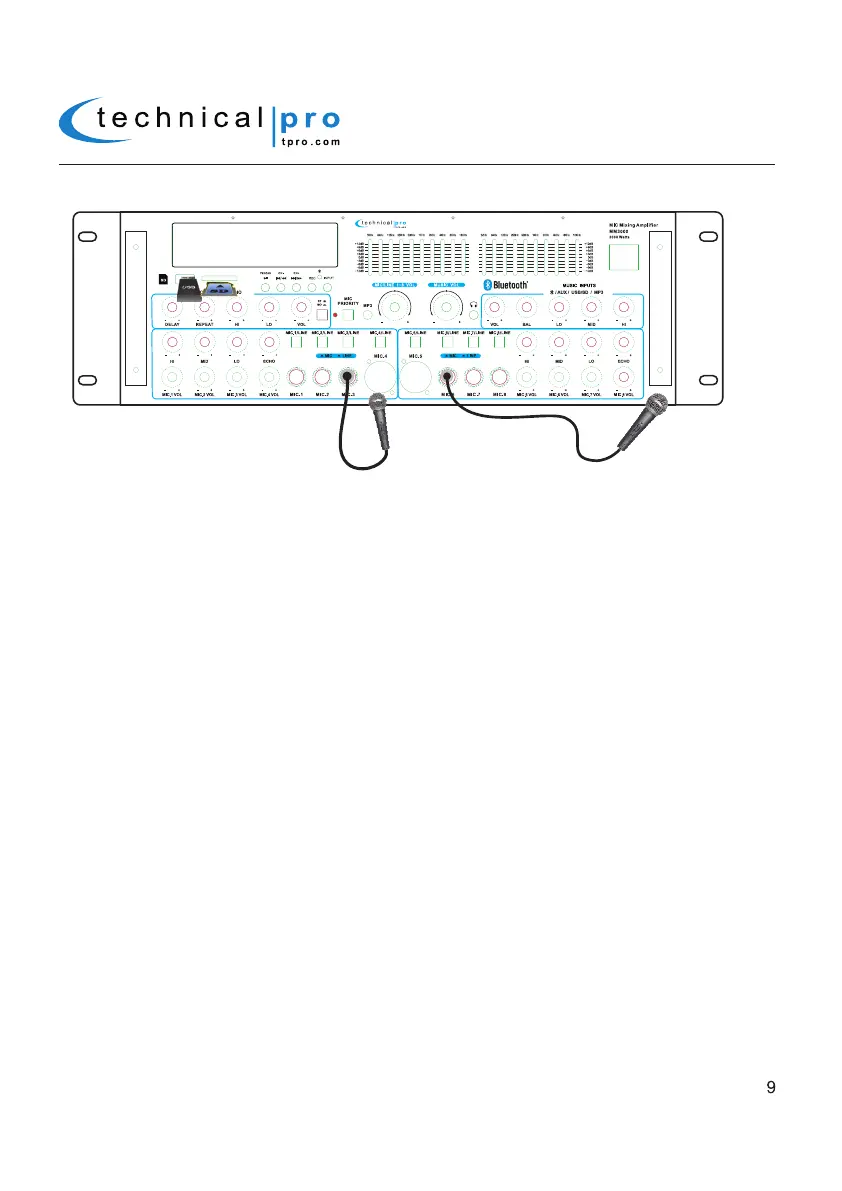
There are six ¼" inputs on the face of the unit which you can plug microphones or line level devices directly into. It is
important to note that before connecting any devices to these inputs the Group 1 & 2 Microphone / Line Selectors
should be set to match the device being connected. For example, when connecting a microphone, set the selector to
MIC, when connecting a mixer, set the selector to Line. To use, simply plug the microphones into the ¼" inputs while the
speaker and microphones are in the OFF position. Once plugged in, power on the unit and microphones. Once turned
on, simply turn up the Microphone Volume (29 & 39) and the Mic / Line 1-8 Volume (10) to the desired levels. There are
also two XLR inputs on the face of the unit which you can input a balanced microphone / line signal into.
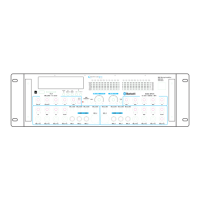
The eight microphone inputs have many options which can be controlled on the front panel of the unit. The microphone
volume controls can be found on the front panel of the unit. Use these controls to adjust the volume of the microphones.
Each group microphone inputs has eight sound controls on the front panel of the unit, a treble control, a middle tone
control, a bass control, an echo control & four volume controls for corresponding microphone inputs. Use these controls
to adjust the sound from the microphones.
Microphone Controls
Connecting Microphones to MM3000
Volume and Tone Controls
The volume controls on the face of the unit control the volume at which the signal is played at.Turn the volume controls
clockwise to increase the volume and counter-clockwise to decrease the volume.
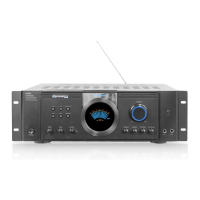
MM3000
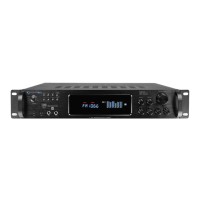
There are also SD Card and USB flash drive inputs on the front panel of the MM3000. The maximum size of the SD
Card or USB flash drive is 32GB. If your memory card exceeds 32GB, the unit will not be able to read the files from the
memory cards. You will only be able to play .mp3, .wav, .wma files directly from these memory cards once they are
inserted into the front panel of the unit. Press the play/pause button on the front panel of the unit to begin playing files
from your USB /SD Card, press this button again to pause. Press the NEXT button to move to the next track on either
the USB or SD Card. Press the PREVIOUS button to move to the previous track on either the USB or SD Card.
NOTE: THE USB INPUT WILL ONLY CONNECT TO A USB FLASH DRIVE. DO NOT ATTEMPT TO CONNECT THE
USB INPUT DIRECTLY TO A COMPUTER AS THE MM3000 WILL NOT BE ABLE TO PLAY FILES DIRECTLY FROM
A COMPUTER VIA THE USB INPUT. BE SURE NOT TO HOOK-UP AN AMPLIFIER OR ANY AMPLIFIED SIGNAL
INTO THE RCA INPUT JACK AS THIS COULD DAMAGE THE MM3000. NO OTHER AMPLIFIER IS NEEDED TO
POWER YOUR SIGNAL IN ADDITION TO THE MM3000. ALWAYS MAKE SURE THAT THERE IS ONLY ONE
AMPLIFIER IN THE SIGNAL PATH.
Programming the FM Tuner
Set the input to Tuner. Then press the Play / Pause button to scan for all the available stations from lowest frequency to
the highest frequency. The unit will automatically save all the stations searched and start to play the first station saved
after searching. You can press the NEXT button (15) or PREV button (16) to go to the next or previous saved station.
Connecting a USB Flash Drive / SD Card to the MM3000
L
R