Network settings (Continued)
■ U sing th e W A C (W ire less A ccesso ry
C o n fig u ration )
"W AC M ode for iOS"
You can send its Wi-Fi configuration to this unit
using an iPhone/iPad/iPod touch.
• Supported devices:
iPhone/iPad/iPod touch (iOS version 7.0 or
later)
• The following explanations are based on an
iPhone.
• Make sure your iPhone is connected to your
home wireless netw ork beforehand.
• This unit uses the 2.4 GHz frequency band
only. Check your iPhone is connected using
2.4 GHz band.
1 P re s s [a ], [▼ ] o n th e re m o t e c o n tro l
to s e le c t " W A C M o d e fo r iO S " a n d
th e n p re s s [O K ].
• "Setting" is displayed.
2 G o to W i- F i s e ttin g s o n y o u r iP h o n e .
3 S e le c t "T e c h n ic s SC-C70 * * * * * * "
u n d e r th e " S E T U P N E W A IR P L A Y
S P E A K E R ..." o n y o u r iP h o n e .
• " * * * * * * " stands for a character that is
unique to each set.
4 T h e "A ir P la y S e tu p " s c re e n a p p e a r s
o n y o u r iP h o n e .
• This unit will be displayed as "Technics SC-
C70 * * * * * * " To change the name, enter a
new name to replace the existing one. You
can also do the renaming after the network
connection is set up.
• You can set a password for this unit under
"SPEA K ER PA SS W O R D " (You will need this
password if you make network settings by
internet browser next time.)
5 S e le c t " N e x t " to a p p ly th e s e ttin g s .
• "Linking" is displayed.
• W hen the connection is established,
"Success" is displayed.
- "Fail" may be displayed if the connection
was not complete. Try this method
again from [SETUP] menu. If "Fail" is still
displayed, try other methods (^ 13).
6 P re s s [O K ] o n th e r e m o te c o n tro l to
e x it th e s e t tin g .
• " ^ ? " is displayed.
N ote
• M ac (OS X 10.9 or later, with AirPort Utility
6.3.1. or later) also supports the W A C (Wireless
Accessory Configuration).
■ U sing the W P S bu tton
"W P S Push"
If your wireless router supports W PS , you can
set up a connection by pressing the W P S button
• A compatible wireless router may have the
W P S identifier mark.
1 Pr e s s [a ], [▼ ] o n th e re m o te c o n tro l
to s e le c t " W P S P u s h " a n d t h e n p re s s
[O K ].
• "W P S " is displayed. Complete step 2 within
2 minutes.
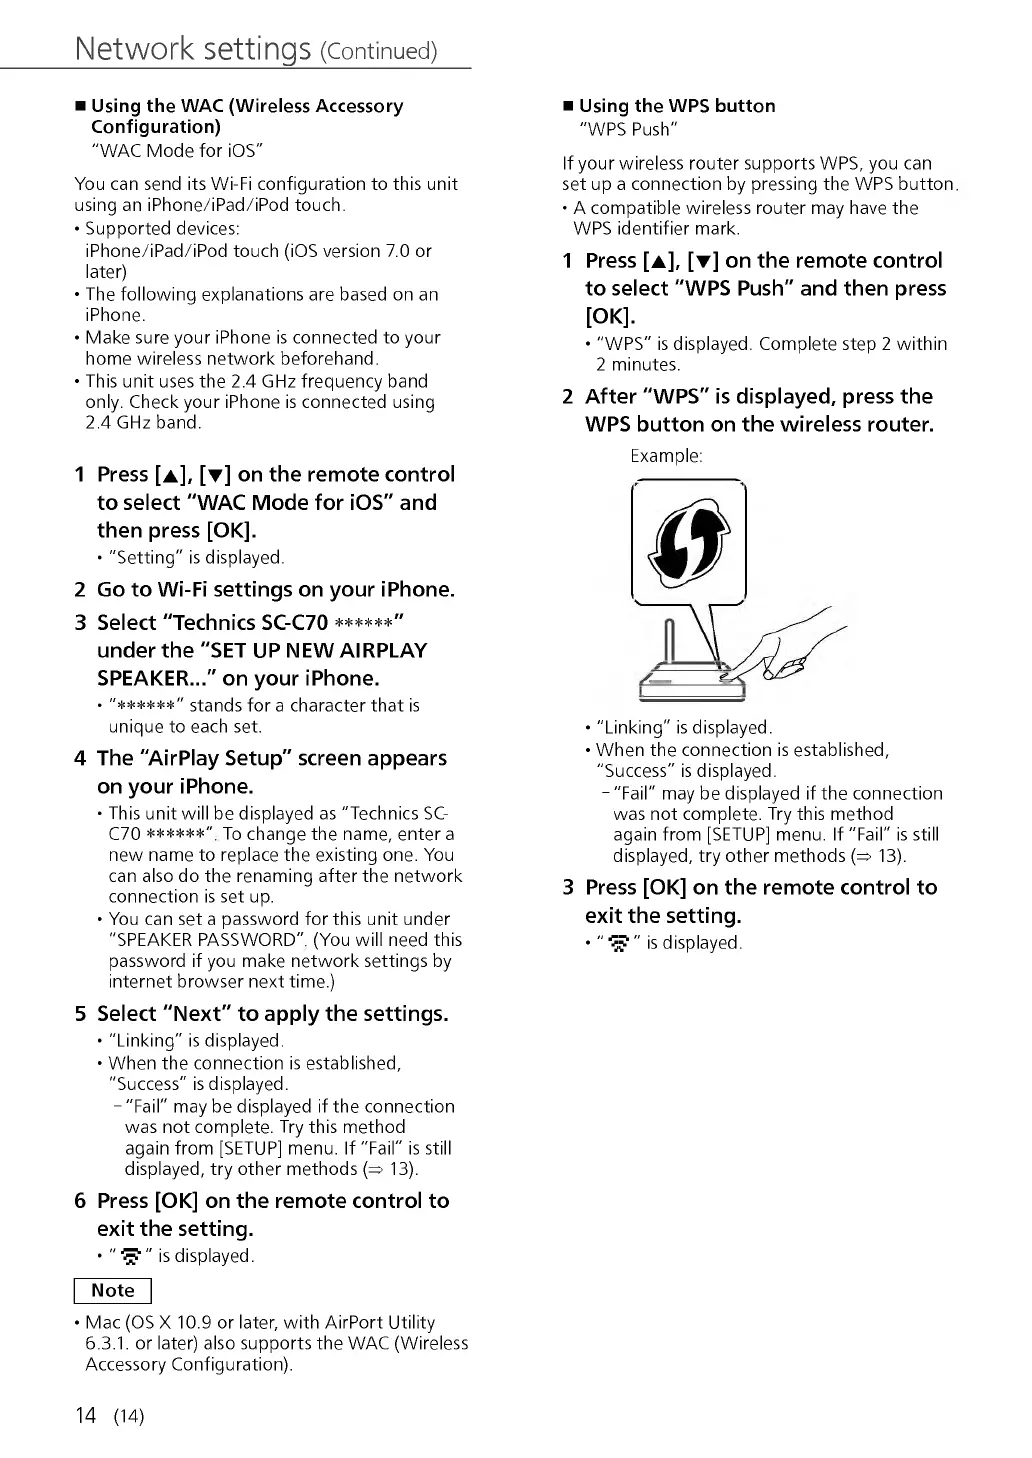
2 A ft e r " W P S " is d is p la y e d , p re s s th e
W P S b u tt o n o n t h e w ir e le s s ro u te r.
Example:
• "Linking" is displayed.
• W hen the connection is established,
"Success" is displayed.
- "Fail" may be displayed if the connection
was not complete. Try this method
again from [SETUP] menu. If "Fail" is still
displayed, try other methods (^ 13).
3 Pre s s [O K ] o n th e re m o te c o n tro l to
e x it th e s e ttin g .
• " Í ? " is displayed.
14 (14)
 Loading...