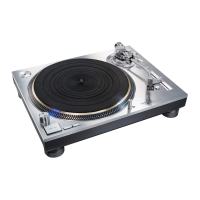
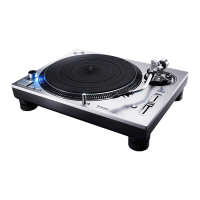
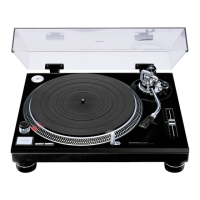
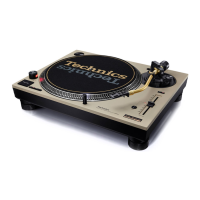
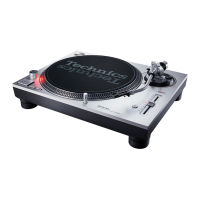
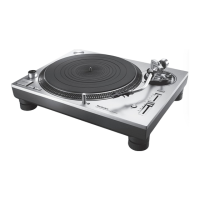
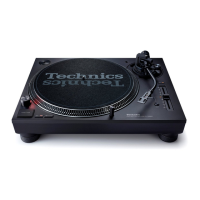
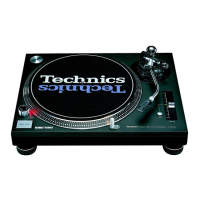
Do you have a question about the Technics SL-1200GR and is the answer not in the manual?
Explains the coreless direct drive motor and its benefits for smooth rotation and high torque.
Details the light, rigid aluminum tone arm pipe and gimbal suspension for high sensitivity.
Describes reinforcing ribs and rubber coating on the die-cast platter for rigidity and damping.
Covers the two-layered cabinet (BMC and aluminum die-cast) and silicon rubber insulators for rigidity and damping.
Mentions gold-plated PHONO terminals for sound quality and metal shielding for noise protection.
Explains digital control for constant pitch and the pitch variable range select button.
Covers warnings and cautions related to the unit's operation, environment, and placement.
Details safety measures for the power cord, including voltage, handling, and grounding.
Provides step-by-step instructions and diagrams for replacing the fuse in the AC mains plug.
Guides on connecting PHONO cable, earth lead, and AC mains lead to the player's back terminals.
Instructions on attaching a cartridge to the head shell and adjusting its overhang using a gauge.
Steps for fitting the turntable, turntable mat, head shell, and balance weight onto the player.
Details on removing the magnet cover and setting the turntable onto the centre spindle.
Explains how to connect the turntable to an amplifier using PHONO cables and grounding.
Guides on adjusting the unit's insulators to ensure it is perfectly horizontal.
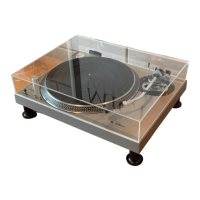
Instructions on how to attach the dust cover to the player.
Steps to set the horizontal balance of the tone arm using the balance weight.
Instructions on setting the correct stylus pressure using the stylus pressure control.
Guides on adjusting the anti-skating control to match the stylus pressure setting.
Steps to adjust the tone arm height so the cartridge is parallel to the record.
Instructions on checking and adjusting the armlift height between the stylus tip and record surface.
How to select and adjust the turntable's startup and brake speeds using control buttons.
Steps to turn the unit on, select speed, and start the turntable revolving.
Instructions on using the RESET button, cue lever, and stylus light during playback.
Details on playing EP/SP records, using a record stabilizer, and stopping playback.
How to select the pitch adjustment range (±8% or ±16%) using the pitch range select button.
Guides on sliding the PITCH ADJ control to fine-tune the playback speed.
Explains how to use the strobe mirrors and strobe light to measure and verify the pitch.
How to reset the pitch to the preset value using the RESET button.
Instructions on cleaning dust from the stylus, records, and head shell terminals.
Guides on wiping the dust cover and cabinet with a soft cloth, avoiding solvents.
Steps for safely removing components and repackaging the unit for transport.
| Drive Method | Direct Drive |
|---|---|
| Turntable Platter | Aluminum Die-cast |
| Wow and Flutter | 0.025% W.R.M.S. |
| Weight | 11.5 kg |
| Motor | Coreless Direct Drive Motor |
| Signal-to-Noise Ratio | 78dB (DIN-B) |
| Effective Tonearm Length | 230 mm |
| Overhang | 15 mm |
| Power Consumption | 14 W |
| Speed | 33 1/3 RPM, 45 RPM |
| Platter Weight | 2.5 kg (Including Rubber Mat) |
| Cartridge Weight Range | 5.6 - 12.0 g (without auxiliary weight) |
| Power Supply | AC 120 V, 60 Hz |
| Dimensions | 453 x 173 x 372 mm |
