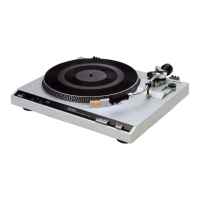
6
After
adjusting
the
horizontal
zero
(0)
balance,
turn
the
balance
weight
clockwise
in
the
direction
of
the
arrow
and
align
to
the
correct
stylus
pressure.
(See Fig. 11.)
(Follow
the
cartridge
manufacturer's
recommendation.)
As
the
stylus-pressure
ring
moves
in
step
with
the
balance
w
eight,
proper
stylus
pressure
can
be
selected
by
directly
reading
the
graduated
ring
.
-
Note:
•
Set
the
stylus
pressure
to
the
maximum
recommended
val
ue
for
your
cartridge
in
cases
where
the
record
has
an
extremely
high
recording
level,
or
where
the
unit
is
operated
in
a
room
at
lo
w
temperature,
or
in
places
in
which
the
unit
is
subjected
to
vibrations.
7 Adjustment of anti-skating control
Set
the
anti-skating
control
knob
to
the
same
value
as the
st
yl
us
pressure. (See Fig. 12.)
Not
e:
• When a
cartridge
with
integral
dust
brush
is used.
follow
the
cartridge
manufacturer's
recommendation
for
adjus
t
ing
both
stylus
pressure
and
anti-skating
force
.
-
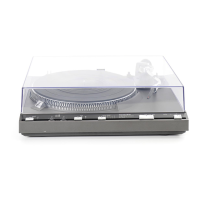
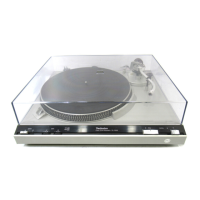
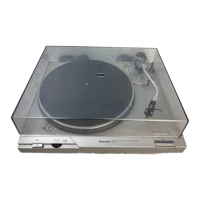
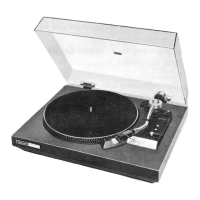
8 In stall ation of dust cover
Place
the
dust
cover
into
position
from
directly
above,
holding
it
at
both
sides
.
For
detaching
the
dust
cover
,
be
certain
first
to
raise
it
as
illustrated
befor
e removal. (See Fig. 13.)
Note:
Opening
or
closing
of
the
dust
cover
during
play
should
be
avoided
.
This
may
not
only
cause
undesired
vibrations,
but
also
result
in
skipping
of
the
stylus
.
• If
you
must
open
the
dust
cover
during
play,
do
so
as
gently
as
possible
.
Dust
cover
-
Placement
Place the unit in a stable and horizontal position, where there
is
little or no vibration.
Locate the unit as far away from the speakers as possible and
isolate the unit from sound radiation from them.
Do not place the unit where it is exposed to direct sun, dust,
moisture or heat.
Keep it in
a well ventilated place.
Connections
• Connect the AC power plug. (See Fig. 14.)
Connec
t
the
AC
po
w
er
pl
ug
to
an A C wall
socket
(120
V,
AC)
.
• Connect the output terminal
s.
(See Fig. 14.)
- 4 -
Output terminals
L (W
hite)
-
-----
R(Red)
GND
(Spade
lug)
-
Not
e:
or
Receiver
L
Cha
nn
el
R
Cha
nnel
GND
• Be
sure
to
connect
the
ground
terminal
firmly
to
the
amp
l
ifier
or
receiver
.
this
connec
t
ion
is
not
made
or
is
loose
, a
po
w
er
source
"
HUM
" w ill resu
lt
.
AC
socket
po
w
er
plug
Ground
Wire GND
termina
ls
Fig. 14