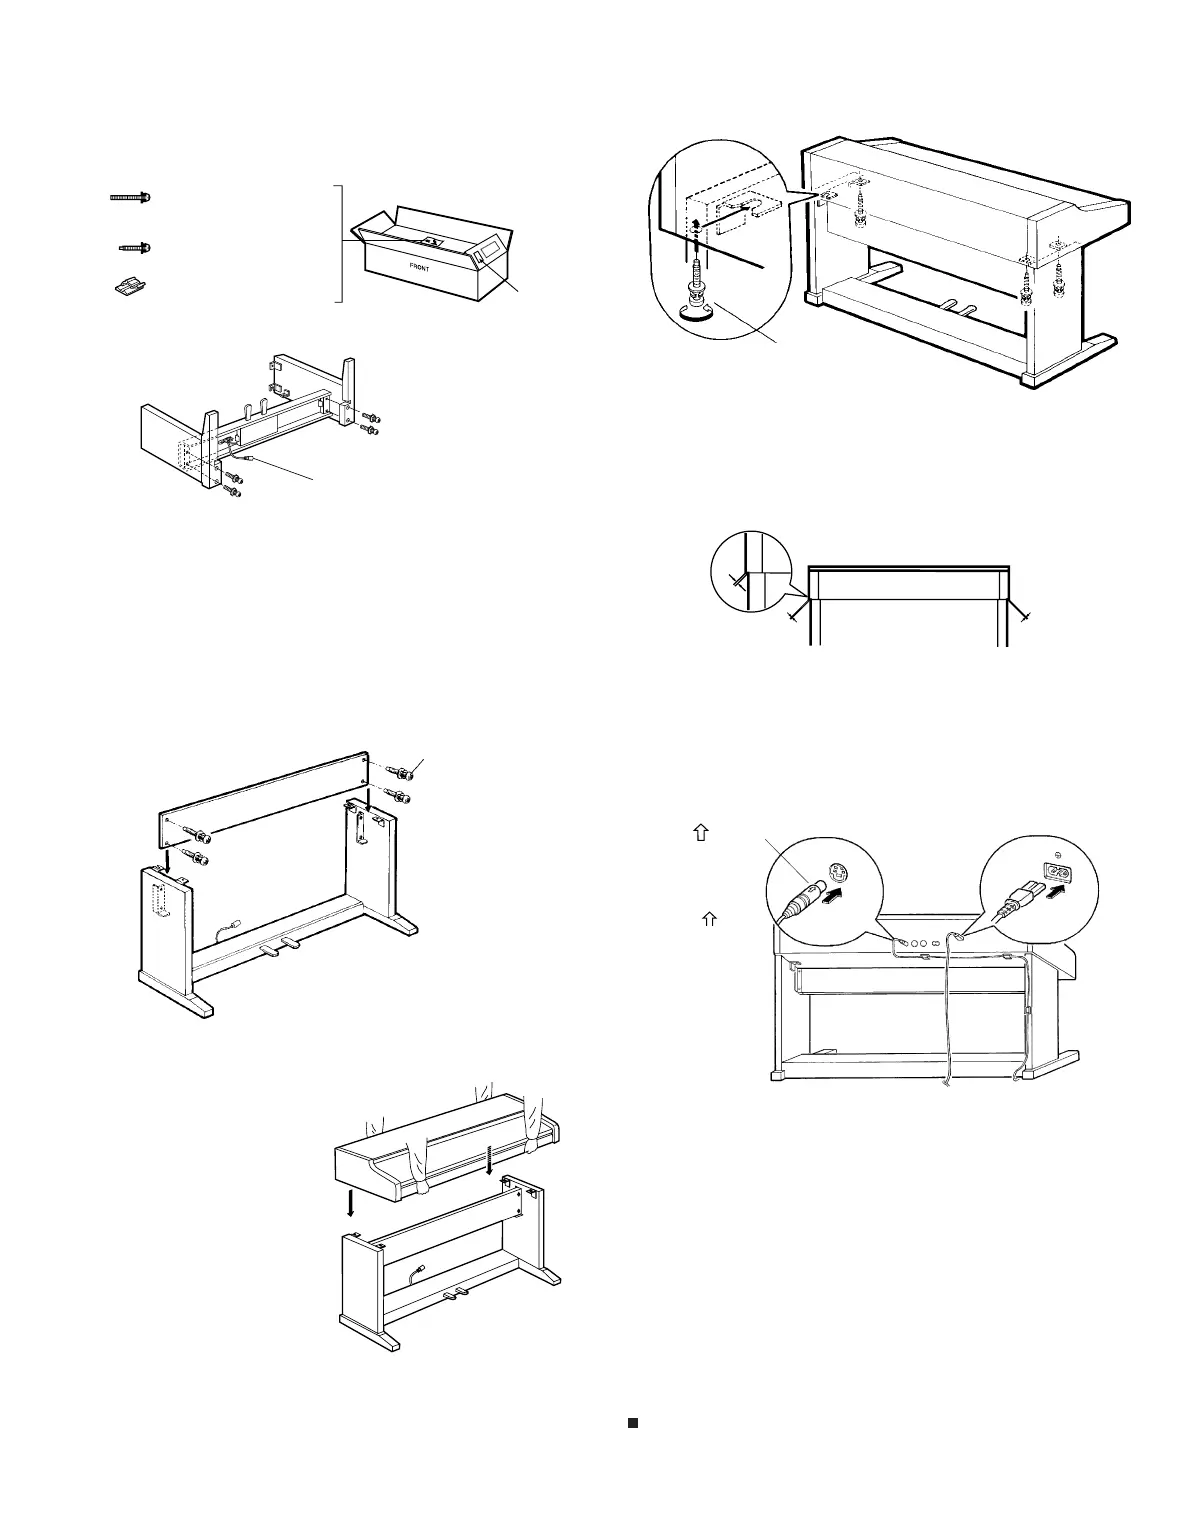
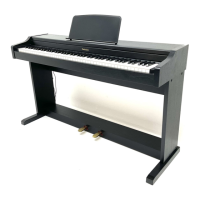
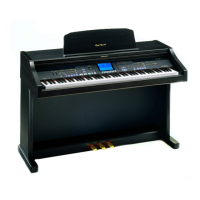
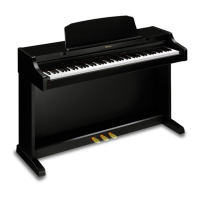
Follow the steps below to assemble your Technics piano. Make sure you are using the correct parts and that they are in the correct direction.
• At least 2 people are required for assembly.
• To disassemble the piano, reverse the procedure.
1. Remove the packing and take the parts out of the car-
ton. Confirm that all the parts on the printed list are
present.
2. Affix the right and left side planks to the pedal box.
(1)Use the 4 brass-colored screws to secure the planks.
(2)Be sure to insert the screws straight.
• If a screw is inserted crookedly, it may be damaged.
(3)Insert each of the 4 screws partway, lightly securing each one little
by little. After confirming that the screws are all correctly inserted,
tighten each one securely.
• If each screw is tightened securely before all the screws are
inserted, the last screw may be very difficult to insert.
(4)Loosen the pedal cord, stowed on the inner side of the pedal box,
and extend it.
3. Affix the cross bar.
4. Place the piano body on the stand.
5. Secure the piano body to the stand.
(1)Insert 2 black screws in the 2 rear screw holes on the underside of
the piano body, and turn each screw 5 or 6 times. Push the piano
body forward so that the screws are fully inserted in the cutout of
the metal piece on either side plank. (This enables you to easily
position the piano body on the stand.)
(2)Adjust the piano body so that the right and left sides project evenly
over the stand.
(3)Positioning the piano body on the stand, confirm that the 4 balck
screws can easily be inserted.
(4)Tighten the 4 screws securely.
6. Connect the pedal cord and power cord to the ter-
minals.
(1)Plug the pedal cord and power cord into the terminals on the rear
of the piano.
(2)Remove the backing from the clamps and affix them as shown in
the figure. Secure the pedal cord to the clamps.
Confirm: After assembling, check these points.
• Are any parts left over?
➝Check the assembly procedure again.
•Does the piano rattle when it is rocked?
➝ Make sure all the screws are securely tightened.
• Is the power cord firmly inserted?
➝ Check again.
• Is the plug of the pedal cord inserted as far into the connector
terminal as it will go?
➝ If it is not completely inserted, the sustain and other pedal
functions may not work.
When the piano has been moved or transported, retighten the
screws securely.
List
Brass-colored
screw . . . . . . . . 4
Black screw . . . . 8
Clamp . . . . . . . . . 3
Pedal cord
WARNING:
Avoid pinching your fingers.
Note 1
Holding the piano body at least
10 cm in from the edge, place
it on the stand so that it does
not fall off.
Note 2
If the piano body is placed too
far to the right or left, or to the
front or back, it will become
unstable.
plug
AC IN
PEDAL IN
Black screw
With the mark
upwards, insert
the plug fully.
Black screw
• Use the 4 screws to affix the cross bar.
mark
6


 To Next Page