Issue/Rev. 0.4 (6/17) ║ MN03010 • Page 15
Model 210 Valve (I / O / S) Manual Service and Maintenance
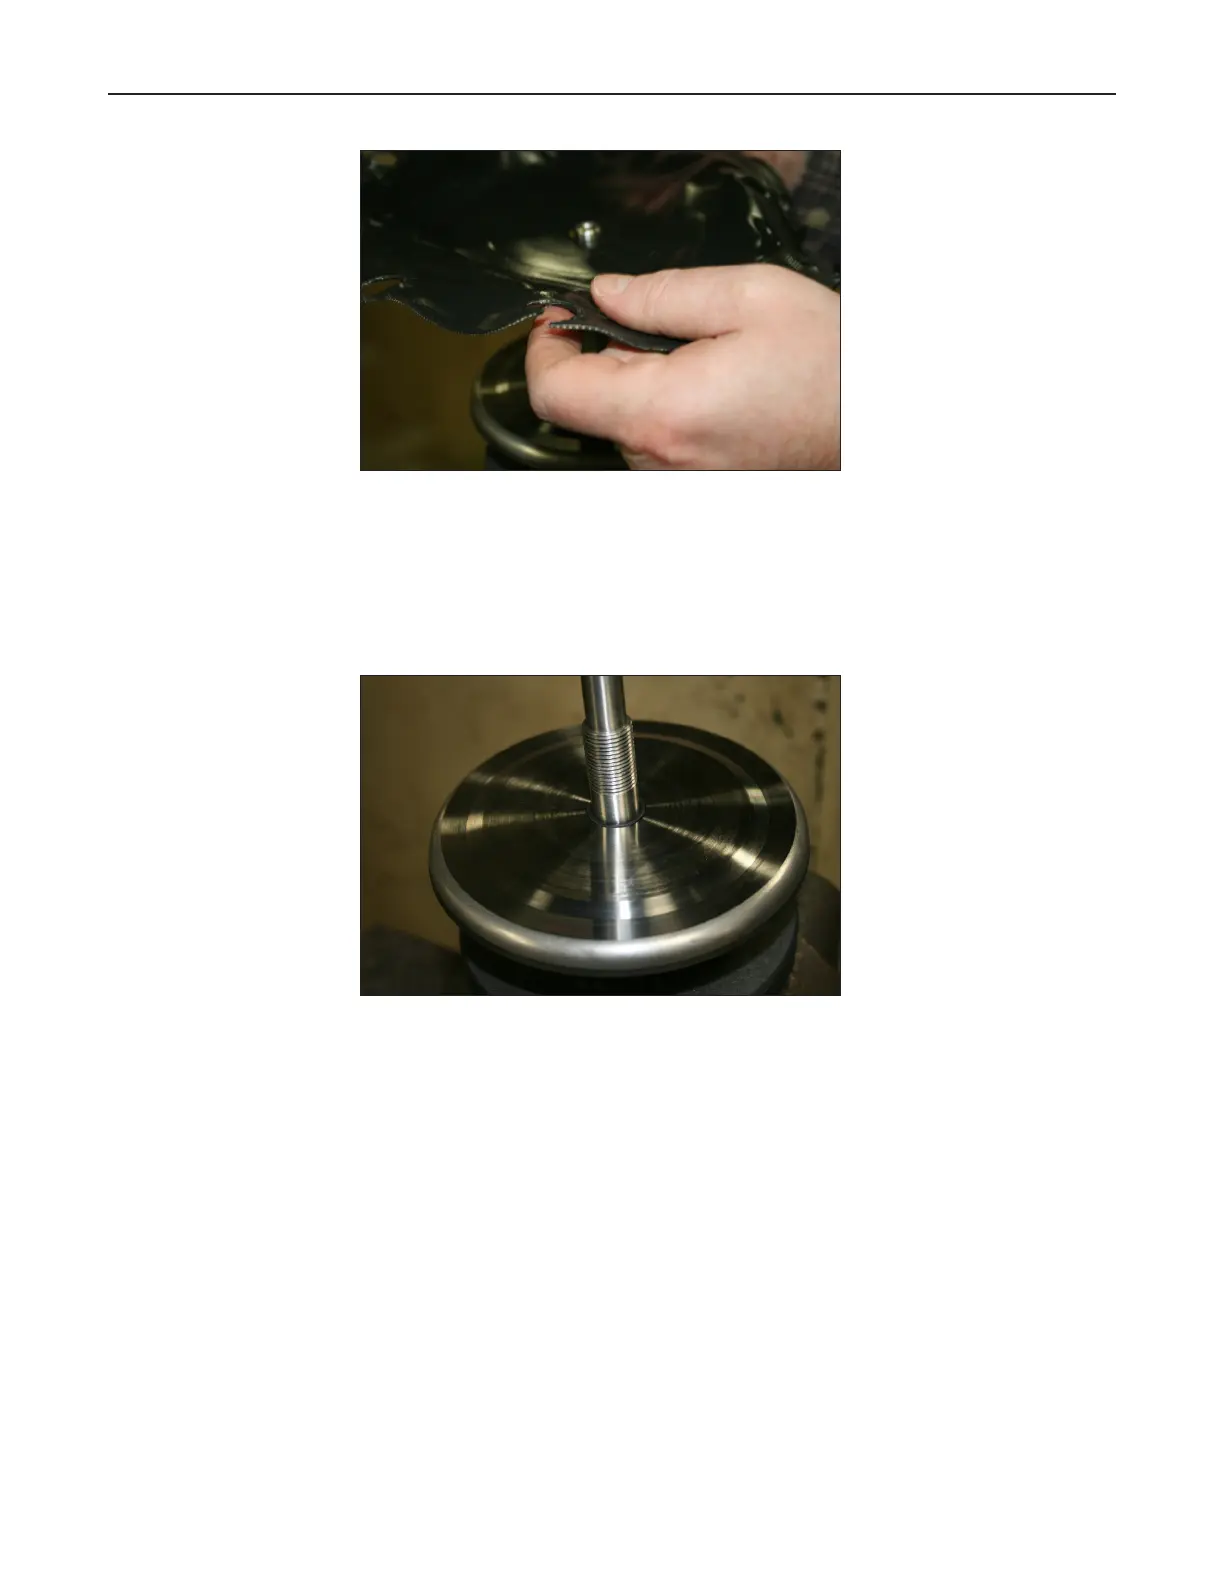
Figure 16 – Diaphragm Removal
Inspect the lower diaphragm washer for any defects. If none are present, the
diaphragm washer can be left on the stem. If there are visible defects (i.e. sharp
edges, warpage, etc.), the diaphragm washer should be replaced. Use caution when
installing the washer and ensure not to gall the threads.
Figure 17 – Diaphragm Washer
Place a new diaphragm O-ring around the stem. Gently roll the O-ring down the stem
until it mates with the diaphragm washer and apply a light coat of petroleum jelly to
the O-ring.
Place the new diaphragm on the stem. Use caution while pulling the diaphragm down
the threads as to not fray the diaphragm. It is recommended to install the diaphragm
so that the part number and elastomer markings are visible from the top.