Do you have a question about the Technoline WT 535 and is the answer not in the manual?
Instructions for installing and replacing the 2 x AA batteries in the clock unit.
Steps to connect the AC/DC adapter for projector use and important voltage information.
Guide on pointing the projection lens, adjusting brightness, and image orientation.
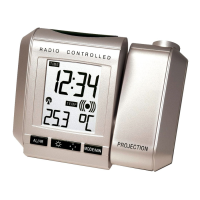
The Radio Controlled Projection Clock with Digital Thermometer is a versatile device designed to provide accurate time, temperature, and alarm functions, with the added convenience of time projection. This clock is radio-controlled, specifically utilizing the DCF-77 signal, which ensures highly precise timekeeping.
At its core, this device is a radio-controlled clock, meaning it automatically synchronizes its time with the DCF-77 signal, ensuring accuracy with a deviation of less than one second in every one million years. The DCF-77 signal is transmitted from Mainflingen near Frankfurt, Germany, with a range of approximately 1,500 km. This feature eliminates the need for manual time adjustments, as the clock will automatically update its time and date upon successful reception of the signal.
Beyond basic timekeeping, the clock also functions as a digital thermometer, displaying the indoor temperature in degrees Celsius. This provides users with immediate information about their environment.
One of the most distinctive features is the time projection capability. The clock can project the current time (hour and minute) onto a wall or ceiling, making it easy to check the time in a darkened room without needing to look directly at the clock's display. The projection's brightness is adjustable, and its orientation can be rotated up to 180 degrees for maximum range and adjusted to four upright positions, each with a 90-degree rotation, to suit various viewing angles.
The device also includes a comprehensive alarm function with a snooze feature. Users can set a specific alarm time, and the snooze function allows for a brief delay before the alarm sounds again.
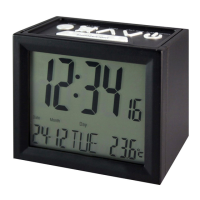
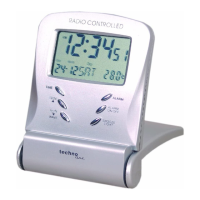
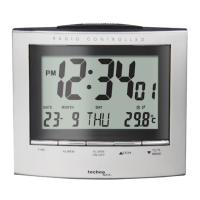
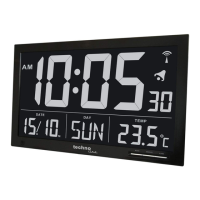
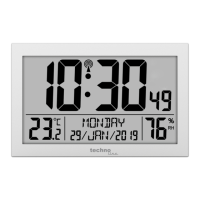
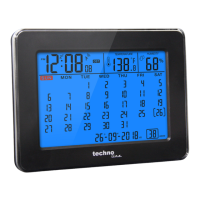
For displaying information, the clock features an LCD screen that can show various data, including the current time (hour, minutes, seconds), indoor temperature, calendar (weekday, date, month), and alarm time. The display can be toggled between these modes using the MODE/MIN key.
The clock offers flexible power options, operating either on batteries (2 x AA, IEC LR6, 1.5V) or through a provided AC/DC adapter. When powered by the adapter, the projection remains constantly on at the highest brightness level, which can be manually adjusted. If battery-operated, the projection activates only when the SNOOZE key is pressed, and its brightness is fixed. The adapter is recommended for extended projection use, especially overnight.
Setting up the clock involves inserting batteries or connecting the power adapter. Upon power-up, the clock attempts to receive the DCF-77 signal. If reception is successful, the time and date are automatically set. If not, users can manually set the time and date, which will be overridden by the DCF-77 signal once it's successfully received. The clock also includes a time zone setting, allowing for adjustments of up to ±9 hours, though changing the time zone from "0" will disable the calendar display.
The alarm setting process is straightforward: press and hold the AL/HR key, then use the AL/HR and MODE/MIN keys to set the desired hour and minute. The alarm can be activated or deactivated by pressing the AL/HR key. The snooze function, set to a default of 5 minutes, is activated by pressing the SNOOZE key when the alarm is sounding.
The projection feature is highly customizable. The projector lens can be pointed in the desired direction, with a maximum projection distance of 2 meters. The brightness of the projected image can be adjusted through four levels (High, Medium, Low, OFF) when using AC power, and the image direction can be rotated to four different orientations using the DIRECTION key.
The LCD screen provides a clear display of information. Users can cycle through different display modes—time, date, indoor temperature, seconds, and alarm time—by pressing the MODE/MIN key. The back-light feature illuminates the LCD for approximately 2 seconds when any key is pressed, or it can remain on if a key is held down.
To ensure optimal performance and longevity, several maintenance guidelines are provided. It is recommended to replace the batteries annually. The device should be kept away from areas prone to vibration and shock to prevent damage and inaccurate readings. Exposure to sudden temperature changes, direct sunlight, extreme cold, or moist conditions should also be avoided.
For cleaning the display and casing, only a soft, damp cloth should be used. Solvents or scouring agents are not recommended as they may damage the LCD and casing. The alarm clock should never be submerged in water.
In case of a malfunction or to reset the clock to its factory default settings, all batteries should be removed, and the AC/DC adapter unplugged for at least 3 minutes before repowering the device. Users are advised not to attempt any repairs themselves, as opening or tampering with the unit may invalidate its guarantee. For repairs, the device should be returned to its original point of purchase or a qualified engineer.
The device also adheres to R&TTE Directive 1999/5/EC, indicating its compliance with essential requirements for wireless transmission devices in EC Member and EFTA States.
| Type | Clock Radio |
|---|---|
| Radio | FM |
| Display | LCD |
| Power source | Mains |
| Alarm | Dual alarm with snooze function |