4
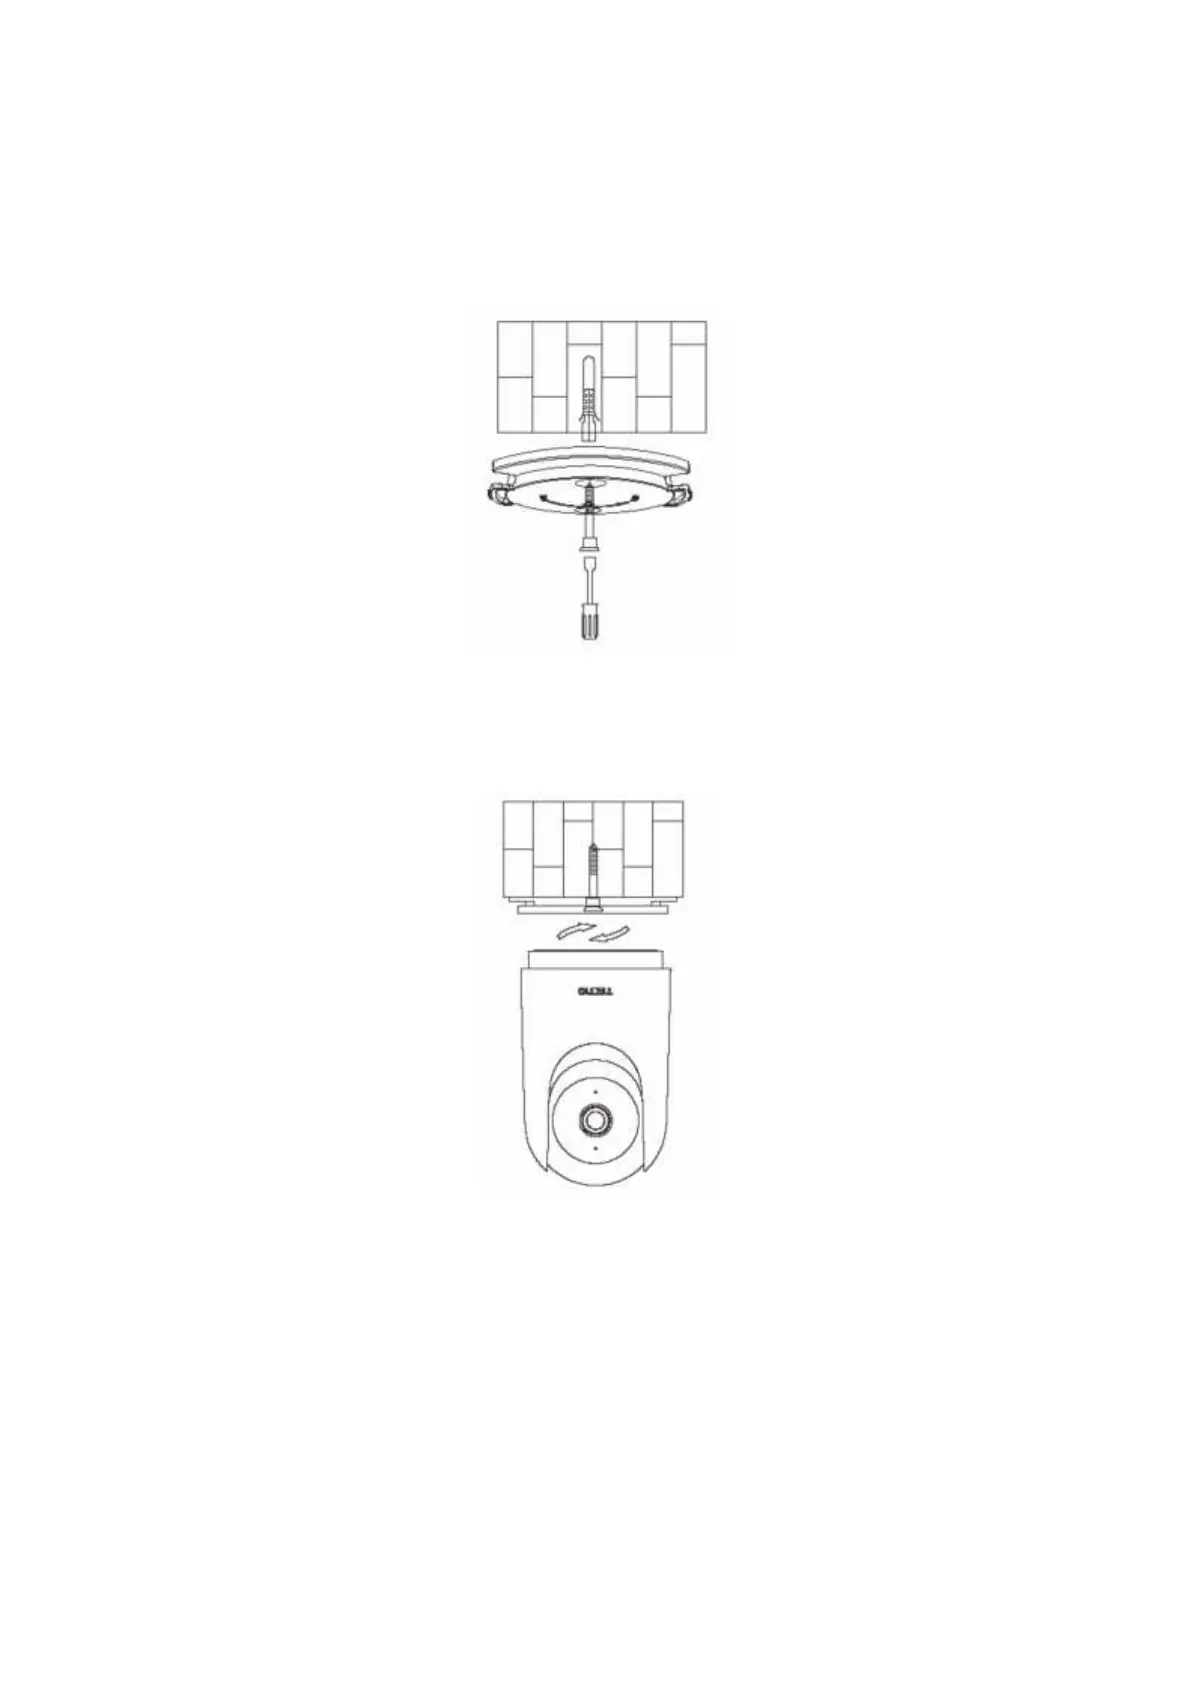
3. Turn the side of the base marked with an arrow upward, align the hole of the base
with the hole of the wall, put the screw through the hole of the base, and screw it into the
expansion nut on the wall with a cross screwdriver.
4. Align the notch on the bottom of the camera with the raised portion of the base and
install the snap-fit, and then rotate the lock clockwise until it locks into place.