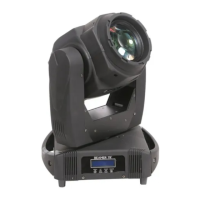
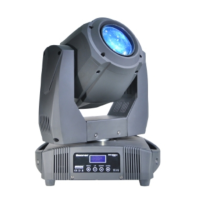
4. INSTALLATION
English version
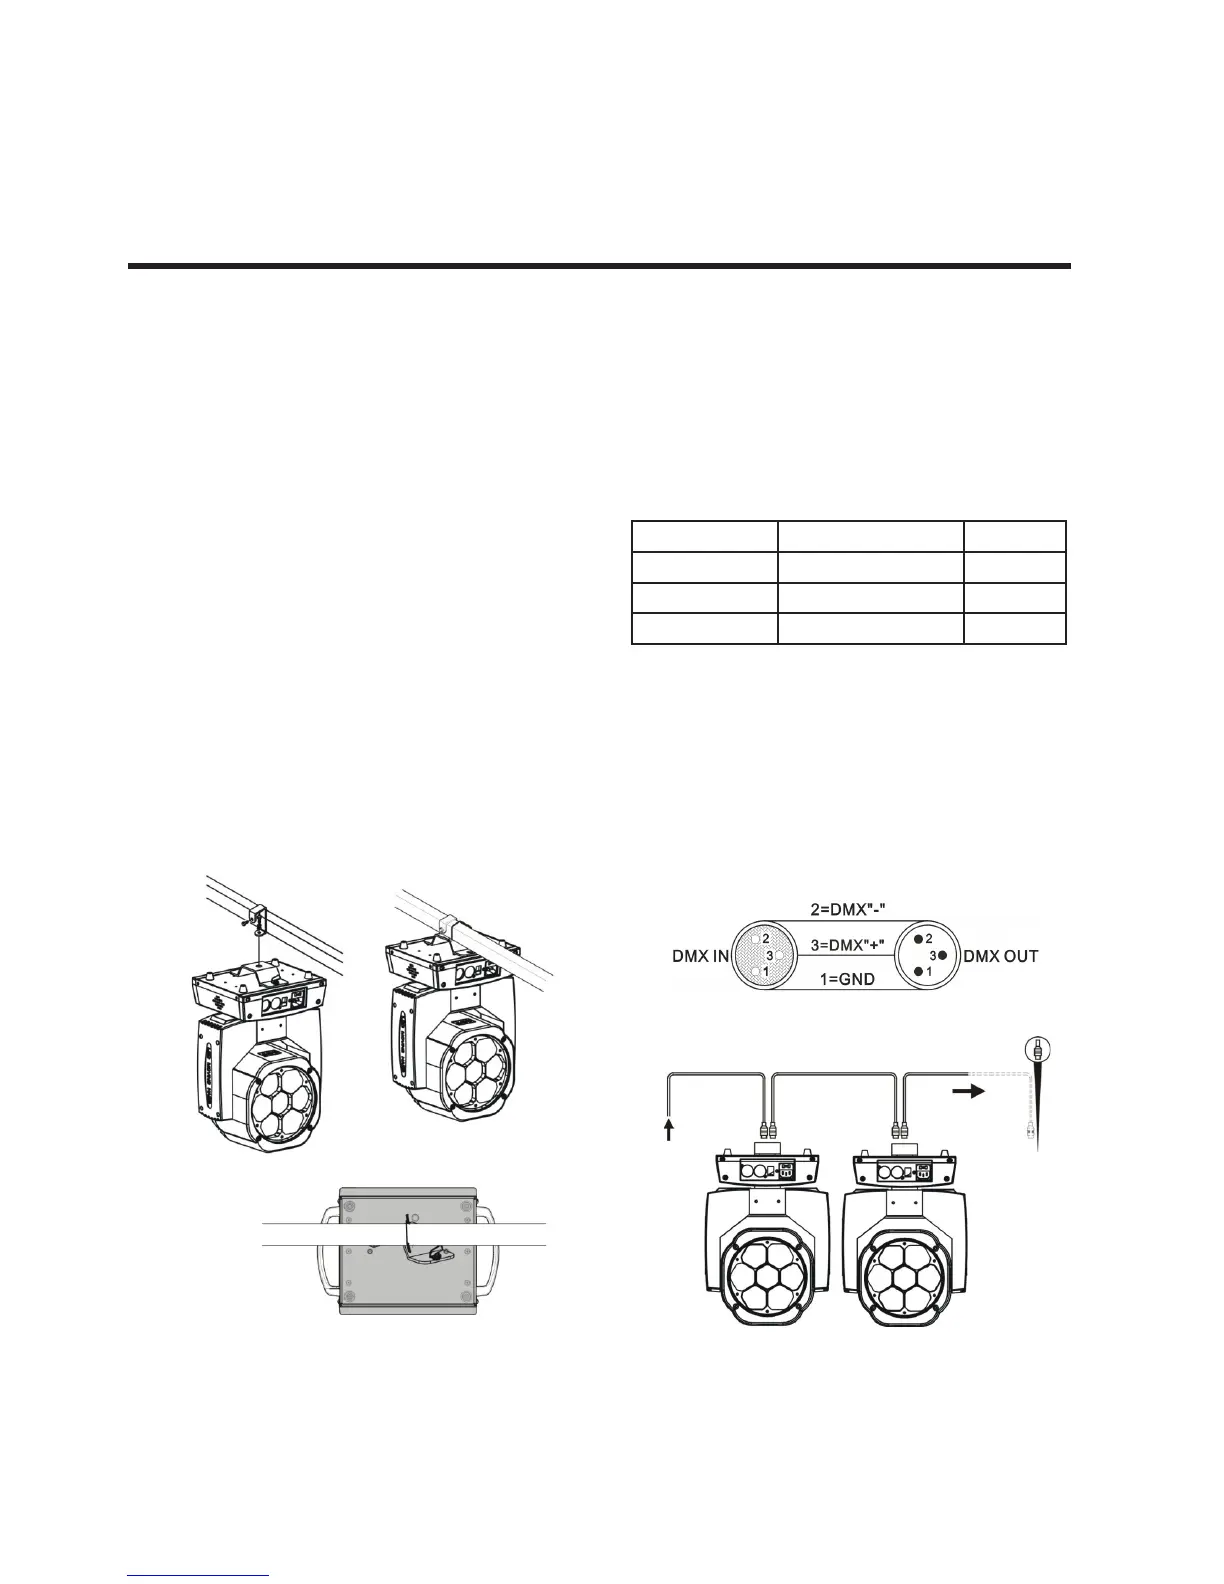
Installation Requirements
This equipment can be used in many places, it can
hang and put on the ground.
• Choosing a suitable place to put or hang the
equipment when installation. Must be use the
special screws and hook to make sure the lamp’s
weight is in the weight range.
• When installing the equipment, ensure no inam-
mable and explosive goods at 0.5 meter distance.
• Please ask the professionals to install the equip-
ment, any improper installation will cause person-
al injury or material damage.
• To prevent others entering the working ares be-
low, the installation or maintenance of equipment
with suitable and stable platform.
• The equipment must be placed in ventilated place,
at least 50 cm from the ground, please ensure that
the vent without clogging.
Power Supply connection
The equipment can be used in the wide voltage
input. Please make sure the voltage is the scale
of rated voltage when connecting the power. The
equipment can adapt to 100V to 240 V AC voltage
and 50-60 Hz.
DMX Signal Connection
1. Use DMX512 controller, use the DMX signal
(male) to plug into the rst lamp (female) 3 pin.
2. Put out of the equipment of the rst signal wire
(head), connected to the equipment of the next
3 pin plug (female), so on. See belowed pictures:
Colors Connection Pin
Brown AC Live 1
Blue AC Neutral 2
Green/Yellow AC Ground 3