BEFORE
STARTING
READ ALL INSTRUCTIONS
PROVIDED
WITH THE
EQUIPMENT
ON
WHICH
THIS ENGINE IS
USED.
@ rrlr- orl suMP oR cHEcK orl LEVEL:
IMPORTANT:
To
avoid
engine damage never run
engine unless:
-
Oil
level is
between
"FULL'
and
'ADD"
marks on dipstick
(if
so
equipped).
-
Oil
level is to overflow
point
in
oil
fill
hole on engine without
a dipstick.
-
Oil
fill
plug
is
tightened securely
into
oil till tube or hole.
CHECK OIL
LEVEL
OFTEN DURING ENGINE BREAK-IN.
A. ENGINE WITH DIPSTICK:
1. POSITION EQUIPMENT
SO
ENGINE IS LEVEL.
2.
Clean area around oil
fill
plug
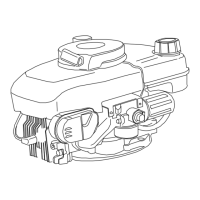
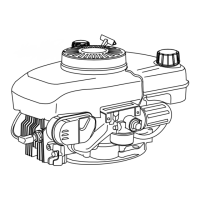
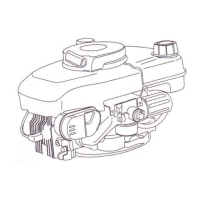
(see
Figure
1).
3.
Remove
oil fill
plug
and
dipstick.
4. Wipe
dipstick clean.
insert it
into oil fill hole andtighten
secure-
ly,
remove dipstick. li oil is not
up to"FULL"markondipstick, add
recommended
oil.
POUR
SLOWLY. Wipe dipstick clean
each
time oil
level
is checked.
IMPORTANT: DO NOT
FILLABOVE'FULL'MARK
ON
DIPSTICK.
5. lnstall oil fill
plug
and dipstick, tighten securely.
B, ENGINE
WITHOUT
DIPSTICK:
1. POSITION EQUIPMENT
SO ENGINE IS LEVEL.
2.
Clean area around oil fill
plug
(see
Figure 1).
3.
Remove
oil
fill
plug.
4. lf oil
level is
not
up to overf
low
point
in
oil
fill hole,
add
recommend-
ed oil. POUR
SLOWLY.
5.
lnstall
oil
fill
plug,
tighten securely.
See
"MAINTENANCE'
section
for
further
oil
instructions.
1)
2\
3)
CODES
AND REGULATIONS.
@
cHecrrHE
FoLLowrNG:
A. BE
SURE
EQUIPMENT IS
IN NEUTRAL
GEAR
WITTELUiCHES.I
n
BELTS.
cHAlNsANDsAFETyswrrcHEsDIsENGAGED.(FoL:
i
ll
r9r1y EhurpMENT MANUFACTURER's
tNSTRUcloNs.)'THts
I
I
SHOULD
PLACE ANY
SAFETY
SWITCHES
IN
SAFE STARTING
I
I
posrrroru.
I
B. Be
sure spark
plug
wire is
attached to spark
plug (see
Figure 1).
C.
Be
sure any
ignition
switch and/or control lever
on engine or equip-
ment is in 'ON', 'RUN'or
"START"
position.
@
rrr-l
FUEL TANK:
A.Clganarea-aTo'rrn'(rfu-erfirdatr"r6move
mB:-.-
B. Add'UNLEADED"
regular
gasoline,
slowly, to
fuel
tank. Use a
funnel
to
prevent
spillage.
IMPORTANT: NEVER MIX
OIL
WITH
GASOLINE
N
NEVER FILL FUEL TANK INDooRS,
NEVER FILL FUEL TANK
ll
wreru ENGTNE rs RUNNTNG
oR
Hor.
Do
Nor
sMoKE wHEN
TANK.
rf
1f,1
aelow BorroM
oF
FTLLER
NECK To
pRovtDE
spAcE
FoR
,
I
FUEL EXPANSTON. WIPE ANY FUEL
SPTLLAGE
FROM
ENGTNE
I
AND EOUIPMENT BEFORE
STARTING ENGINE.
N
ANY
LIQUEFIED
PETROLEUM
(LPG)
OR
NATURAL
GAS FUEL
A
sysrem
MUsr BE LEAKpRooF
ANb MEET ALL AppLTcABLE
STARTING
1\
NEVER
RUN EN
A
ureo AREAS. ENGTNE
ExHAUsr
coNTAtNs chneoN MoNox-
i
L
roe. aru
oooRtess aruo oenolv
cas.
I
n
ll
lny MovtNG i'enrs
oN ENGTNE AND Eoutpl,lEr{L_______l
a
A
unv EXcEED 1s0oF
(6s0c).
AVotD THESE AREAs.
_j
NO
s for control
positions
/j\
which
correspond to engine control
positions
in Figures 2
and 4.
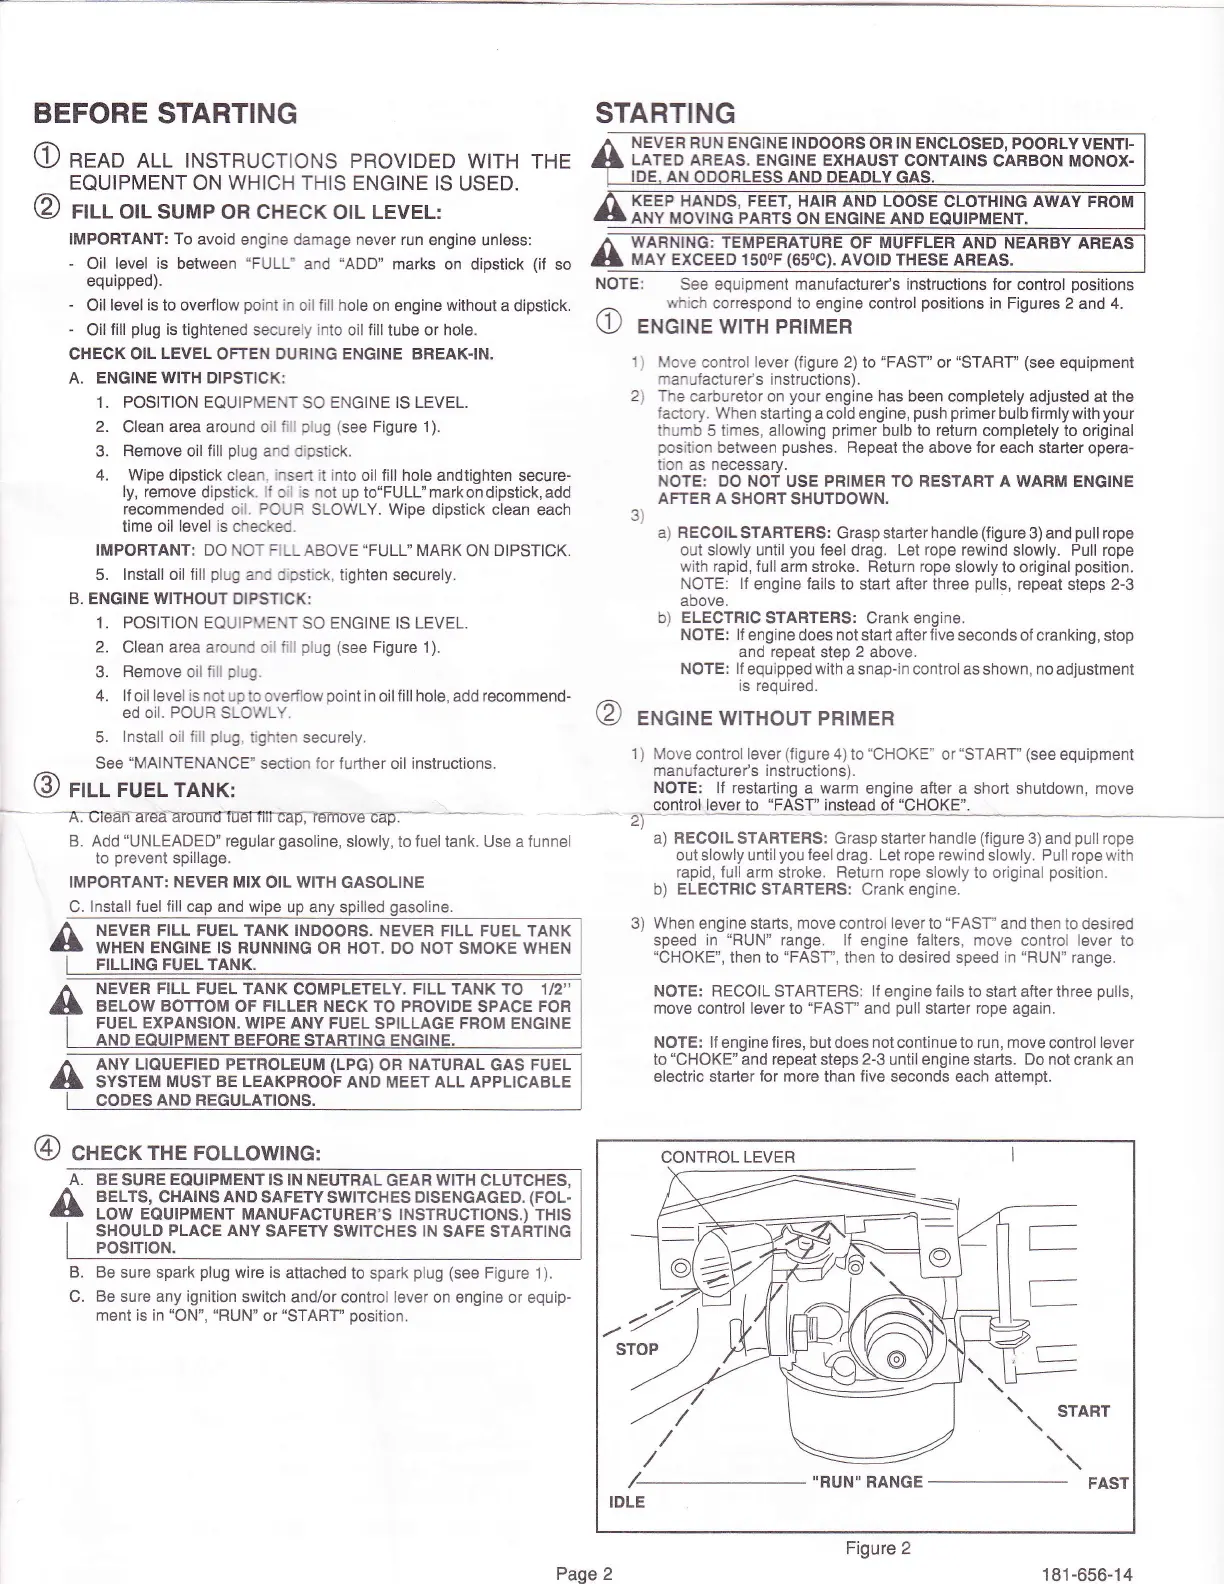
\, ENGINE WITH PRIMER
Move control lever
(figure
2)
to
"FAST" oT "START"
(see
equipment
manufactu rels instructions).
The carburetor on
your
engine
has been completely
adjusted at the
fac{ory. When
starting a cold engine,
push primer
bulb
firmly
with
your
thumb 5
times,
allowing
primer
bulb
to return
completely to original
position
between
pushes-
Repeat
the above for each starter
opera-
tion as necessary.
NOTE: DO NOT
USE
PRIMER TO RESTART
A WARM ENGINE
AFTER A
SHORT SHUTDOWN.
a) RECOILSTARTERS:
Graspstafierhandle
(figure3)
andpull rope
out slowly until
you
feel drag. Let rope rewind
slowly.
Pull
rope
with rapid, full
arm stroke. Return rope
slowly to original
position.
NOTE: lf
engine
fails
to start after three
pulls,
repeat
steps 2-3
above.
b)
ELECTRIC
STARTERS: Crank engine.
NOTE: lf engine
does
not
start afterfive seconds of cranking,
stop
and repeat
step
2
above.
NOTE: lf
equipped with asnap-in control asshown, noadjustment
is required.
@ eNcrttE wrrHour PRTMER
1) Move
control lever
(figure
4)
to
"CHOKE'
or
"START"
(see
equipment
manuf acturer's instructions).
NOTE: lf
restarting a warm engine after
a short shutdown, move
control lever
to
"FAST' instead
of
"CHOKE'.
a) RECOIL
STARTERS: Grasp starter
handle
(figure
3) and
pull
rope
out slowly untilyou
leel
drag. Let
rope rewind
slowly. Pull rope
with
rapid, full
arm stroke.
Return rope
slowly to original
position.
b) ELECTRIC STARTERS: Crank engine.
3)
When
engine starts,
move
control
lever
to
"FAST'
and then
to desired
speed in
"RUN"
range. lf engine
falters,
move
control
lever
to
"CHOKE',
then to
"FAST',
then to desired speed
in "RUN"
range.
NOTE: RECOIL
STARTERS:
lf
engine
fails
to start after three
pulls,
move
control
lever
to
"FAST'
and
pull
starter rope again.
NOTE: lf engine fires, but does not continue to run, move
control
lever
to
"CHOKE"
and repeat
steps
2-3
until
engine
starts.
Do not
crank an
electric starter
for more
than
five
seconds each attempt.
CONTROL
LEVER
-
L
/- "RUN"
RANGE
\TE
Figure
2
Page 2
181-656-14
 Loading...